
Tracker I-9 Feature Settings
Goal
This article provides an overview of the Features tab. Under the Features tab there are various configurable areas that impact the employee and user experiences.
Features
1. Log in as a client admin.
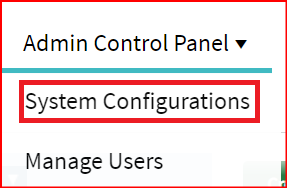
2. Select System Configurations under Admin Control Panel.
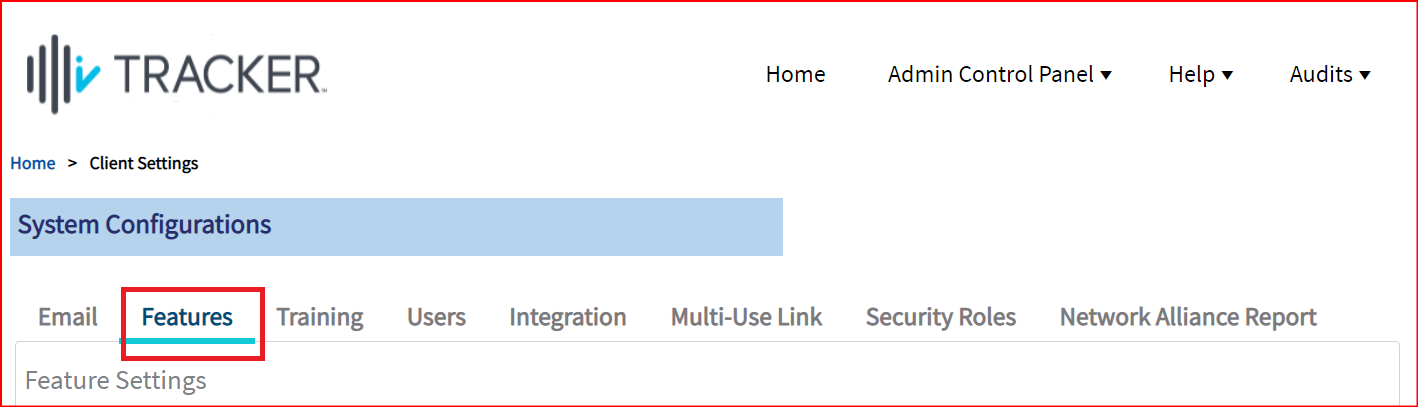
3. Select Features.
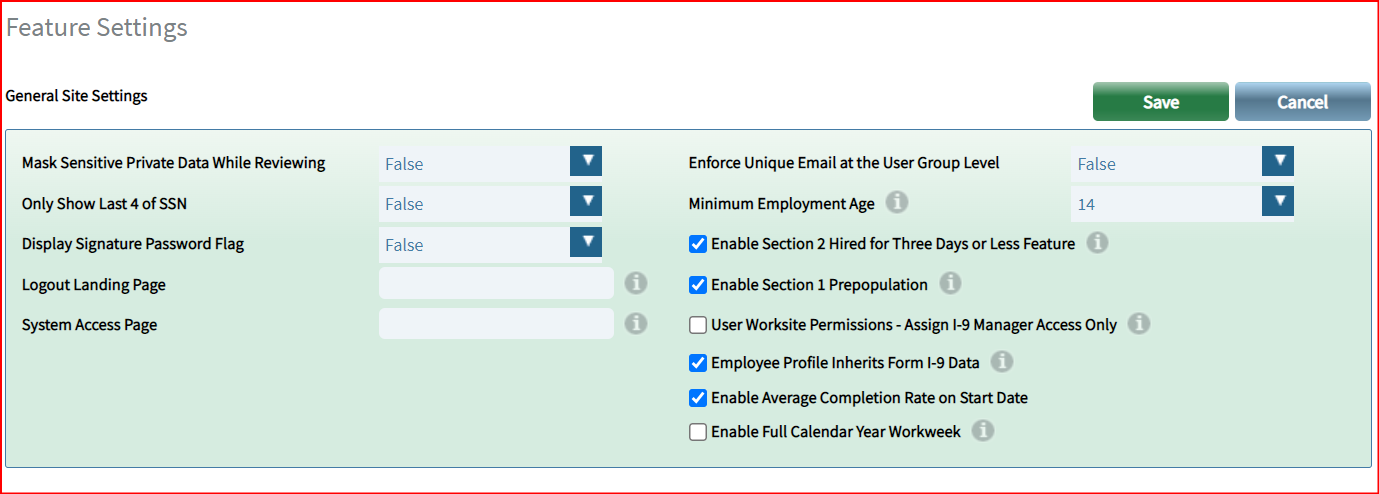
General Site Settings
-
Mark Sensitive Private Date While Reviewing - If this field is set to True, the employee's Date of Birth and SSN in Section 1 and Document Number in Section 2 will either be completely or partially masked with asterisks.
-
Only Show Last 4 of SSN - If this field is set to True, only the last 4 digits of the employee's Social Security Number will appear in the Form I-9. The first 5 digits will be masked with asterisks.
-
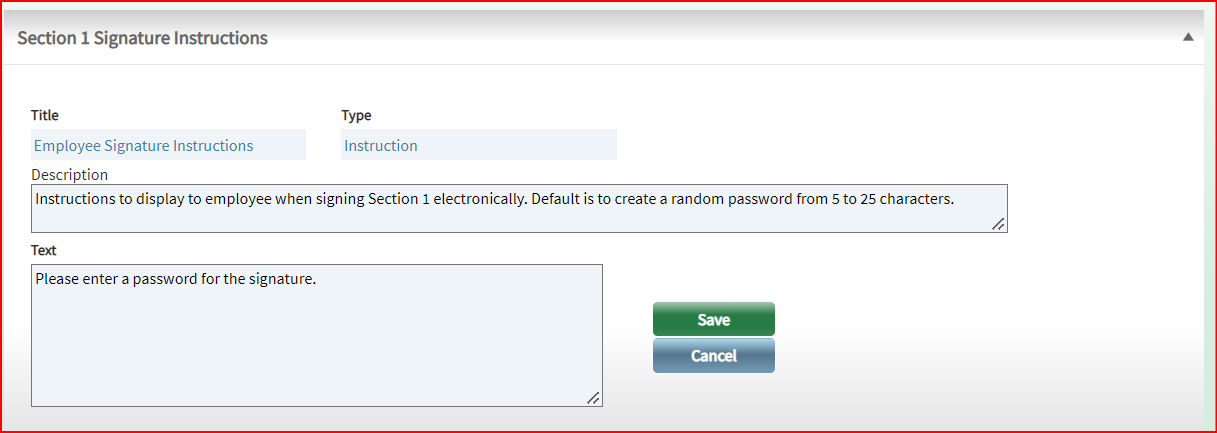
Display Signature Password Flag - If this field is set to True, the Section 1 Signature Instructions will appear when the employee signs Section 1 electronically. The employee will need to Answer and Confirm Answer to the signature question that they are presented with.
-
Logout Landing Page - Users will be navigated to the Logout Landing Page upon logging out of Tracker I-9. This is an optional feature that is most useful for clients who use Single Sign-On (SSO) as a means of accessing Tracker I-9. SSO clients may want users to logout to a different landing page than the default Tracker login page since their users would not be familiar with the Tracker I-9 login page.
-
System Access Page - The System Access Page will be used as the link that is included in the Email Alerts. This is an optional feature that is most useful for clients who use Single Sign-On (SSO) or an integration to access Tracker I-9. SSO clients may want users to be directed to login to a different system than logging into Tracker I-9 directly via the default Tracker I-9 login page.
-
Enforce Unique Email at the User Group Level - If this field is set to True, then a User’s email address must be unique across all User levels within a Client.
-
Minimum Employment Age - This dropdown determines the minimum age for new hire employees. I-9 Managers will receive an error and will be prevented from completing a Form I-9 if an employee enters a birth date younger than the selected value.
-
Enable Section 2 Hired for Three Days or Less Feature - When enabled, a check box will appear in Section 2 that allows the user to indicate that the employee was intentionally hired for three days or less. Section 2 of the Form I-9 must be completed no later than the employee’s first day of work if the employee is hired for three days or less.
-
Enable Section 1 Prepopulation - If checked, the Employee Profile data will be automatically populated in Section 1 of the Form I-9. This must be enabled in order to create an I-9 Record with Section 1 data via an integration.
-
User Worksite Permissions - Assign I-9 Manager Access Only - This setting restricts Basic User's access to only I-9's to which they are assigned for the worksites they are granted permissions for.
-
Employee Profile Inherits Form I-9 Data - When enabled, if the First Name, Last Name, Other Names Used, SSN, or DOB values in Section 1 are different than the same Employee Profile fields, then the Employee Profile fields will inherit the Section 1 field value unless the Section 1 field is empty or N/A. Similarly, the Employee Profile name fields will inherit the Section 3 New Name field values when the Section 3 New Name fields are not N/A. Field synchronization for Section 1 or Section 3 amendments will only occur when one or more of the listed fields are amended.
-
Enable Average Completion Rate on Start Date - Enabling this setting calculates the average completion rate for an I-9 based on the start date, as opposed to the default setting which calculates based on the creation date of the I-9.
-
Enable Full Calendar Year Workweek - When enabled, this option changes the workweek from 5 days per week to 7 days per week to more accurately reflect Section 2 due dates for Clients with a full calendar year workweek schedule. This feature will affect all newly created records, any records where an update is made after it is enabled, and any records where Section 1 is not yet completed.
-
Enable Force I-9 Manager to Enter Start Date when Section 2 Unsigned - When enabled, the I-9 Manager will be forced to enter the Start Date in Section 2 when Section 2 is not signed, even if a Start Date exists for the I-9. The purpose of this feature is to help improve the accuracy of Start Dates, especially for industries where Start Dates change, the Start Date is associated to an I-9 via an integration from an external system in advance of the employee's first date of work for pay, and the Start Date changes but the external system does not update the Tracker I-9 system with the new Start Date.
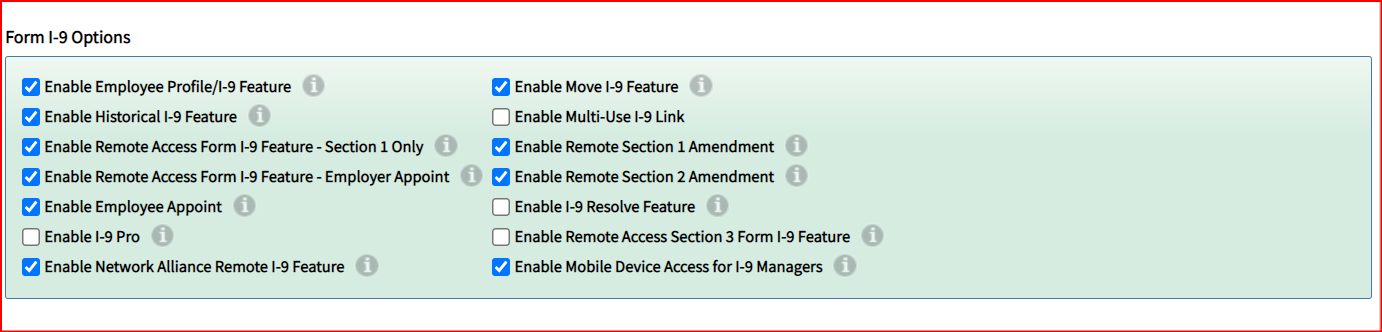
Form I-9 Options
-
Enable Employee Profile/I-9 Feature - Enabling this feature will display the Create New I-9 button on the dashboard homepage that allows I-9 Managers to create a new Form I-9 for a new Employee Profile. For more details, see How to Remove Create New I-9 Button.
-
Enable Historical I-9 Feature - When checked, the option to create Historical Form I-9 records will be available to Users. The Historical I-9 feature supports all earlier versions of the Form I-9. Historical I-9 records are not subject to the validation rules that apply to new I-9 records created in Tracker. For more details, see How to Create a Historical I-9.
-
Enable Historical I-9 Basic Feature - Enabling this feature will allow I-9 Managers to create a new Historical I-9 Basic record. The Historical I-9 Basic feature is a much-simplified version of the Historical I-9 feature. Historical I-9 Basic records do not require the entry of all fields across all sections of the original Form I-9 when creating a record. Historical I-9 Basic records are not subject to the validation rules that apply to new I-9 records created in Tracker.
-
Enable Remote Access Form I-9 Feature - Section 1 Only - When checked, the option to create a Remote Section 1 Only Form I-9 will be available to Users. This will allow I-9 Managers to create a new Remote Access I-9 record that sends an email to the employee to complete Section 1 only.
-
Enable Remote Access Form I-9 Feature - Employer Appoint - When checked, the option to create a Remote Section 1 and Section 2 Form I-9 will be available to Users. This will allow I-9 Managers to create a new Remote Access I-9 record that sends an email to the employee to complete Section 1 and sends an email to the employer agent who will serve as an authorized representative to complete Section 2.
-
Enable Employee Appoint - When checked, the option to create a Remote Section 1 and Section 2 Form I-9 using the New Hire Select workflow will be available to Users. This will allow new hires to select their own employer representatives.
-
Enable Remote Document Inspection - Enabling this feature will enhance the EDU, Section 2 and Section 3 journeys to support some of the requirements that an employer needs to satisfy in order to comply with conducting a remote inspection of documents. For more details, see Remote Document Inspection Guide.
-
Enable I-9 Pro - When checked, the option to create a Remote Section 1 and Section 2 Form I-9 using the New Hire Select workflow with Virtual I-9 Pro will be available to Users. (The option is available if your company has licensed the service.)
-
Enable Network Alliance Remote I-9 Feature - Enabling this feature will allow I-9 Managers to create a new Network Alliance Remote I-9 record that sends an email to the employee to complete Section 1 and instructs the employee to schedule an appointment date, time, and location with a Network Alliance Representative to complete Section 2. For more details, see the Network Alliance articles.
-
Enable SMS - Enabling this feature will allow I-9 Managers to send Form I-9 notifications to Employees via text messages. For more details, see the SMS Quick Start Guide.
-
Enable Move I-9 Feature - Enabling this feature allows Advanced Users to move I-9s across Employee Profiles. For more details, see How to Move an I-9.
-
Enable Multi-Use Link - Enabling this feature allows for the creation of a reusable link that will navigate users to a new instance of the Form I-9 each time it is accessed. For more details, see How to Create a Multi-Use Link.
-
Enable Remote Section 1 Amendment - Enabling this feature will allow I-9 Managers to send an amendment request for Section 1 to employees. For more details, see How to Do a Remote Section 1 Amendment.
-
Enable Remote Section 2 Amendment - Enabling this feature will allow I-9 Managers to send an email to a remote Authorized Representative with instructions for completing an amendment to Section 2 of the Form I-9. For more details, see How to Do a Remote Section 2 Amendment.
-
Enable I-9 Resolve Feature - When checked, enables the I-9 Resolve Product. (Only present if your company has licensed the I-9 Resolve product.) For more details, see the I-9 Resolve articles.
-
Enable Remote Access Section 3 Form I-9 Feature - Enabling this feature will allow I-9 Managers to manage Remote Section 3 access. For more details, see How to Complete a Section 3 Reverification.
-
Enable Mobile Device Access for I-9 Managers - When checked, your I-9 Managers will be able to access and complete Section 2 of Form I-9 record via a mobile device. For more details, see How to Enable Mobile Access for I-9 Managers.
-
Employee Document Identification & Upload Settings - For more details, see Employee Document Identification and Upload Feature Settings
-
Enable for Remote Section 1 Only Workflows - When this is checked, the Employee Document Identification and Upload functionality will be enabled for all Remote Section 1 Only workflows, including Remote Section 1 only (RemoteAccessType ID 2800) and Multi-Use Links.
-
Enable for ALL Remote Section 2 Workflows - When this is checked, the Employee Document Identification and Upload functionality will be enabled for all Remote Section 2 workflows, including Employee Appoint, Employer Appoint, and Network Alliance workflows.
-
Section 1 Remote Access Settings
Remote Access Form I-9’s are sent to employees via personalized welcome emails with a link to complete and sign Section 1. Here you have the ability to configure a couple of areas within that experience.
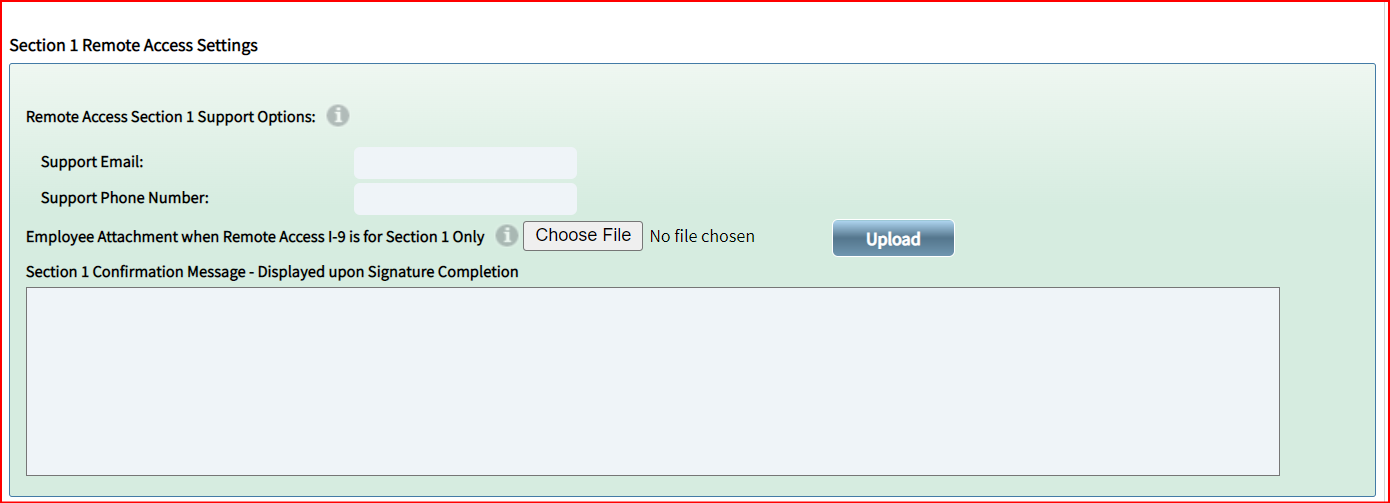
- Remote Access Section 1 Support Options - Clients are given the option to configure the email and phone number on email messages sent to employee candidates when they are completing the Remote Section 1 Only workflow.
- Employee Attachment when Remote Access I-9 is for Section 1 Only - Clients can attach any additional custom documentation to the email messages.
- Section 1 Confirmation Message - Here you can configure a custom confirmation message to be presented back to the new hire after they have completed and electronically signed Section 1.
All Employer Appoint Remote Access Settings
Settings configured in the All Employee Appoint Remote Access Settings section of the admin page will display additional customized support information provided by the employer for all remote workflows except for Section 1 Only workflow. Section 1 Only workflow can be configured in Section 1 Remote Access Settings mentioned above.

-
Support Email - Enter an Email that you want to appear in the messages that are sent to the employee and employer representative during the Employer Appoint & Employee Appoint workflows.
-
Support Phone Number - Enter a Phone Number that you want to appear in the messages that are sent to the employee and employer representative during the Employer Appoint & Employee Appoint workflows.
-
Force Employer Representative Title - Enabling this feature will enable the Title field below and pre-populate the Employer Representative Title field on the Employer Appoint & Employee Appoint forms.
-
Require Approve/Reject Step - Check this box to enable the I-9 Manager to review completed Section 1 and Section 2 and approve or reject the I-9. Approving will progress the I-9 to the next step and rejecting will restart the Form I-9 process.
-
Employee Attachment when Remote Access I-9 is for Employer Appoint - The file that can be uploaded here will be attached to the email sent to the employee when the Remote Access I-9 is Employer Appoint.
-
Employer Representative Attachment when Remote Access I-9 is for Employer Appoint - The file that can be uploaded here will be attached to the email sent to the employer representative when the Remote Access I-9 is Employer Appoint.
-
Employee Attachment when Remote Access I-9 is for Employee Appoint - The file that can be uploaded here will be attached to the email sent to the employee when the Remote Access I-9 is Employee Appoint.
-
Employer Representative Attachment when Remote Access I-9 is for Employee Appoint - The file that can be uploaded here will be attached to the email sent to the employer representative when the Remote Access I-9 is Employee Appoint.
Section 3 Remote Access Settings
Settings configured in the Remote Section 3 Remote Access Settings section of the admin page will display additional customized support information provided by the employer for all remote Section 3 workflows.
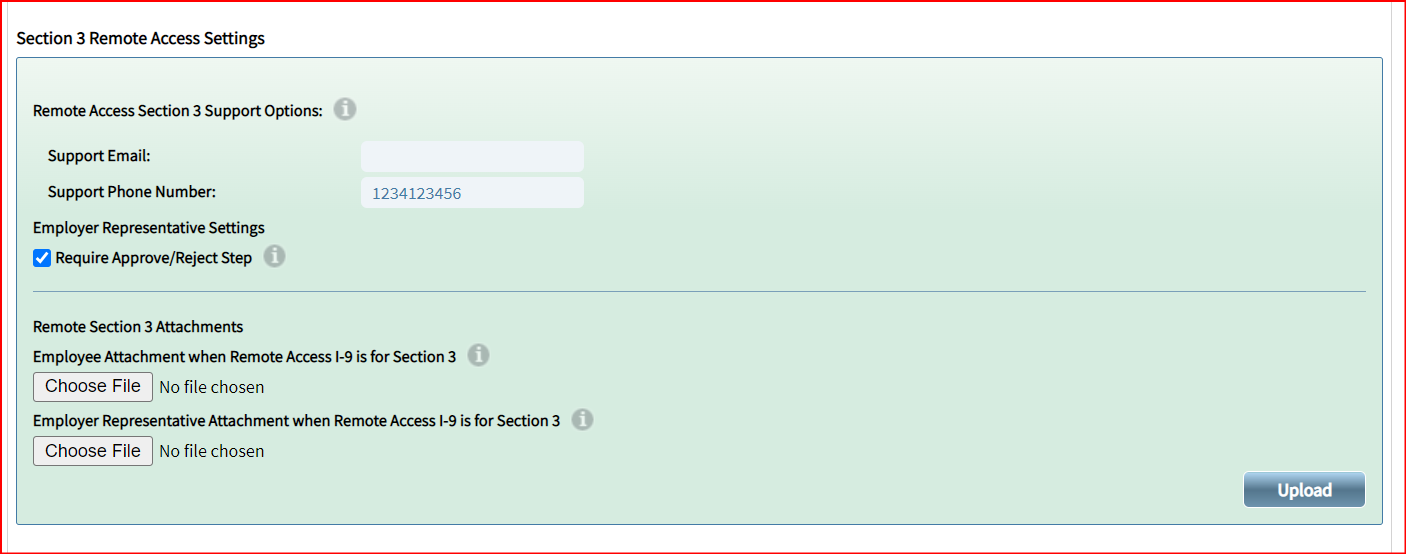
These settings will customize the workflow as follows:
-
Support Email - This setting allows employers to specify a custom email which will appear in the system-generated emails sent to Authorized Representatives as part of this workflow.
-
Support Phone Number - This setting allows employers to specify a custom phone number which will appear in the system-generated emails sent to Authorized Representatives as part of this workflow.
-
Require Approve/Reject Step - Enabling this feature will allow I-9 managers the option to review the Form I-9 information completed by the Authorized Representative and accept the information entered or reject it and have the aforementioned stakeholder start the process over.
-
Employee Attachment when Remote Access I-9 is for Section 3 - This setting allows Client Admins to include additional documentation to the employee. The document uploaded here will appear in Section 3 system-generated email.
-
Employer Representative Attachment when Remote Access I-9 is for Section 3 - This setting allows Client Admins to include additional documentation to appear in the Remote Section 3 Workflow. The document uploaded here will appear in Section 3 system-generated email sent to the Authorized Representative.
Upload Client Logo
Here, you can upload your company logo. This logo will be displayed in the upper left-hand corner of each Tracker I-9 Complete web page post login and will be visible to all Users. The image file should be 200px wide and 86px high with a transparent background. For more details, see How to Upload a Client Logo.

System Message and Instructions Settings
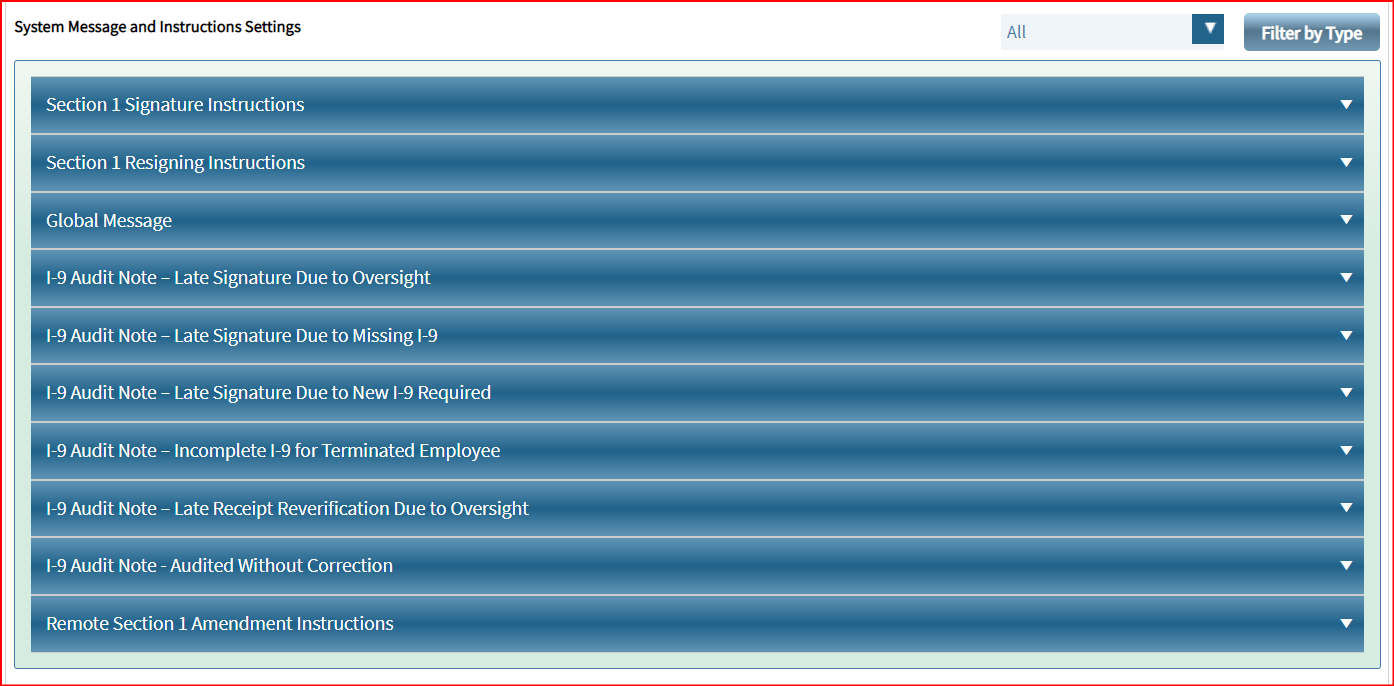
- Section 1 Signature Instructions - If the Display Signature Password Flag is set to True, then the custom text entered here will appear when the employee signs Section 1 electronically. The employee will need to Answer and Confirm Answer to the signature question that they are presented with.
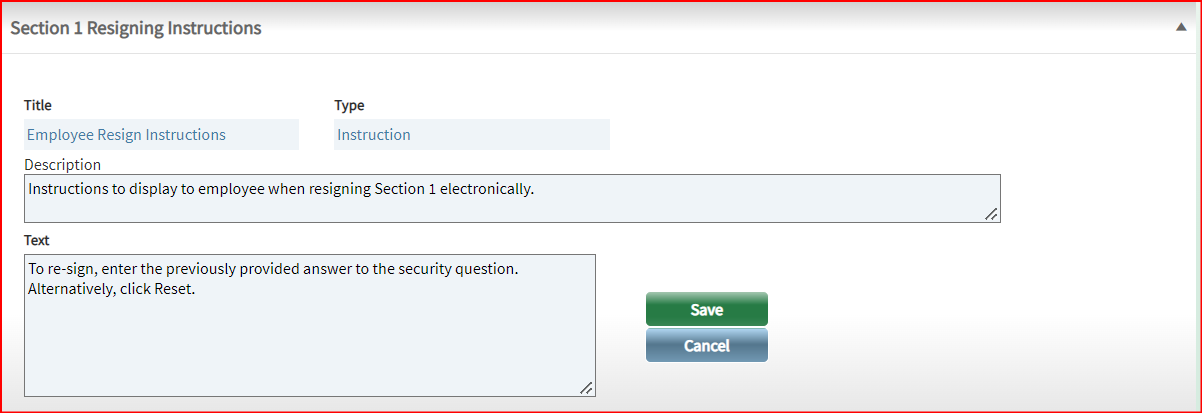
- Section 1 Resigning Instructions - Here you can enter the custom text that will be displayed to the employee when resigning Section 1 electronically.
- Global Message - Here you can enter the custom text that will be displayed back to all Users on the top of every Tracker I-9 Complete web page post login. For more details, see How to Change the Global Message.

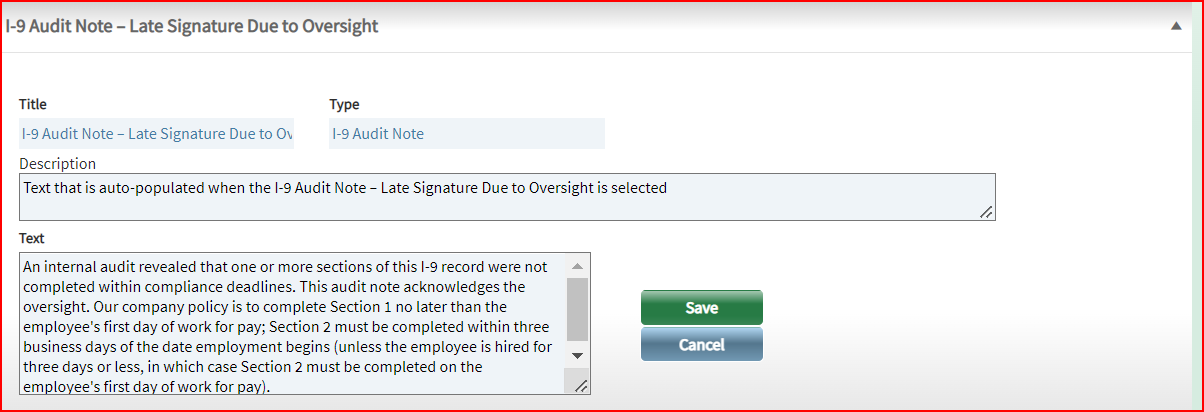
- I-9 Audit Note - Late Signature Due to Oversight - Here you can enter the custom text that will be displayed in the audit trail when a late signature is detected due to an oversight by a manager.
- I-9 Audit Note - Late Signature Due to Missing I-9 - Here you can enter the custom text that will be displayed in the audit trail when a late signature is detected due to a missing I-9.

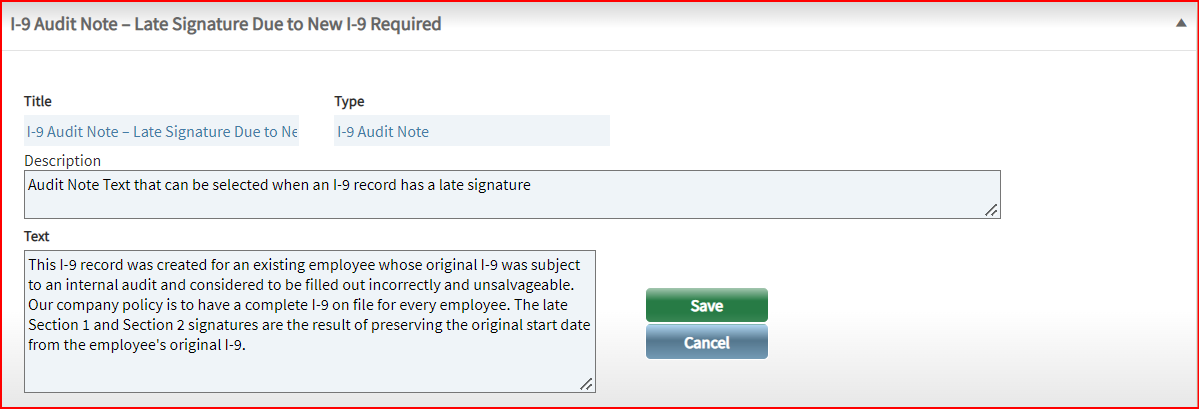
- I-9 Audit Note - Late Signature Due to New I-9 Required - Here you can enter the custom text that will be displayed in the audit trail when a late signature is detected due to the required creation of a New I-9.
- I-9 Audit Note - Incomplete I-9 for Terminated Employee - Here you can enter the custom text that will be displayed in the audit trail when an incomplete I-9 is present for a terminated employee.

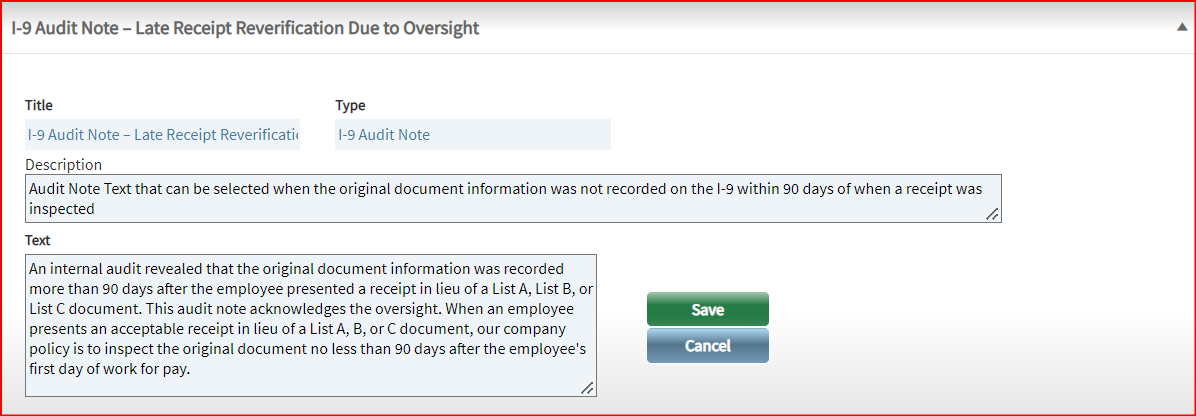
- I-9 Audit Note - Late Receipt Reverification Due to Oversight - Here you can enter the custom text that will be displayed in the audit trail when a late receipt re-verification has occurred due to an oversight.
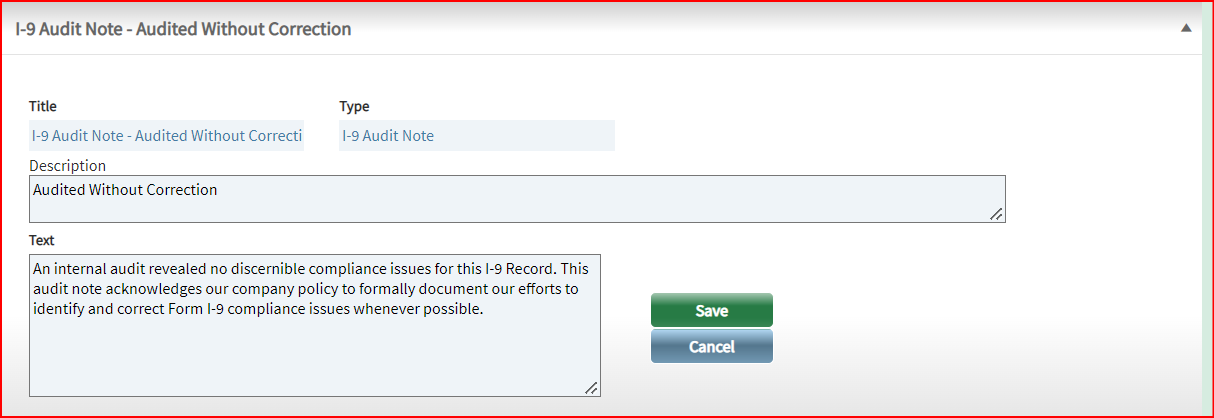
- I-9 Audit Note - Audited Without Correction - Here you can enter the custom text that will be displayed in the audit trail when no discernable compliance issue was found.
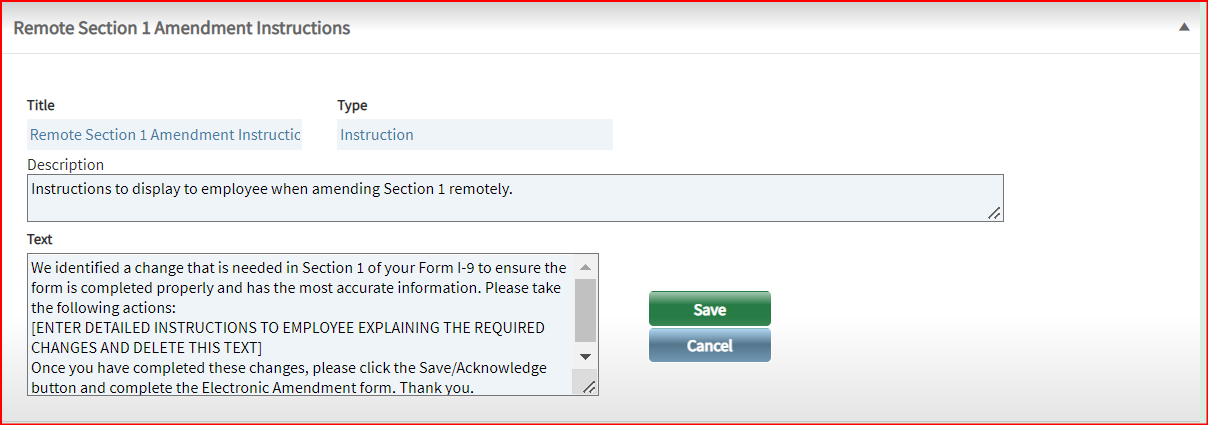
- Remote Section 1 Amendment Instructions - Here you can enter the custom text that will be displayed to an employee when clients want to request a correction be made to section 1.
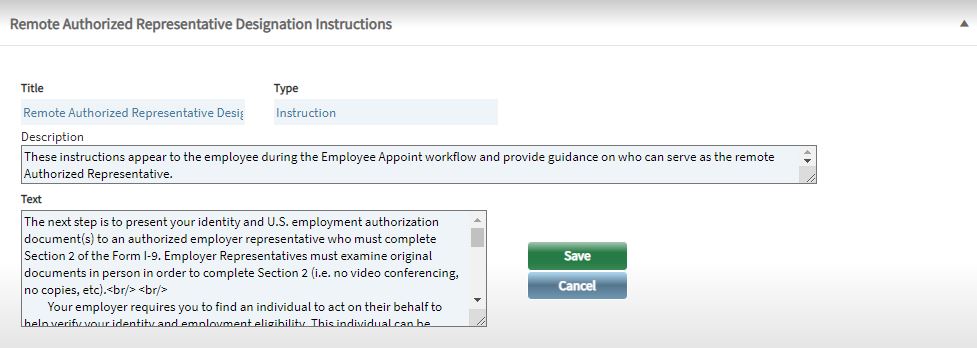
- Remote Authorized Representative Designation Instructions - Here you can edit the Authorized Representative Designation page content that is displayed to employees in the Employee Appoint workflow.
- Remote Document Inspection Instructions - Here you can edit the instructions that is displayed to employees if the Remote Section 2 Document Verification Setting associated with the I-9 is set to ON.
