View and Edit Firms and Vendors
Note: It is best practice to manually sync Collaborati with Lawtrac directly after making changes to vendor/firm information so Collaborati users have the most up-to-date information available—even if you have the scheduled task set up to sync daily.

Information
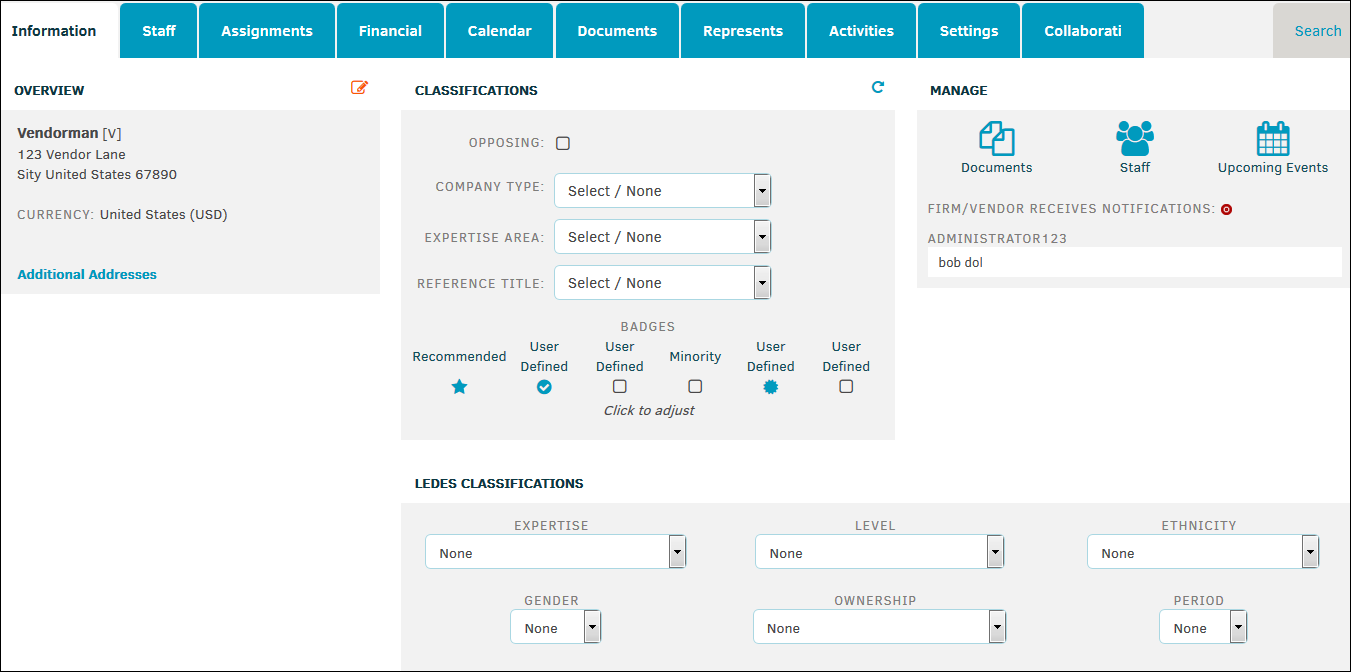
The default tab that opens for a firm or vendor is the Information tab. This tab includes four sections: Overview, Classifications, Manage, and LEDES Classifications.
While in view mode, click Additional Addresses in the Overview section to edit or include additional contact information.
Overview:
The Overview section includes information about where the firm or vendor is located. Click the  icon to edit the location information.

Click Save to save the new information, or click  to return to the Information tab.
Classifications:
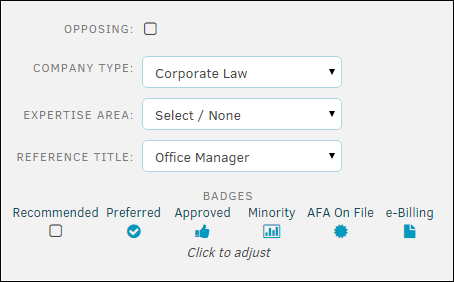
The Classifications section allows you to classify the company type, expertise area, and reference title. Lawtrac users have the ability to designate a firm as "Opposing" by clicking the checkbox above "Company Type". This option allows users to indicate to their Legal team and non-opposing vendors that this firm likely cannot be used and is in some way engaged in a matter against the user's team.
Apply the following badges for the firm or vendor by clicking on the checkboxes under Badges:
- Recommended—A user recommends the firm or vendor
- Preferred—A user prefers the firm or vendor
- Approved—A user approved the firm or vendor
- Minority—This firm or vendor is minority-owned
- AFA on File—This firm or vendor has an alternative fee arrangement on file
- e-Billing—This firm or vendor can send invoices to Lawtrac
An icon appears for each badge the company has. If the ![]() icon is present for a badge, the badge has not been assigned.
icon is present for a badge, the badge has not been assigned.

Manage
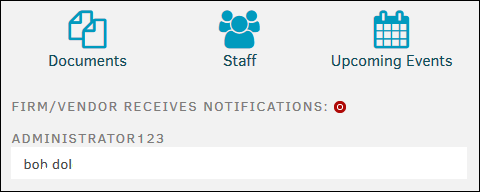
The Manage section allows you to navigate to documents page, staff page, or upcoming events. Click the corresponding icon to jump to that page.
 —Firm/vendor does not receive notifications; click to toggle
 —Firm/vendor receives notifications; click to toggle

LEDES Classification
LEDES classifications are created and managed by the site administrator in Application Administration, who controls the information that appears in these drop-down menus.
Select an option from each menu. These tabs are optional, but the data may be beneficial when running reports. All changes are saved automatically.
Additional Tab Options:
|
Tab |
Function |
|---|---|
|
Information |
View firm/vendor contact information, classifications, and badges. Access quick links to documents, staff, and calendar events. |
|
View a list of the firm or vendor's employees and timekeepers. Add and manage staff rate cards. |
|
|
View the matter records assigned to the company. |
|
|
View all financial information associated with a firm or vendor. |
|
|
View upcoming matter events associated with the firm or vendor. |
|
|
View all documents that a firm or vendor has uploaded to matter records. |
|
|
View a list of parties and entities that the firm or vendor represents. |
|
|
View all actions relating to users and the selected firm or vendor. |
|
|
View and edit additional data for the firm or vendor. |
|
|
Quickly locate information about the firm or vendor. |

