Adding a Person/Entity as a Player
The Global Assign allows you to add a person or entity as a player to one or more matters.
To Add a Person or Entity as a Player:
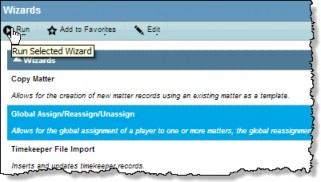
- Select the Global Assign/Reassign/Unassign Wizard on the Wizards List page and click
Run or click the Wizards button on the Related Matters tab (People or Entities).
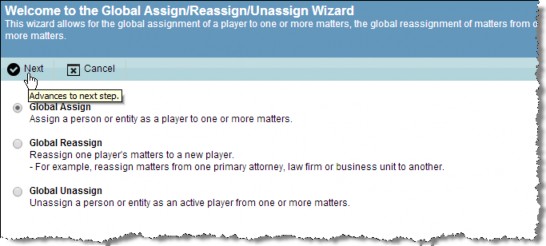
- Select the Global Assign option and click
Next.
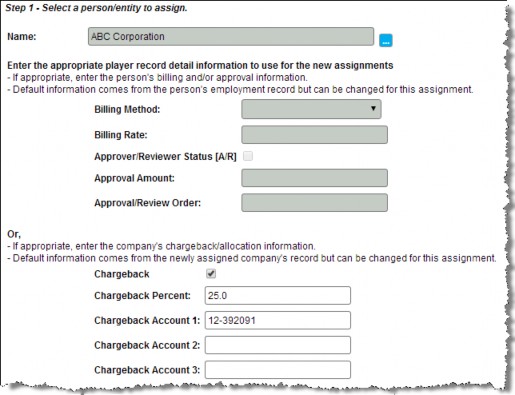
- Click the
 button in the Name field to open the People or Entities List page. Click the link in the Name column to make a selection. Available billing and invoice approval information will be pulled from the record.
If the person has multiple employment records, an additional dialog box will display for you to specify the employment record to associate to the matter so that the appropriate billing rate and/or invoice approval information will be retrieved.
If you selected a person above, default billing/approval information for the person from the
employment record is shown. If you selected an entity above, detailed chargeback/allocation information from the base information is shown. Change information as needed.
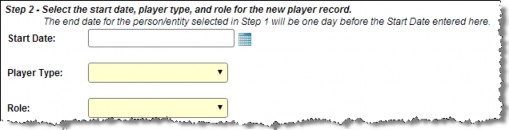
- In the Start Date field, add a date for the assignment to begin using the popup calendar or by typing a new date in the field.
- Select a Player Type and Role from the dropdown lists.
- Click
Next to select the matters.
- Select the checkboxes of the appropriate matters or click Select All.
- Click
Next to continue.
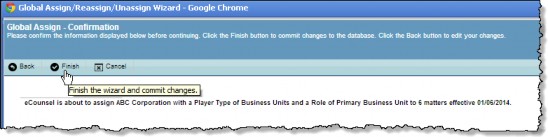
- Review the information on the confirmation page and click
Finish.
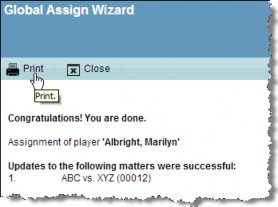
When the wizard is done, a list of the matters assigned will display. Any errors encountered will also be listed. Optionally click the  Print button to print the list.