
How to Schedule a Network Alliance Appointment
This shows how an employee can schedule a Network Alliance appointment.
Goal
In the Network Alliance workflow, employees receive an email invitation to complete Section 1 remotely and schedule an appointment at a Network Alliance location. During the appointment, an authorized employer representative from Network Alliance completes Section 2 of Form I-9.
This process describes how employees complete Section 1 and schedule a Network Alliance appointment after the Form I-9 is created.
Steps
- The employee receives an email notification to complete Section 1 and clicks the provided link.
- The Section 1 web page opens. After the employee completes all required fields and attempts to electronically sign Section 1, a confirmation message appears explaining the next steps.
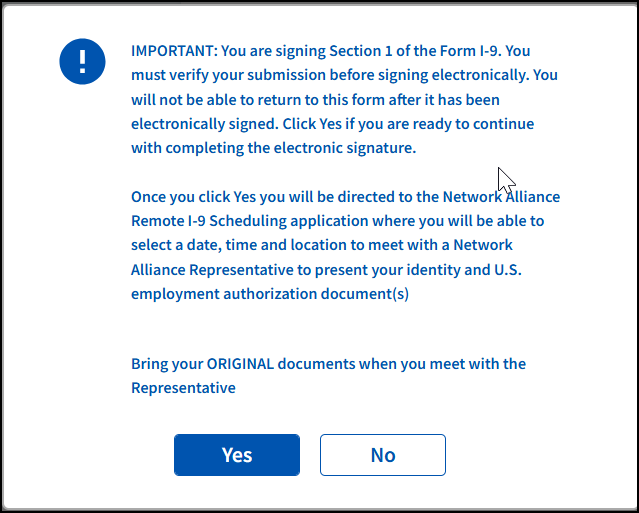
- When the employee clicks Yes, the system:
- Saves and electronically signs Section 1
- Automatically redirects the employee to the Network Alliance scheduling page
- If the scheduling page does not open automatically because pop-ups are blocked, click the Navigate to the Network Alliance Remote I-9 Scheduling Application link.
- For additional information, see How to Access Scheduling Portal for Network Alliance.
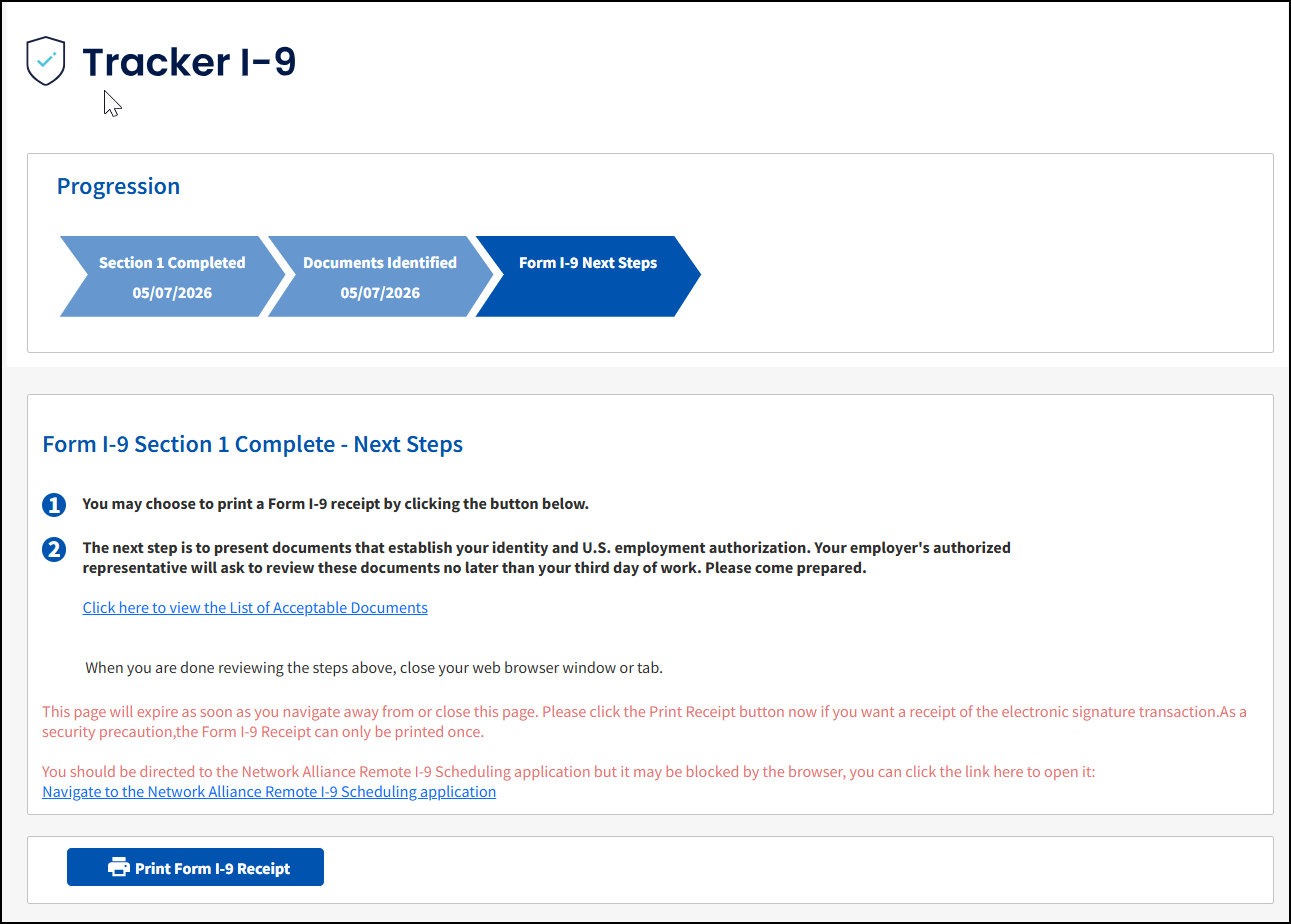
- The employee is provided with:
- Instructions for scheduling an appointment with a Network Alliance representative
- A list of acceptable documents required to complete Section 2.

- To continue, the employee enters their ZIP code on the Network Alliance scheduling page.

- After entering their zip code, the employee will be presented with a list of Network Alliance locations within the search radius where the employee can schedule an appointment to complete Section 2, as well as a calendar indicating the dates that have availability at a selected location.
- After the employee selects an available date, the system displays the available appointment times. The employee selects an appointment time that best fits their schedule.


- After the appointment is scheduled, a confirmation page appears displaying:
- Appointment date
- Appointment time
- Appointment location
- Additional appointment instructions
- The Network Alliance provider system sends a calendar invitation to the employee’s email address. The invitation includes:
- Appointment confirmation details
- A link to the appointment location map
- Instructions for rescheduling or canceling the appointment


What's Next
If needed, employees and I-9 Managers can cancel or reschedule the appointment if it is more than 24 hours before the appointment.
If the appointment has not been scheduled and the employee needs the email to be resent, see How to Resend a Network Alliance Email.