
How to Access Scheduling Portal for Network Alliance
Goal
In the Network Alliance workflow, after completing Section 1, the employee will be automatically redirected to the scheduling portal if pop-ups are enabled. If the scheduling portal doesn't automatically redirect due to the pop-up being disabled, the employee can click on the "Navigate to the Network Alliance Remote I-9 Scheduling application" link.
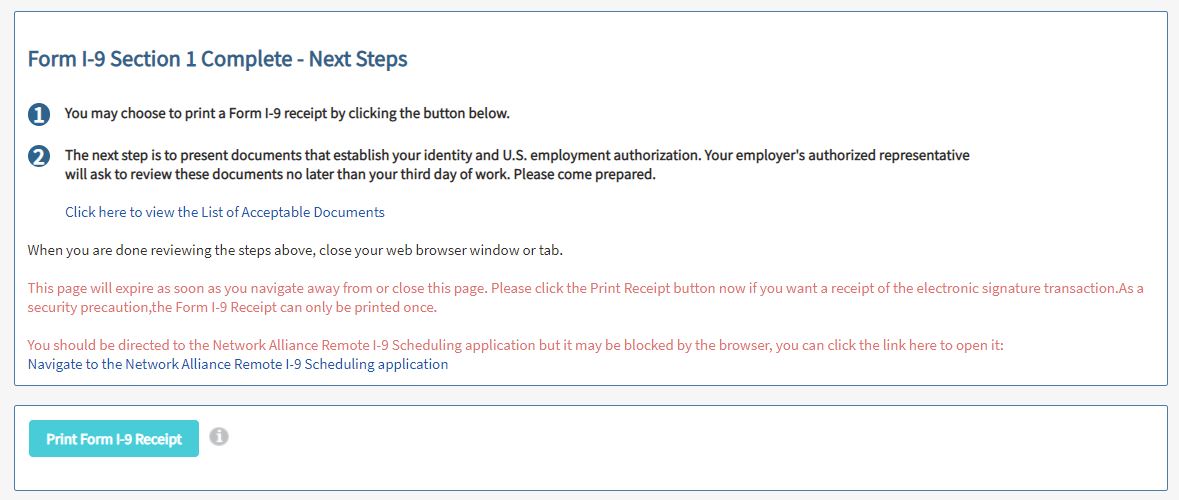
The above page appears after Section 1 is complete, but if the employee doesn't schedule the appointment then and instead goes back to it later, this page will become expired and the "Navigate to the Network Alliance Remote I-9 Scheduling application" link will no longer appear. This expired Section 1 message will also appear if the Network Alliance email is resent.
Employees will still be able to access the scheduling portal if pop-ups are enabled or by following the below steps.

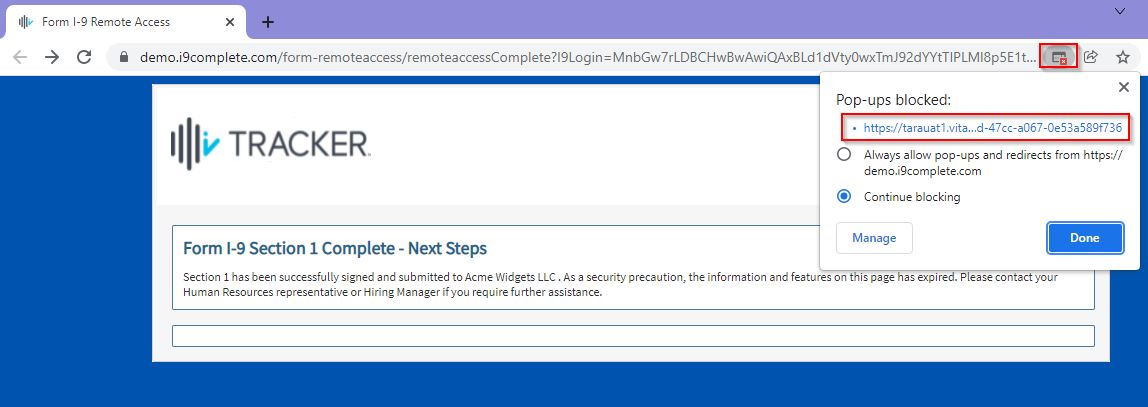
Chrome
Click the Pop-ups blocked icon below and click on the link to go to the scheduling portal.
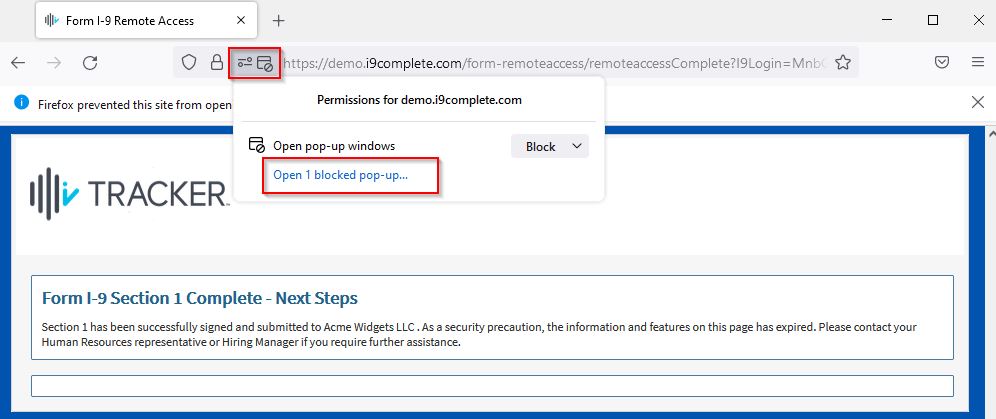
Firefox
Click the Open pop-ups windows icon below and open the blocked pop-up to go to the scheduling portal.
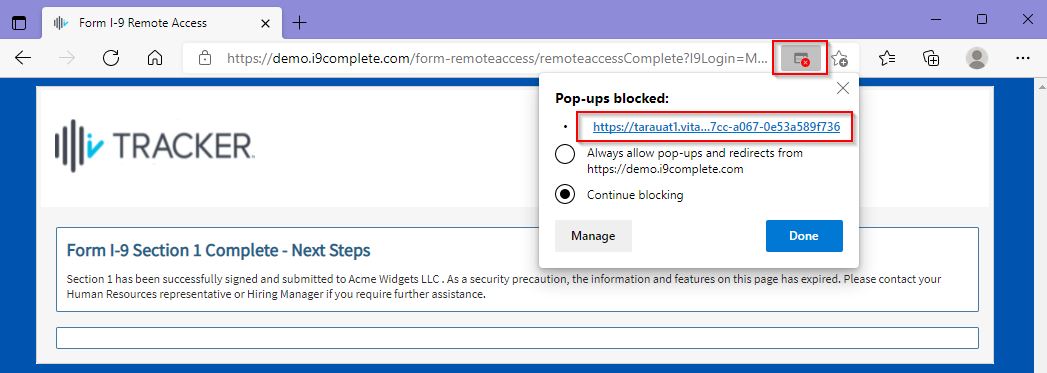
Microsoft Edge
Click the pop-ups blocked icon below and click on the link to go to the scheduling portal.
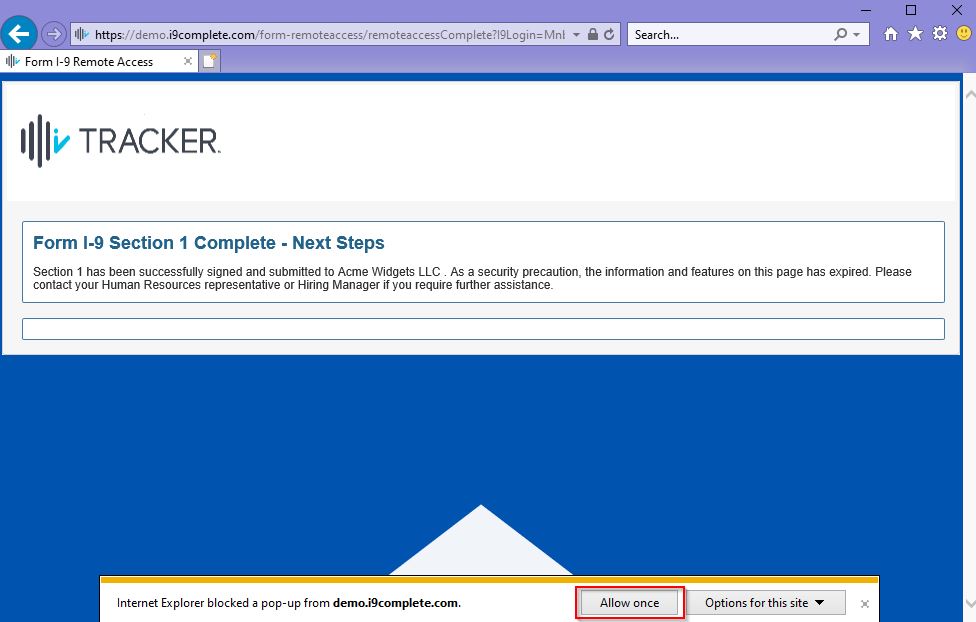
Internet Explorer
Click "Allow once" at the blocked pop-up message at the bottom of the screen to go to the scheduling portal. If the message doesn't appear on the bottom of the screen, you may refresh or click on the link from the email again.
What's Next?
See How to Schedule a Network Alliance Appointment for how the employee can schedule an appointment.