Adding an Appointment
Appointments may be meetings or other events that are scheduled and tracked in Suite. When an appointment is created in Suite, Microsoft Outlook can be updated with the relevant information.
To Add an Appointment:
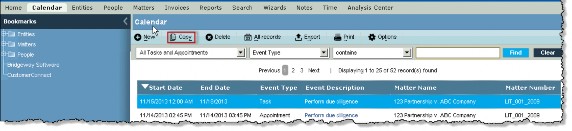
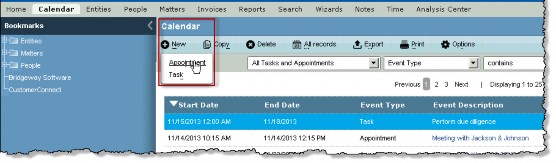
- From the Calendar tab or the Calendar List page of the Calendar module, click the
New button and select Appointment from the dropdown list. Alternatively, if a date field on a tab has been linked to the Calendar, click the
 icon next to the date field.
- If you accessed the Calendar dialog box from the Calendar module, an additional field allows you to indicate the matter to which this appointment is to be attached. Click the
 button next to the Matter Name field to select a matter.
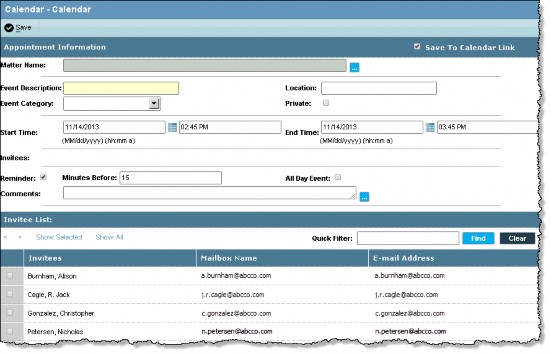
- Enter required data:
- Type an event description (for example, “Meeting with Jackson”).
- Type a location. This field is required for a calendar integration with Microsoft Exchange.
- Select or type a start and end date and time. The date and time must be in the format indicated.
- Type a comment, which will be included in the body of any notifications sent if your site has an integration with Microsoft Exchange.
- Select one or more invitees from the list. Only those invitees with an E-mail Address can be sent appointment invitations if your site has an integration with Microsoft Exchange.
- Enter or make these optional selections:
- Select an event category from the dropdown list.
- Select the Private checkbox to make the appointment visible to assigned users only.
- To have Microsoft Outlook display a reminder notice to invitees, select the Reminder checkbox and enter the reminder time in minute increments. The time will be converted to hours and minutes in Microsoft Outlook. For example, to have Microsoft Outlook send a reminder an hour and a half before the event, enter “90”. You also can use the Calendar Appointment Alerts widget on the Suite home page for reminders.
- Click
 Save to save your changes.
To Edit an Appointment:
- From the Calendar module, double-click on an appointment on the Calendar List page. From the Matters module, click on the appointment on the Calendar tab.
- On the Calendar dialog box, make changes as needed.
- Click Save.
To Copy an Appointment:
Select the appointment on the Calendar tab or Calendar List page, and click the  Copy button. A copy of the data window will open. Change the appropriate information and save the record.