
E-Verify I-9 Comparison Report
This shows how a user can use the E-Verify I-9 Comparison Report
Goal
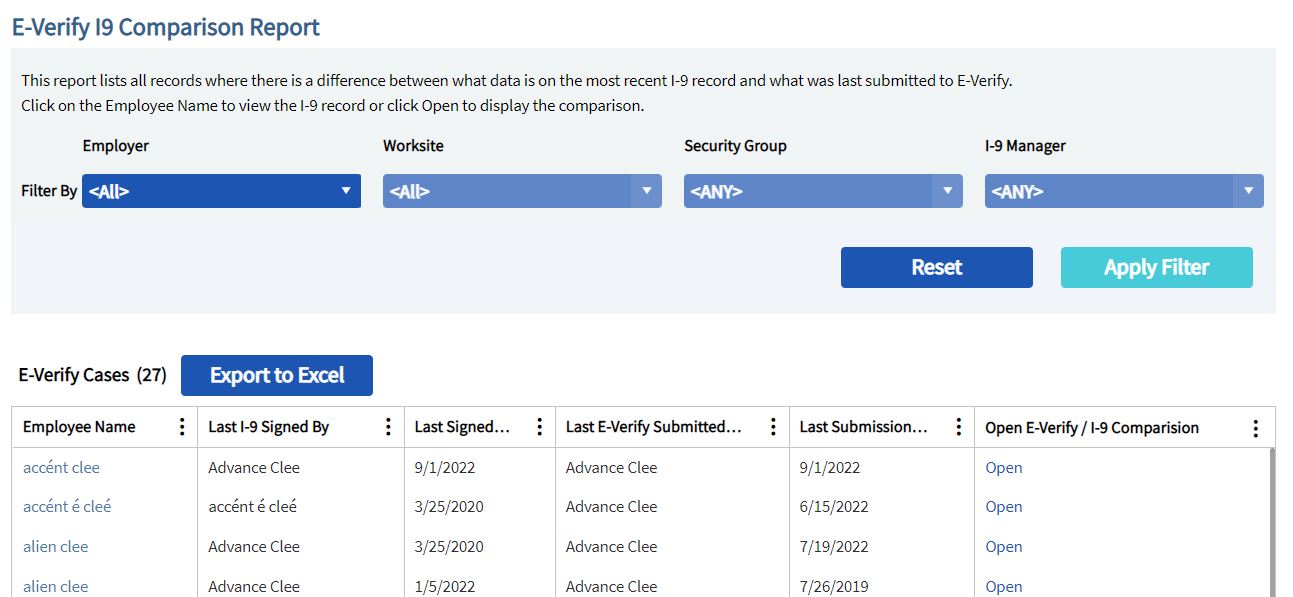
This report lists all records where there is a difference between what data is on the most recent I-9 record and what was last submitted to E-Verify.
Access
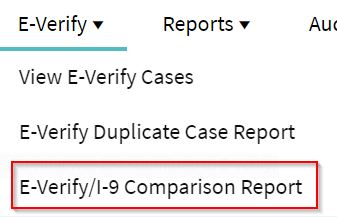
The report can be accessed via the E-Verify menu dropdown.
Click on the Employee Name to view the I-9 record or click Open to display the comparison.
- If you click on the Employee Name, it will bring you to the Summary tab of the I-9. There is also a link there to see the comparison.

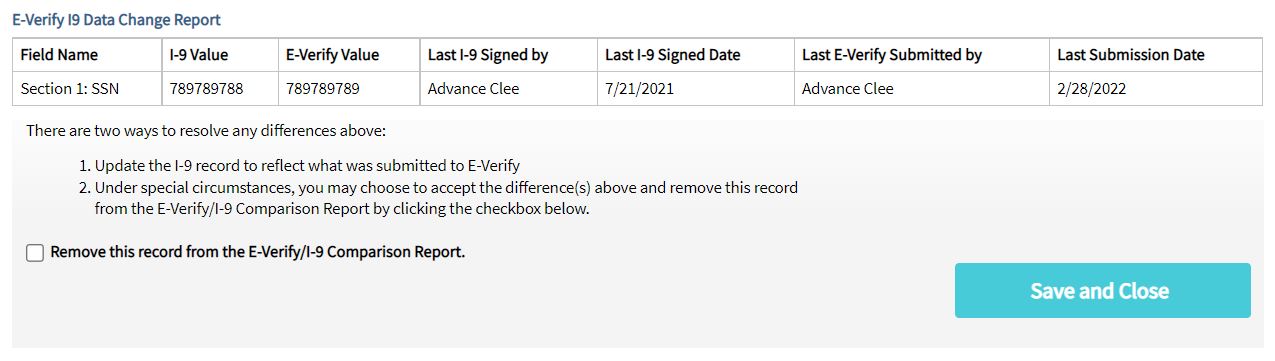
- If you click Open to display the comparison, it will show the specific data difference between the I-9 and E-Verify.
Possible Steps to Resolve Differences
There are a few ways to resolve any differences:
- If the information in E-Verify is correct, you can update the I-9 record to reflect what was submitted to E-Verify. This can be done with a Section 1 or 2 amendment.
- If the information in the I-9 is correct, you can close the existing case (if it is still open) and create a new case.
- Under special circumstances, you may choose to accept the differences and remove this record from the E-Verify/I-9 Comparison Report by checking the Remove this record from the E-Verify/i-9 Comparison Report checkbox and saving. For example, special circumstances may include one value being blank or valid updates that occurred to the I-9.
- Please note that removing this from the report will not remove it from the Summary tab of the I-9.
For any of the options above, you can create an audit note to explain the situation.
Filter Settings
You can filter your results by selecting one or more values from the Employer, Worksite, I-9 Manager, etc. dropdown lists and clicking the "Apply Filter" button.
You can sort and hide columns. The data is also exportable to Excel using the "Export to Excel" option.