
I-9 Custom Reports
Goal
The I-9 Custom Reports feature allows certain users to create custom reports.
Access
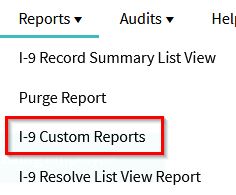
Advanced and intermediate users have access to this report, but basic users do not. The report can be accessed via the Reports menu drop-down.
Choose Worksites and I-9 Information
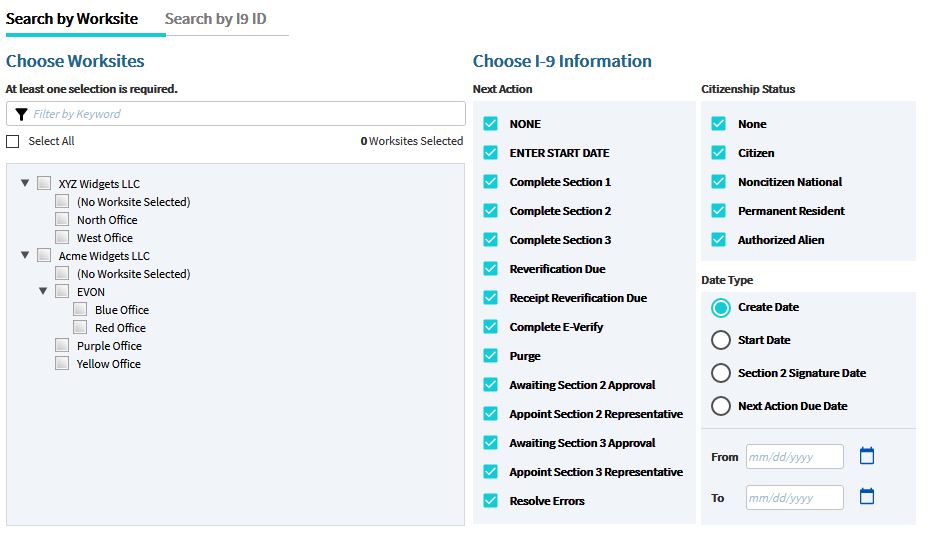
The first step is to select an employer (if applicable), and one or more worksites from the Choose Worksites list. You can select individual employers and worksites by using the checkboxes, as well as the Select All check box at the top. There is also the Filter by Keyword option to find specific worksites.
On the right-hand side are Choose I-9 Information filter options to limit the report based on a number of criteria such as:
- Next Action - The custom report can include I-9 Records based on the calculated Next Action. Check one or more items from the list or leave the default of all next action values.
- Citizenship Status - The custom report can include employees based on their employment status, whether Citizen, Permanent Resident, Authorized Alien, or Noncitizen National. Select one or more from the list or leave the default of all citizen status values.
- Date Type - This option allows you to view only I-9 records by a certain date type, including Create Date, Start Date, Section 2 Signature Date, and Next Action Due Date. Select from the drop-down list of options and enter a From and To date. You can leave one of the date fields blank if you want to specify an open-ended range.
If users have a list of the I-9 IDs, they may also search by I-9 IDs.
Choose Report Fields
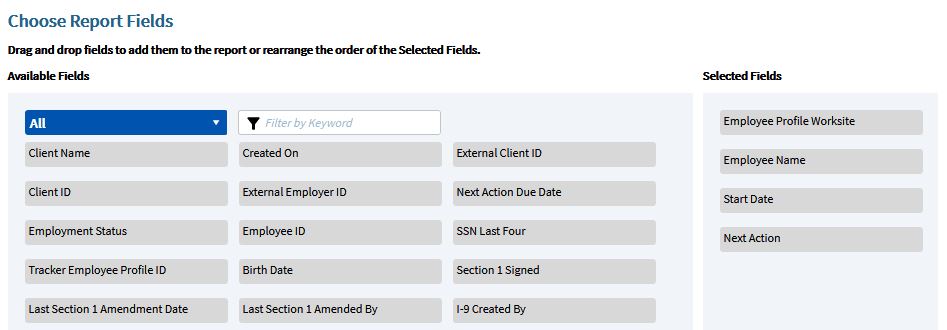
The next step is to choose which Form I-9 and E-Verify fields to output on your custom report. The box on the left is a list of all available fields; the box on the right is the list of fields that will appear on the custom report.
You can filter your available fields by using selecting a value from the drop-down menu on the top left of the page or filter by keyword. Filter options include All, Section 1, Section 2, Section 3, E-Verify, Employee Profile, and Form I-9.
By default, the most common fields are pre-selected on the right such as Employee Profile Worksite, Employee Name, Start Date, and Next Action.
To add fields to your custom report, click one of the fields to highlight them in the list on the left and drag them to the list on the right. To remove fields from your custom report, click on a field from the list on the right and drag it to the list on the left.
The report will be sorted based on the values in the first three fields selected in the Selected Fields list. To change the field order in your custom report as well as the sort order, click on a field to drag and drop it into another position in the list. You can drag and drop field names in any order to fully customize your report.
Actions

- After selecting the filter and report field options, click the Run Report button at the bottom of the screen to generate the report and display the results.
- The Reset All button will reset the filter and report field options to the default.
- The Manage Reports button will display a list of saved reports. See Saved I-9 Custom Reports for more information on the saved reports.
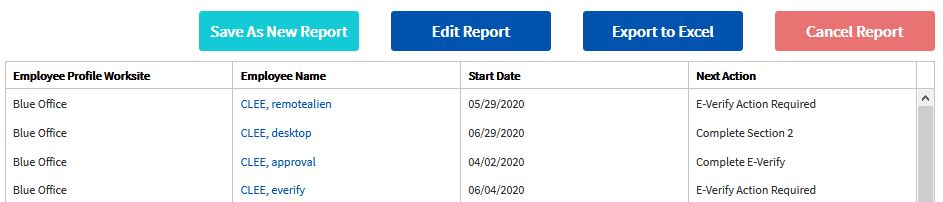
- To export the results of the report displayed on screen, click the Export to Excel button so you can analyze the data in Microsoft Excel.
- You can save any custom report by clicking the Save as New Report button. See Saved I-9 Custom Reports for more information on the saved reports.
- The Edit Report button will navigate the user back to the I-9 Custom Report with the default options.
- The Cancel Report button will navigate the user back to the dashboard.