
How do you connect Adobe Sign with TAP?
Connecting Adobe eSignature with TAP
You will learn how to integrate Adobe eSignature with TAP, this will help your company to be able to integrate a digital signature(s) for approval via electronic means.
Prerequisites
- An Adobe Account with the ability to access the relevant sections of the Adobe module(s).
- A SuperAdmin login for TAP
Set Up a User in TAP
| Instructions | Screenshot for Reference |
|---|---|
| Log in to your Tap Account | 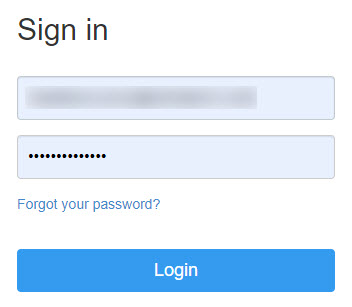 |
| In TAP, go to Administration → Users → New User |  |
| Create a generic user account (this will correspond to your Adobe user later). |  |
Set Up a Matching User in Adobe
| Instructions | Screenshot for Reference |
|---|---|
| Log in to Adobe and go to Account → Users | 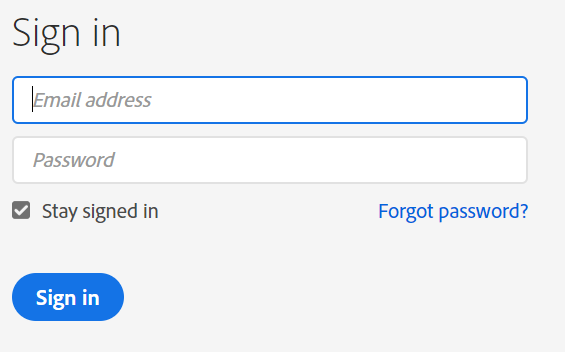 |
| Go to Account → Users |  |
| Create a user with the same email address chosen in TAP. | 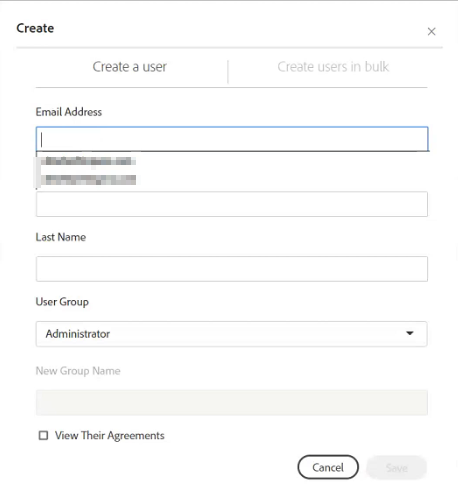 |
| Once created, you need to make sure that it has the User group Administrator selected, with the sections next to it selected. | 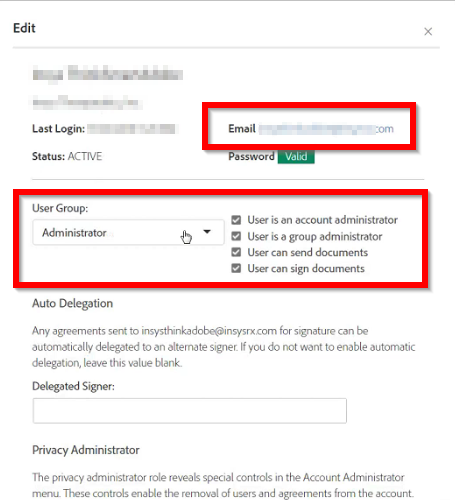 |
Create an Integration Key in Adobe
| Instructions | Screenshot for Reference |
|---|---|
| Navigate to Account → Adobe Sign API → API Applications | 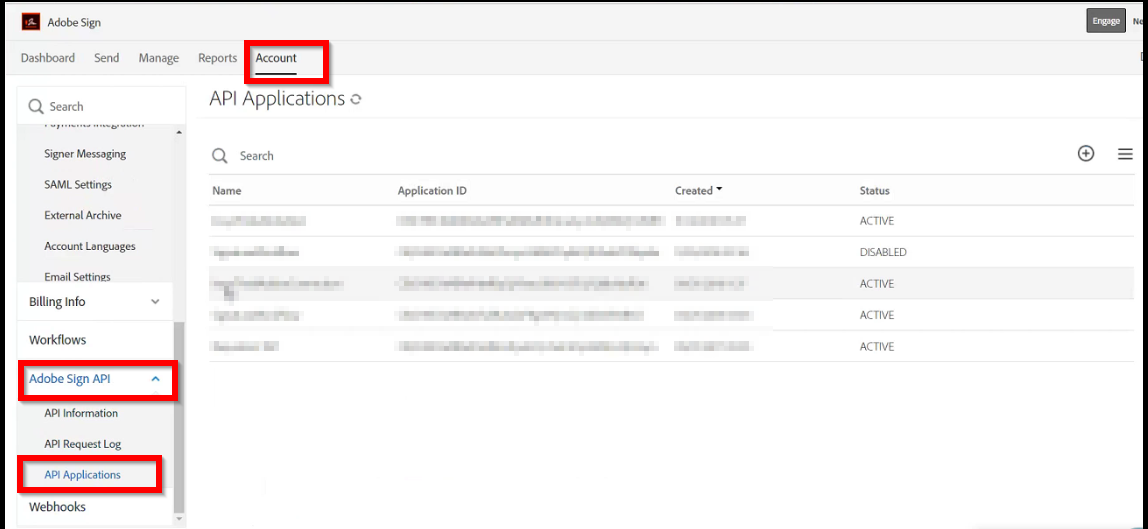 |
| If no Integration Keys have been set up, you’ll see a different page. In that case, click Integration Key to be redirected to the appropriate setup page. | 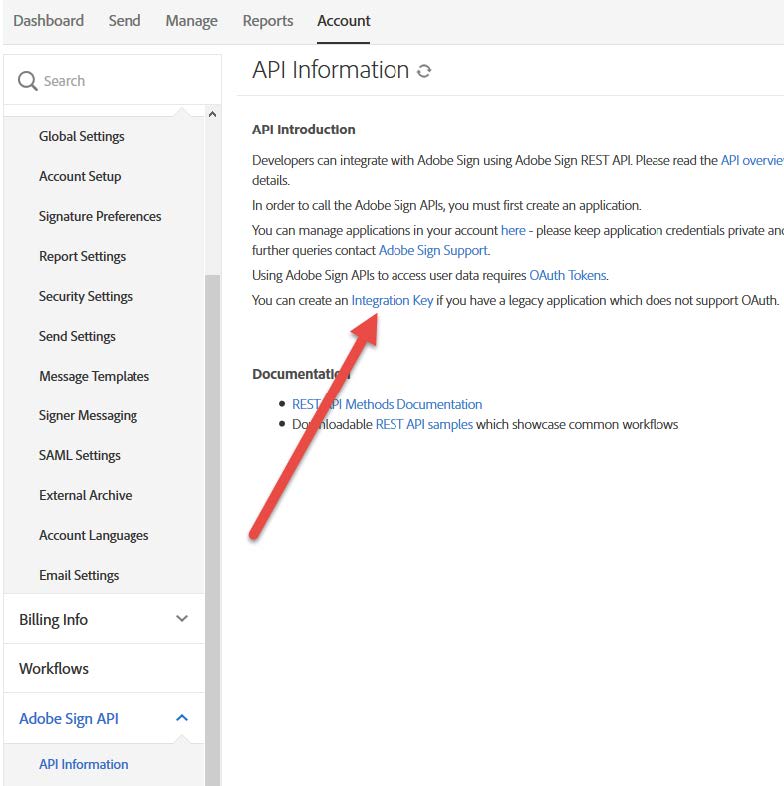 |
| Select the plus (+) icon to create a new application. |  |
| Fill out the required fields. Copy the Application ID and Client Secret, you will need these to connect with TAP later. | 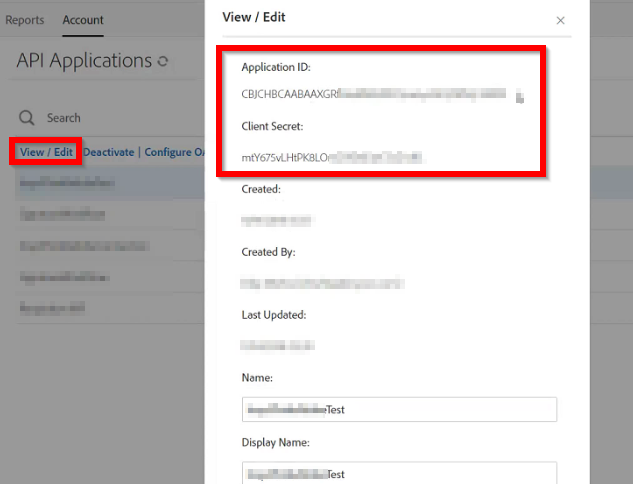 |
Configure OAuth Redirect for the Application
| Instructions | Screenshot for Reference |
|---|---|
| Click the newly created application ID | 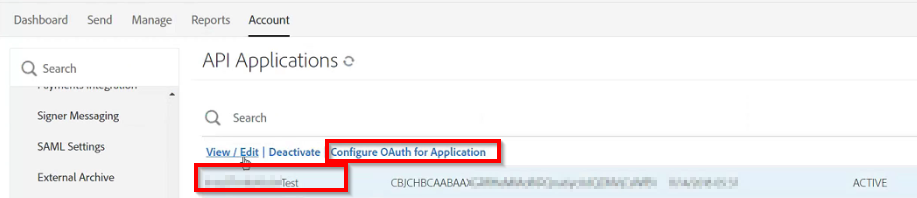 |
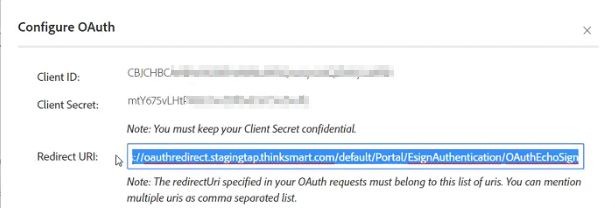
| Select Configure OAuth.
Provide the Redirect URL that TAP will use. In TAP: Administration → eSignature Keys → Adobe Sign Connections → TAP callback URL. The current TAP callback URL to input in is https://oauthredirect.tap.thinksmart.../OAuthEchoSign |
 |
Connect from TAP
| Instructions | Screenshot for Reference |
|---|---|
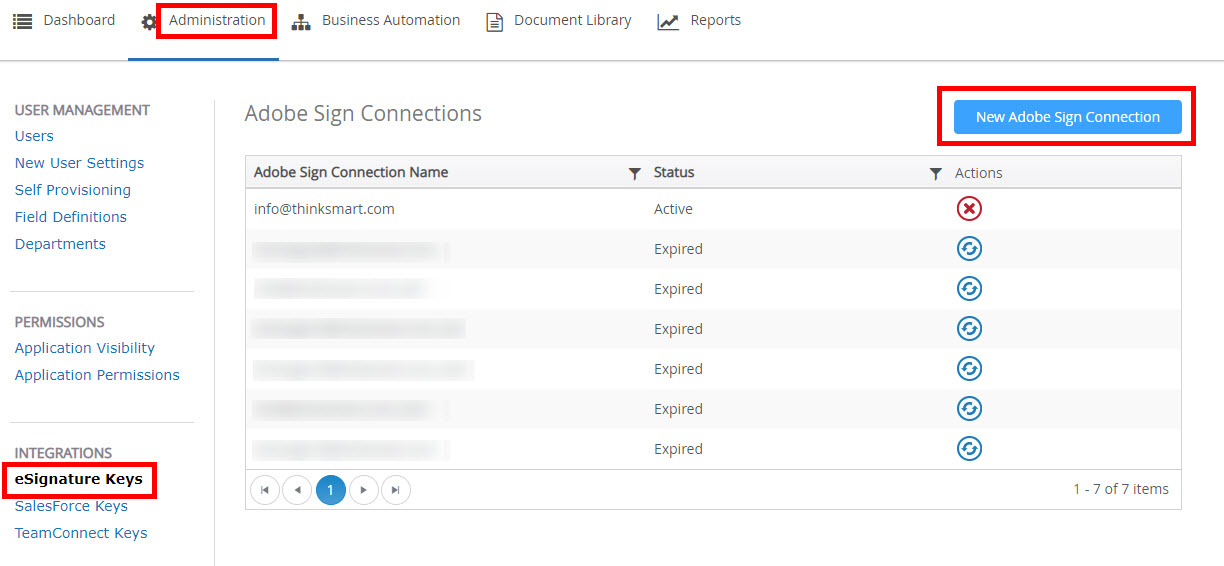
| Go back to TAP: Administration → eSignature Keys → New Adobe Sign Connection |
 |
|
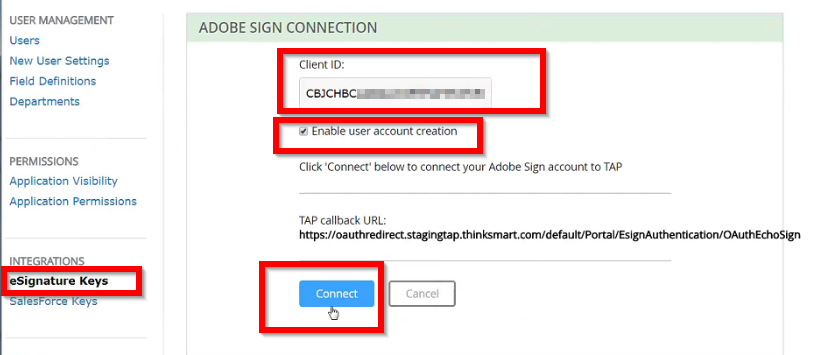
Enter the saved Client ID, paste the Application Secret, and check Enable user account Creation. Click Connect. |
 |
| Respond to the popup confirmation with OK | 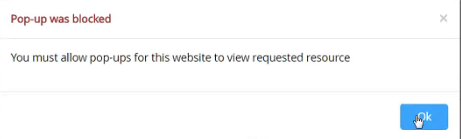 |
Test the Connection
- Create a test workflow (e.g. NDA request) in TAP that requires e-signature
- Submit it to ensure the connection is functioning properly
Support for multiple Adobe Sign integration keys in TAP
TAP lets you connect multiple Adobe Sign integration keys to the same tenant. This is useful when:
- Your organization has distinct Adobe Sign accounts for different business units or regions.
- You operate a master/parent Adobe Sign account that manages one or more child (sub-account) environments.
Because each integration key is tied to the Adobe Sign account that was active in the browser at the moment the key was generated, administrators must log in to the correct Adobe Sign account before creating or refreshing a key.
More information on Adobe eSignature Support can be found here.
Troubleshooting Tips
Problem Description:
If you run into an error 'Invalid Credentials' or 'Invalid Request' or the account does not save and remains on the configuration screen:
Please check the client AdobeSign server instance. If it is in na1 or na2 or na3, then update the Provisional porting setting 'ESDefaultEndpointBaseUrl' accordingly.
Ex : https://secure.na2.echosign.com or https://secure.na3.echosign.com
Solution:
After ESCallBackServiceURL is updated in Provisional Portal, e-signature key has to be reactivated for the new URL to be reflected.
Problem Description:
If you run into an error "This oauthredirect.stagingtap.thinksmart.com page can't be found":
Solutions:
Please try accessing the link clientname.stagingtap.thinksmart.com to complete the Adobe setup.