

Create Rate Request Manually
When you create rate requests manually, you enter information about each request into Collaborati.
To create a timekeeper rate request
- Click the Timekeepers tab from the Collaborati home page.
- Click the Rate Requests subtab.
- Select Create Timekeeper Rate Request.

Create a Timekeeper Rate Request
- Choose the correct Office . Select the client to which this request will be sent from the drop-down list, then type information into the data fields as applicable.
If you do not see a client in the list, contact Mitratech support to enable rate collaboration. - Click Next.
- Using the radio buttons, specify the rate request as a Timekeeper Rate or a Office Rate.
- Timekeeper Rate—If you select this field, you can only select timekeepers from the Timekeeper field that the associated client authorizes.
For the Type field, select Timekeeper rate to specify a rate for the timekeeper or select Invoice task rate to specify the rate for a Task Code.
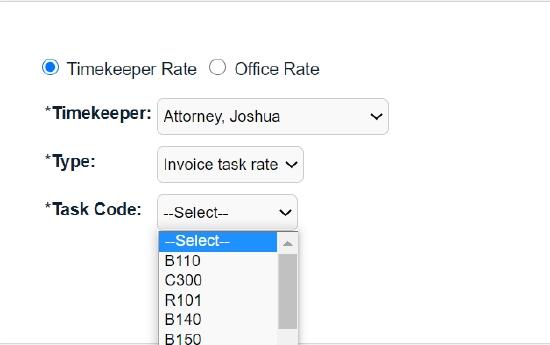
Setting Invoice Task Rates
- Office Rate—If you select this field, you can specify the rate for a office based on a task or the classification of the timekeeper.
Depending on the type of rate the client specifies, select a classification type from the Timekeeper Classification field, or select a task from the Task Code field.
- Enter an hourly rate in the Rate field.
- Enter a Start Date and End Date for the period of time the rate will be valid.
- Click Add Item. The line item is added to the rate request, and additional line items may be added by repeating steps 6-8.
- To delete a rate request, select the checkbox to the far left of the line item, then click Delete Checked Items.
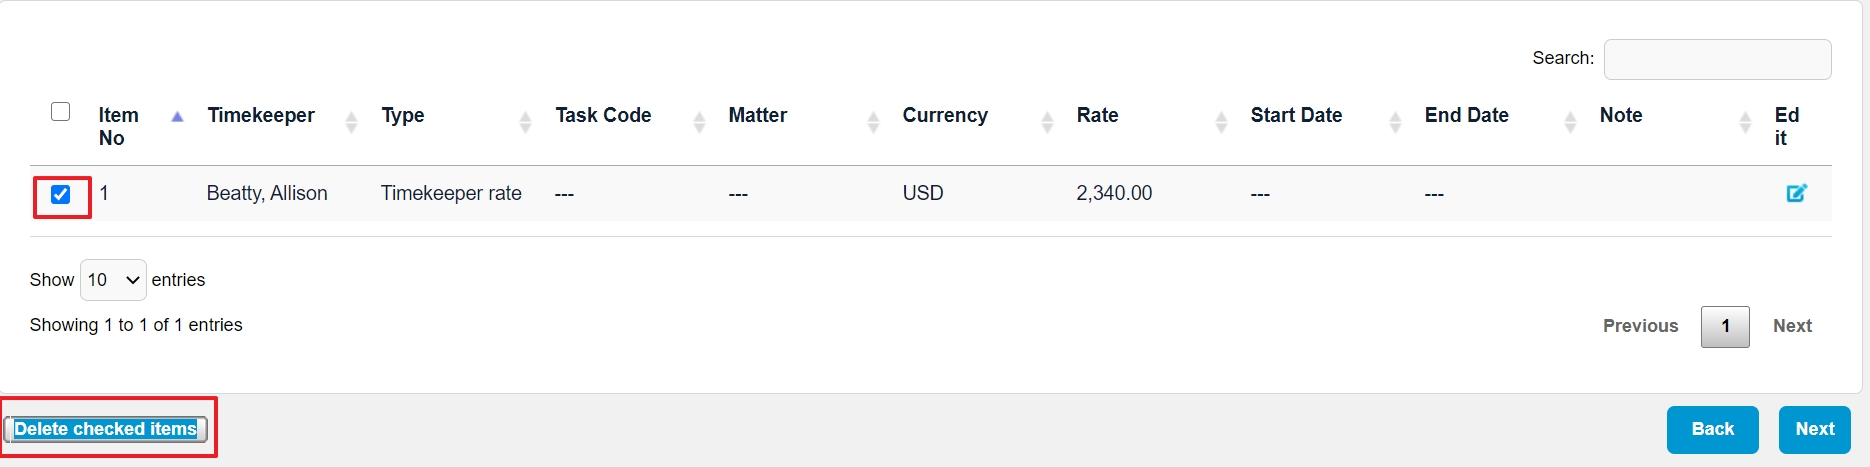
Delete Line Item
- To edit a rate request line item, select the
 icon to the far right of the line item. The line item information opens in the data panel above, where you can change any of the data that was initially entered.
- When all line items have been added, click Next. Refer to the Rate Request Fields table for more information about the fields.
- Review your information. If you are ready to submit the rate request to the client, click Submit at the top right. If you wish to save the rate request for later submissions, click Done.
Note: If you cannot save a rate request, you might have conflicting rates. Make sure the same combination of rate type, timekeeper, task code, and/or classification does not have an overlapping time period.
For information about how to submit rate requests, see How do I submit rate requests?