How to complete Remote Section 1 and 2 Via Mobile
Goal
This guide outlines how to complete section 1 & 2 and its remote workflow via Mobile by following the steps below.
Note: Tracker supports five remote workflows. This guide demonstrates one workflow, Employer Appoint, as an example using the mobile application.
Procedure
Follow the steps below to complete the remote Form I-9 process:
Create I-9 Workflow
If Provide Now is selected, enter:
|
    |
|
Email Confirmation for Section 1
|
  |
The following steps outline how the employee completes Section 1 and the authorized employer representative completes Section 2.
Employee - Complete Section 1
|
|
Provide an Electronic Signature
|
|
Section 1 Completed
|
 |
Form I-9 Section 1 Complete - Next StepsThe Next Steps page provides instructions for presenting original documents to the Authorized Employer Representative. |
|
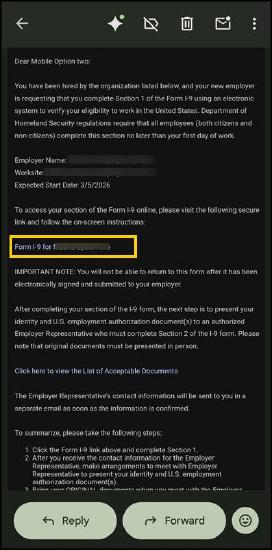
Complete Section 2Email Notification After section 1 is signed and submitted, The Employer or the Authorized Employer Representative will receive an email requesting completion of Section 2 to verify the employee's eligibility and have the option to Accept or Decline the request.
|
|
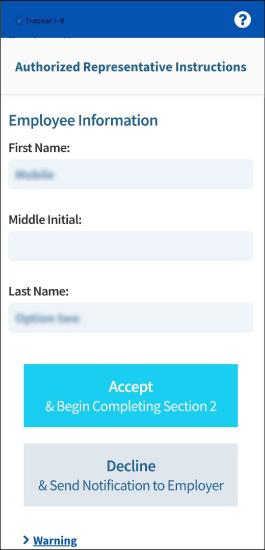
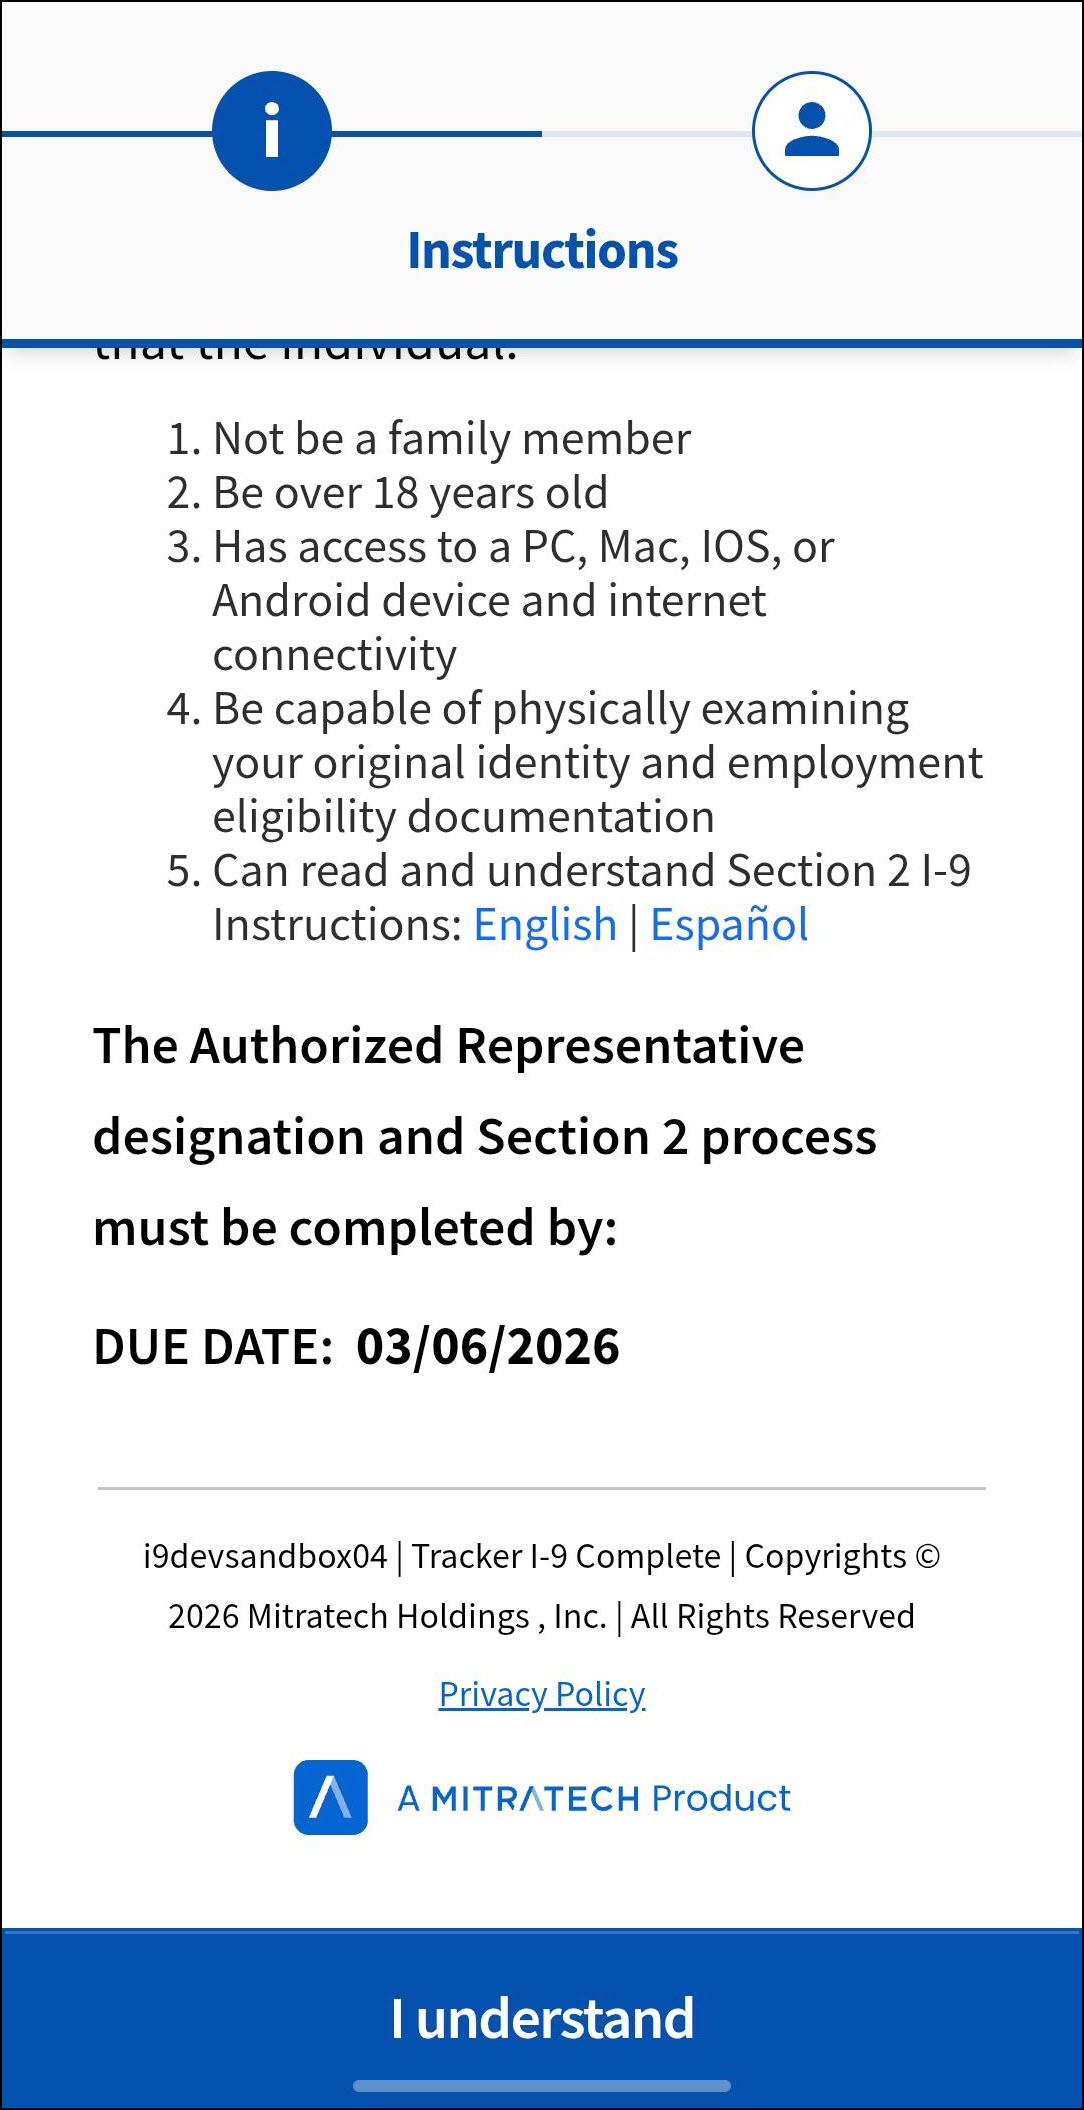
Authorized Representative InstructionsThe Authorized Employer Representative will receive instructions to agree to act as the Authorized Employer Representative of the Employer and will be prompted to fill out basic information about the employer and the employee and to accept to begin completing section 2. Selects Accept & Begin Completing Section 2 or Decline & Send Notification to Employer. |
|
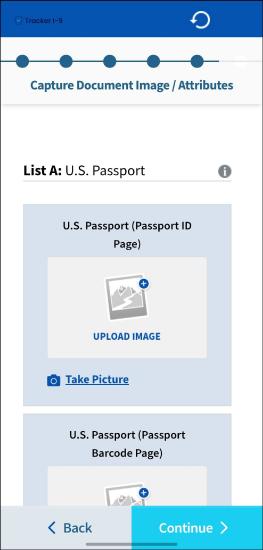
Section 2 InstructionsAfter accepting the request, the Authorized Employer Representative reviews the verification notification and selects the employment verification documents. Click I Understand to continue. |
|
Review Section 1 Employee Information
Employment Verification Documents
|
|
Employer Electronic VerificationAfter completing the document information, the Authorized Employer Representative completes the employer electronic verification for Section 2. This step acknowledges that federal law provides penalties for false statements or the use of false documents when completing Form I-9. |
  |
Confirm Section 2 SignatureA confirmation message appears. Review the information carefully.
After the signature is completed, the Form I-9 process is finished.
|
  |


Employee - Authorized Representative Designation
After completing Section 1 under the Employee Appoint remote workflow, the Employee is presented with the Authorized Representative Designation page. Review the instructions and select I Understand to continue.


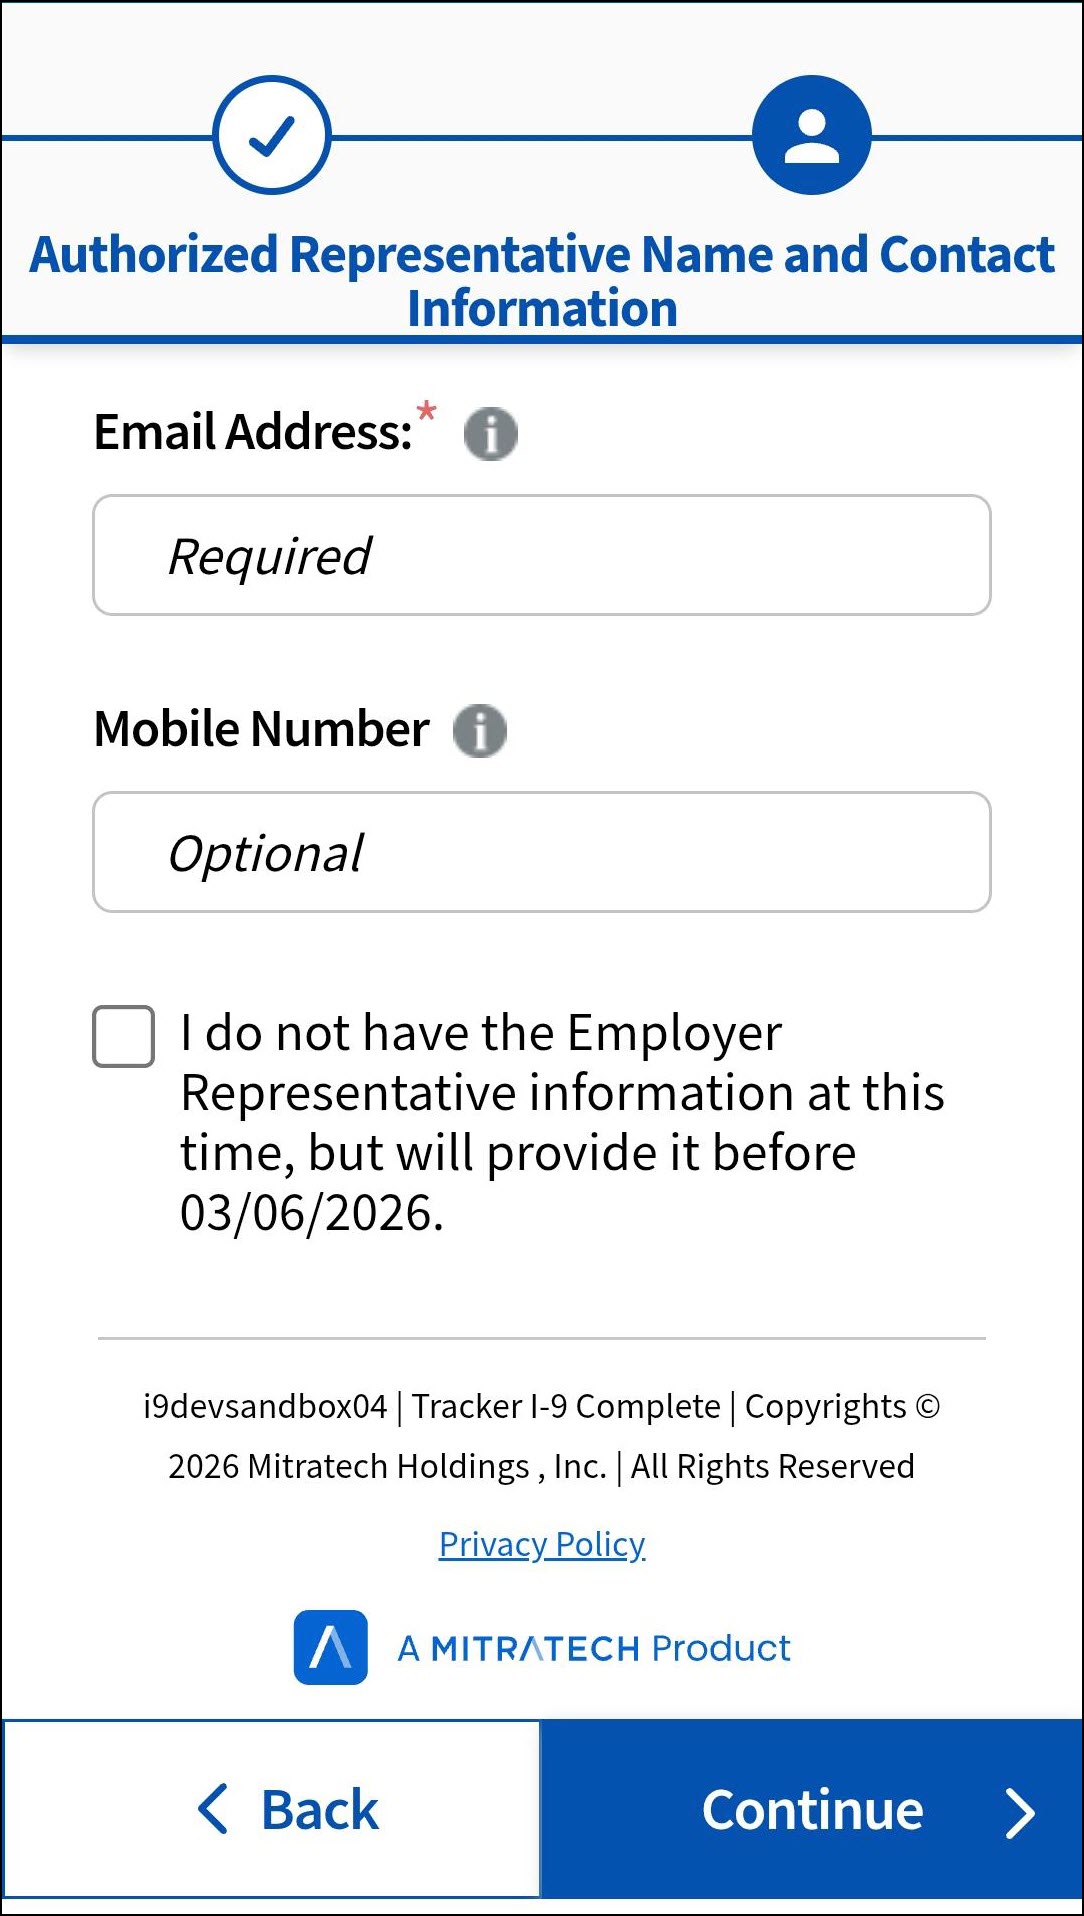
The Employee enters the following Authorized Representative contact information:
- First Name
- Last Name
- Preferred Communication
- Email Address
- Mobile Number(optional).
Select the checkbox if employer details are not available at this time and will be provided within three business days.
Enter the required information and select Continue to submit.