
How do I find records with Power Search?
What is a Power Search?
Power Search, is a feature that allows users to view groups of records defined by a set of filters. You may also create and save custom power searches. Custom searches can be performed by clicking the Power Search link or icon from most main screens in the system including Matters, Invoices, Contacts, and Documents. These searches may also be exported and used as a report listing.
Custom Search is a type of Power Search however power search is different from Global Search - Power searches search within the object you access it from (for example, if using Power Search within the Matters object then the search will only return results that are within the Matters object), while Global Search has the power to perform cross-object searches.
With Power Search, users can define their own search criteria, and searches can be saved and bookmarked for later use. When using Power Search, users will only see the information in TeamConnect Essentials their security access permits them to see.
Perform a Custom Power Search
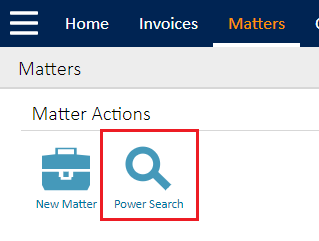
Begin by logging in and navigating to the Matters, Invoices, Contacts, or Documents screen and clicking Power Search.
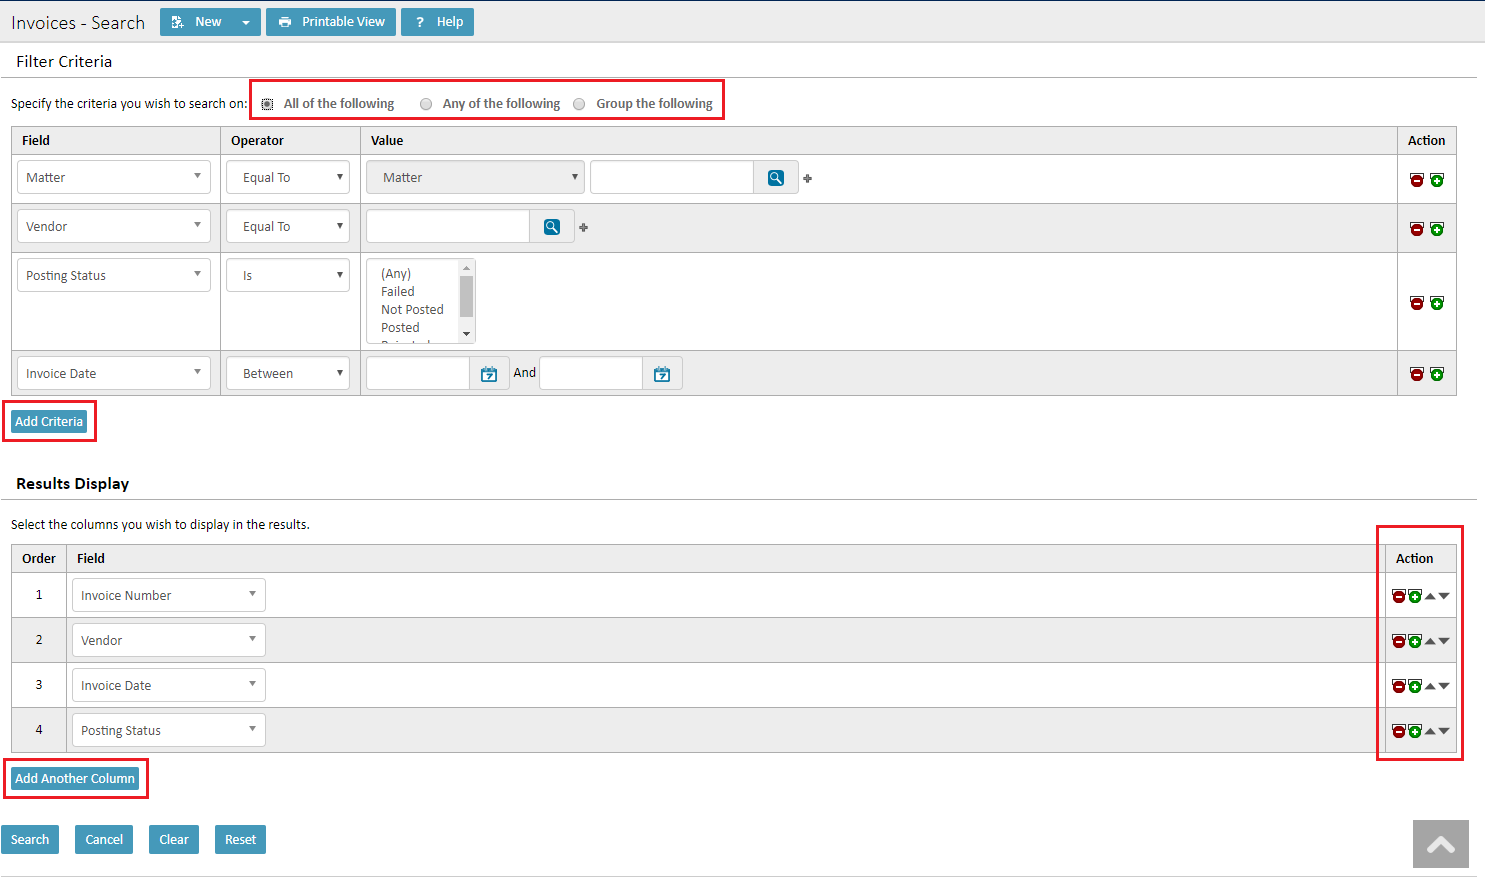
- Use the drop-down menus and typing fields to narrow down the search criteria.
- Add, remove, or rearrange criteria using the action buttons on the right side of the fields.
- Add additional fields by clicking the Add Criteria button.
- Select the desired criteria and click Search.
See descriptions of all buttons and fields below.
Radio Buttons
Outlined at the top of the image, there are three options for filtering your search criteria.
- When you select radio button All of the following, every criterion that you specify must be satisfied for a record to appear in the search results. In this case, adding more criteria makes your result set narrower (smaller).
- When you select Any of the following, a record needs to satisfy only one of the criteria to appear in search results. In this case, adding more criteria potentially makes your result set larger, increasing the time it takes to return the results.
- The Group the following radio button combines the functions of the two previous radio buttons. When you select Group the following, a new Group column appears in the table. Search fields with the same Group values will only produce results if all the group's criteria are met, similar to selecting the All of the following radio button. Qualifying search results from each separate group (designated by matching numerical values) will all appear in the search results, similar to the Any of the following radio button.
Columns
The Filter Criteria columns are used to create search parameters.
- Field—Select the name of the field that you want to search. This drop-down list contains all of the field names associated with this record type.
- Operator—Select the option that describes the criteria that you want to use to further narrow your results, such as Contains or Has Value. See Operators for more information.
- Value—Enter the specific value that you want to use to return specific results, based on the Field and Operator that you selected, if available. For example, if you want to find all of the users with the last name Smith, in the Field list, select Contact Name, in the Operator list, select Contains, and in the Value field, enter Smith
- Action—Add or remove fields using the + or - buttons in this column. Arrange the Results Display by clicking the arrows to move fields up or down.
Save Searches
Save searches for later use by performing a search then clicking the Save Search button located above the results.

The saved search will appear under the Custom Search menu option.

Export Search Results
Exporting search results can act as an ad hoc report for things like seeing how many matters are assigned to you or if any invoices need your attention.
- Click Export Results, and then select one of the following options:
- Export as Excel
- Export as PDF
When you export search results that have fields with multiple values, the Excel spreadsheet or .pdf file displays all values, not just the first 10.

- When the File Download window opens, select one of the following options:
- Save— Saves the file to the selected location without opening it.
- Open— Immediately opens the file in the appropriate application.
If you select this option, you must save this file if you want to access it later.
If you are exporting localized text for Chinese, Japanese, or Korean, you must have the appropriate font packs installed for Adobe Reader. If you do not have the font packs, when you try to open the .pdf, a message appears prompting you to go to the Adobe site and download them. Once you download and install the appropriate font packs, you can view the .pdf in your preferred language.