How do I create contact cards for Timekeepers that were sent to TeamConnect via Collaborati?
This page provides instructions how to automatically have TeamConnect Essentials create new contact cards for Timekeepers synced over from Collaborati.
Adding Vendors and Timekeepers to TeamConnect Essentials
Firms and Vendors sync the firm information and timekeeper information to TeamConnect Essentials via Collaborati.
They have the ability to add and sync multiple Timekeepers, and TeamConnect users have the option to automatically create contact cards for each Timekeeper as they are synced. This saves hours of time since the contact cards do not have to be manually created.
Auto-create a contact card for new vendors synced from Collaborati
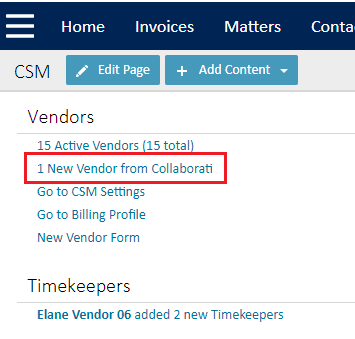
- Go to CSM and click the New Vendor from Collaborati link.
- IMPORTANT Click the check box next to the vendor(s) that need to be mapped to a contact card.
Vendor information will not be synced and saved if the checkboxes are left blank.
- In this screen there are 2 options to create a new contact card:
Leave the Auto-create contact record... checkbox checked to automatically create and map a contact card to the newly synced vendor. All of the vendor information entered into Collaborati will transfer to a contact card.
or
Click the magnifying glass in the Contact column to manually search for or create a new contact card.
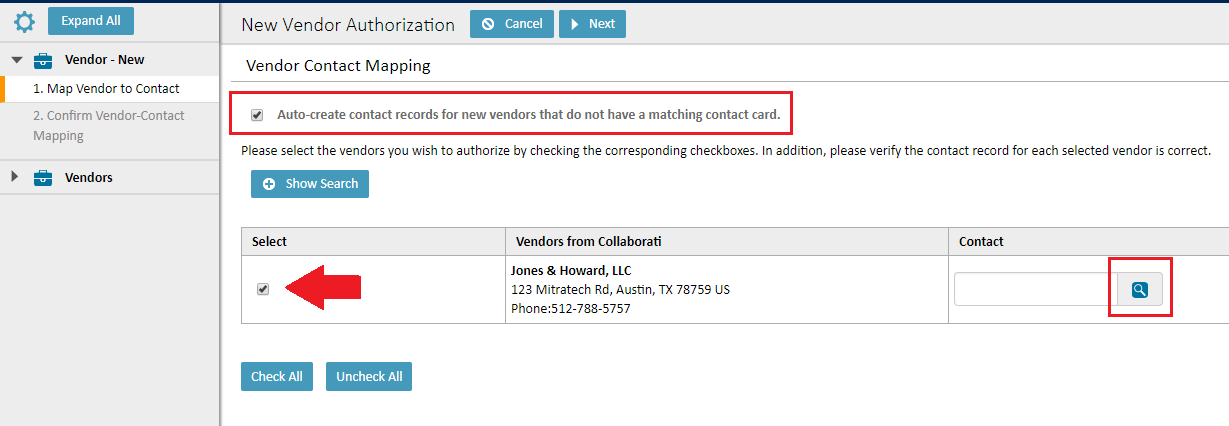
The rest of these instructions assume the Auto-create contact record... checkbox was left checked.
- Click Next.
- Confirm the information is all correct, then click Finish.
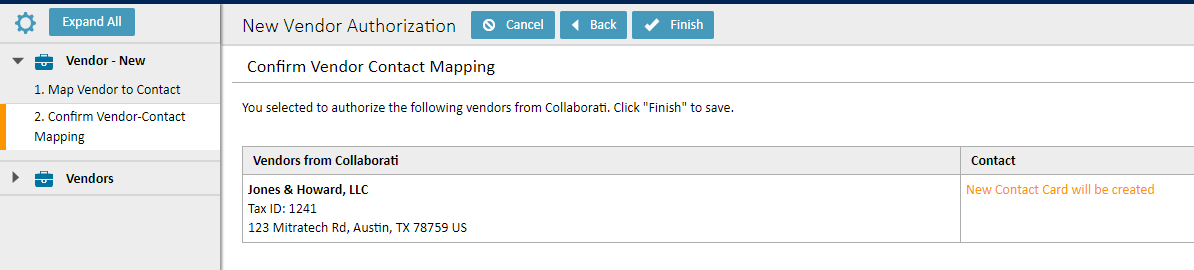
Note: Changes will not be saved if you forget to click Finish.
You will be redirected back to the main CSM page after the vendor was successfully saved. Now your vendors can begin submitting Timekeepers for approval.
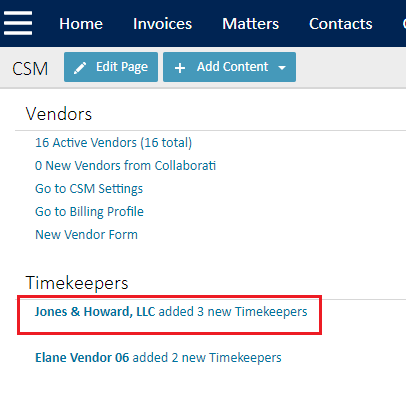
Auto-create contact cards for Timekeepers synced from Collaborati
Note: Vendors must be completely set up and synced with TeamConnect before they can submit Timekeepers.
- Go to the CSM page and click the respective Timekeeper link to begin mapping the TKs to contact cards.
- Similar to the process of mapping new vendors to contact cards, mapping new Timekeepers can be done by one fo the following options:
- Selecting the Auto-create contact records... checkbox and allowing TeamConnect Essentials to use the information synced from Collaborati
- Searching for existing contact cards by clicking the magnifying glass icon.
- Manually creating a new contact card (which is also done by clicking on the magnifying glass icon).
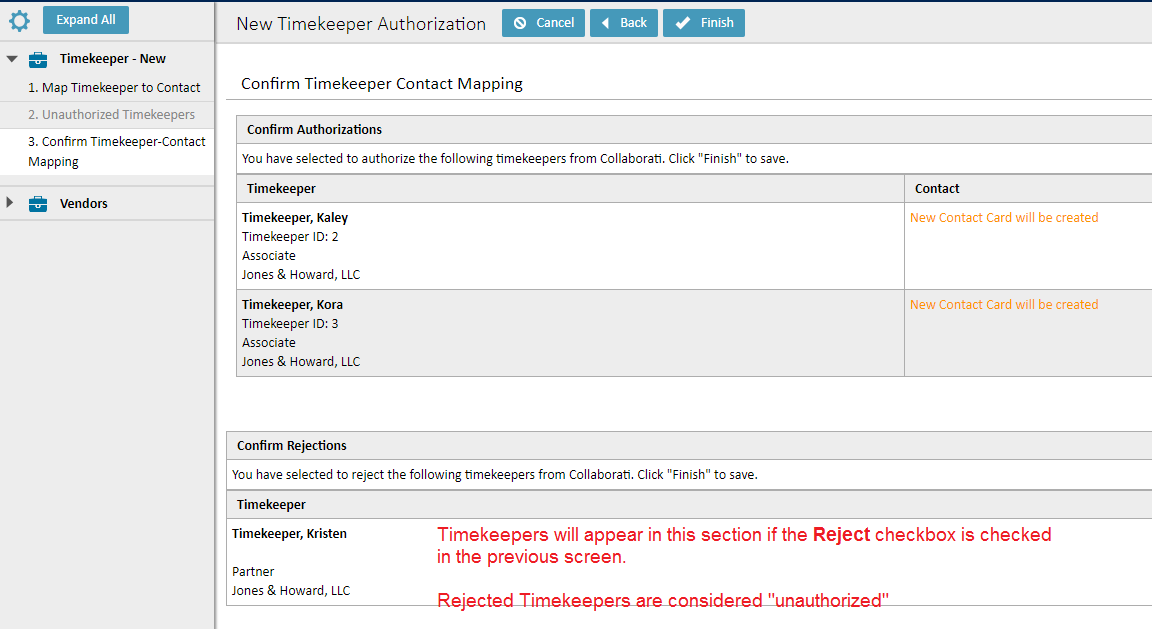
Check the View previously unauthorized Timekeepers on the next step check box if you have previously rejected Timekeepers on this screen. Previously rejected Timekeepers will appear on the screen
- Click Next.
- Confirm all of the Timekeeper information on the next page, then click Finish.
Note: Your information will not be saved if you don't click Finish.