
Firm and Vendor Management
Note: Scroll to the bottom of this page for additional help articles related to CSM.
Manage Firms and Vendors via the CSM tab
Clients using TeamConnect Essentials can manage Firm and Vendor information, as well as eBilling actions, thorough the CSM tab in the application. CSM is the portal that connects TeamConnect with the eBilling application, Collaborati.

Collaborati is a web-based portal that firms and vendors use to upload and send invoices and timekeepers.
Important Note: Mitratech must create the vendor account, then the vendor must go through an account setup process before both parties can successfully share information between Collaborati and TeamConnect.
The vendor on-boarding process is explained in detail below.
Vendor On-boarding Overview
Only Mitratech Support staff can add a new vendor to the online billing portal, Collaborati. After our Support team adds your firm or vendor to Collaborati, you must work with the firm/vendor to ensure they complete this process.
Please be patient and keep constant, open communication with your firms or vendors during this process. This entire process usually takes several days and is executed much smoother if your firms and vendors know what the expectations are.
The image below details an overview of the on-boarding and setup process.

How do I start the on-boarding process?
To begin on-boarding a new vendor, fill out the Vendor Onboarding Form found in your CSM tab within TeamConnect Essentials. The process will require you to submit the following information:
- The name of your company
- The first name, last name, and email address of the billing contact at the firm/vendor.
Once the form is complete the firm/vendor will be notified to provide additional information.
Video Reference: Profile Setup
This video begins at Step 5 in the flowchart above. Before you can get to this point, send your vendor information to our support staff and Mitratech Support staff must obtain the firm or vendor information to set them up in the eBilling portal, Collaborati.
Syncing to Collaborati Overview
Information is passed between Collaborati and TeamConnect Essentials automatically every 30 minutes. The information can also be passed out of the normal schedule by manually activating a sync through the CSM Settings page.
Note: You must be an eBilling Admin to access and view this page and its content.
Adding Vendors and Timekeepers to TeamConnect Essentials
Firms and Vendors sync the firm information and timekeeper information to TeamConnect Essentials via Collaborati.
They have the ability to add and sync multiple Timekeepers, and TeamConnect users have the option to automatically create contact cards for each Timekeeper as they are synced. This saves hours of time since the contact cards do not have to be manually created.
Auto-create a contact card for new vendors synced from Collaborati
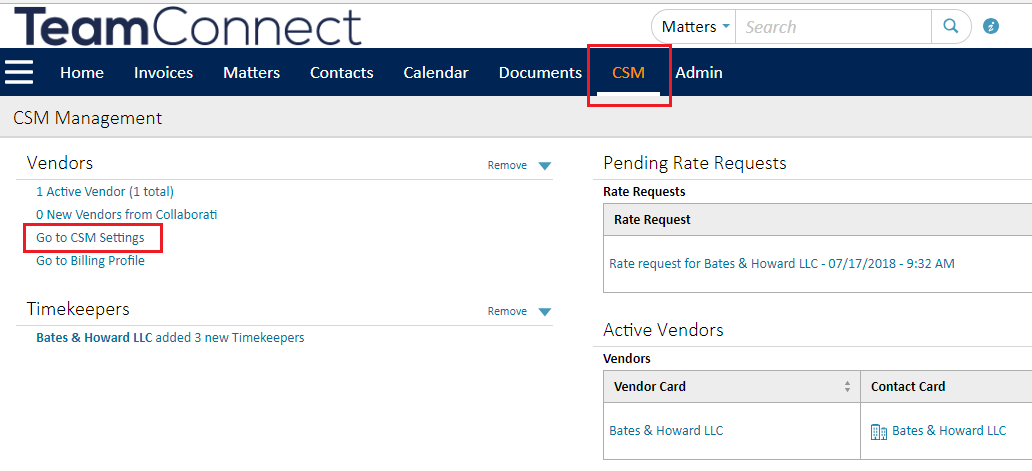
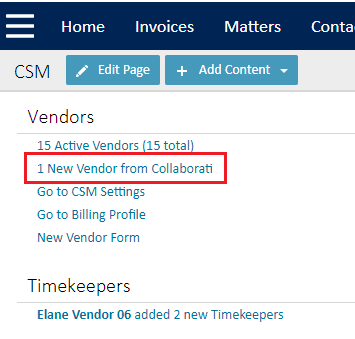
- Go to CSM and click the New Vendor from Collaborati link.
- IMPORTANT Click the check box next to the vendor(s) that need to be mapped to a contact card.
Vendor information will not be synced and saved if the checkboxes are left blank.
- In this screen there are 2 options to create a new contact card:
Leave the Auto-create contact record... checkbox checked to automatically create and map a contact card to the newly synced vendor. All of the vendor information entered into Collaborati will transfer to a contact card.
or
Click the magnifying glass in the Contact column to manually search for or create a new contact card.
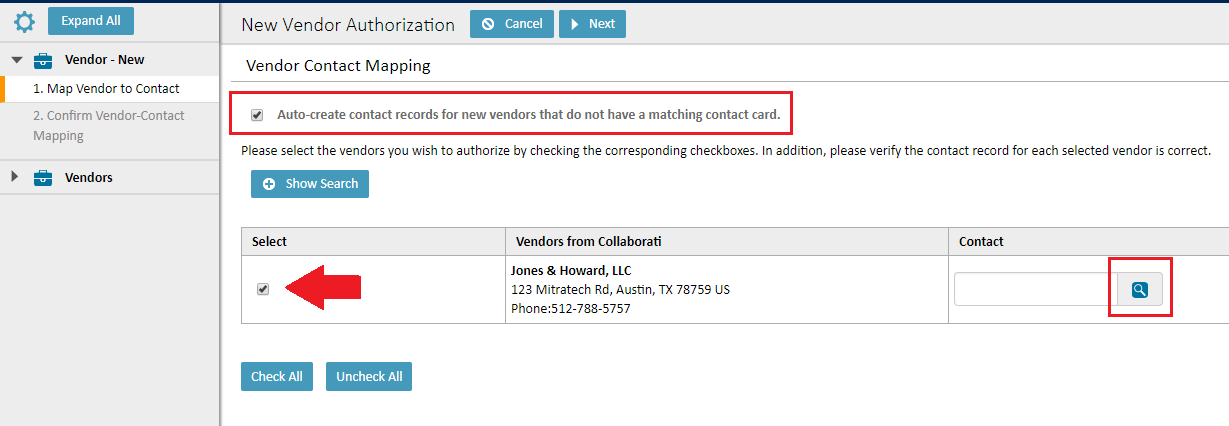
The rest of these instructions assume the Auto-create contact record... checkbox was left checked.
- Click Next.
- Confirm the information is all correct, then click Finish.
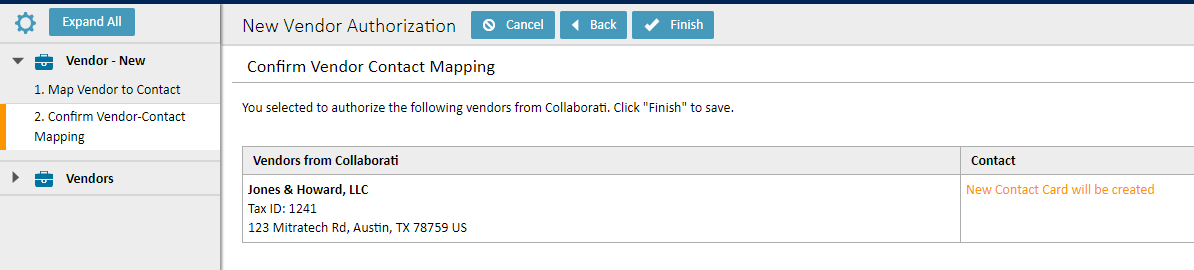
Note: Changes will not be saved if you forget to click Finish.
You will be redirected back to the main CSM page after the vendor was successfully saved. Now your vendors can begin submitting Timekeepers for approval.
Auto-create contact cards for Timekeepers synced from Collaborati
Note: Vendors must be completely set up and synced with TeamConnect before they can submit Timekeepers.
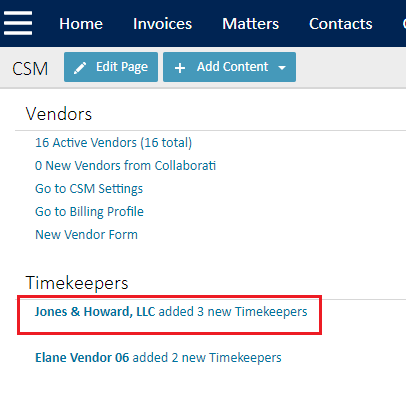
- Go to the CSM page and click the respective Timekeeper link to begin mapping the TKs to contact cards.
- Similar to the process of mapping new vendors to contact cards, mapping new Timekeepers can be done by one fo the following options:
- Selecting the Auto-create contact records... checkbox and allowing TeamConnect Essentials to use the information synced from Collaborati
- Searching for existing contact cards by clicking the magnifying glass icon.
- Manually creating a new contact card (which is also done by clicking on the magnifying glass icon).
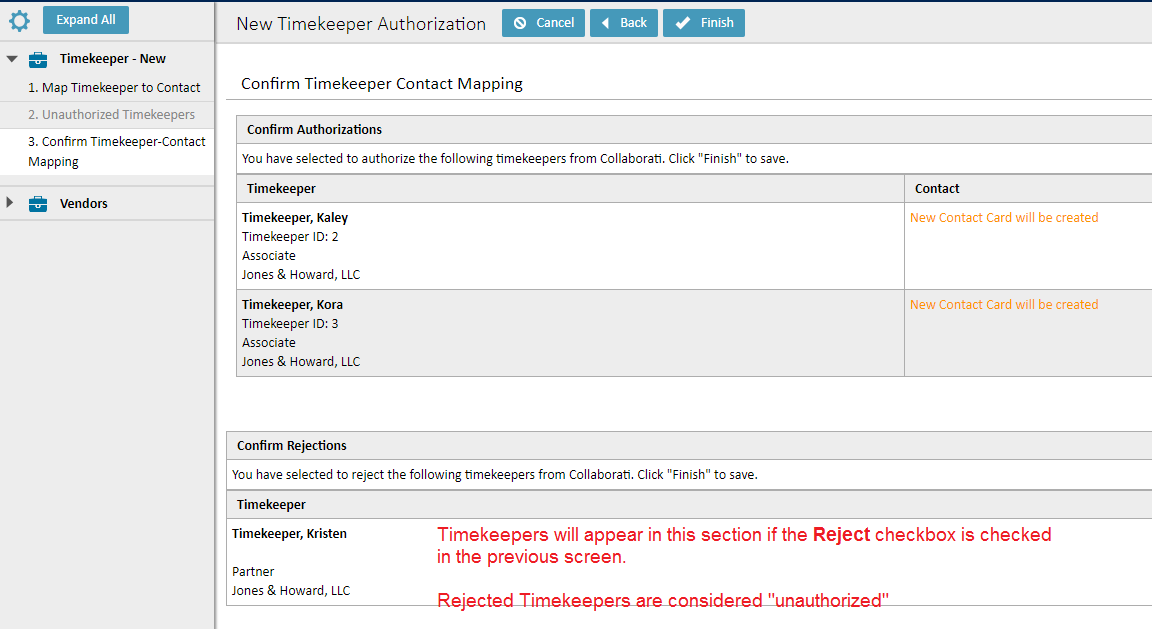
Check the View previously unauthorized Timekeepers on the next step check box if you have previously rejected Timekeepers on this screen. Previously rejected Timekeepers will appear on the screen
- Click Next.
- Confirm all of the Timekeeper information on the next page, then click Finish.
Note: Your information will not be saved if you don't click Finish.
Manually Assign Rates to Timekeepers
A Timekeeper (TK) rate is a standard rate that a person charges per hour for their legal services or for certain matters (projects). Assigning rates to a TK saves time, and assists with reporting. Additionally, TK rates can be assigned for special projects or matters that have special circumstances. For example, a company's legal services might cost $185/hr, but a TK might have a special deal for a project and will only charge $177/hr for the duration of that project.
Best practice is for your firms and vendors will submit Timekeeper rates via Collaborati - click here for more information. However you can manually enter rates for a TK directly from TeamConnect Essentials. The instructions below outline that process.
Prerequisites and Notes:
- Rates are required for Timekeepers in TeamConnect Essentials
- Timekeeper must be sent over from Collaborati and approved before rates can be added
- This includes creating or mapping a contact card to a new Timekeeper
- Important: Rates entered in this screen will be billed as hourly, regardless if you enter a matter (project) or leave it blank. The same logic applies if rates are synced from Collaborati.
- Log in to TeamConnect Essentials as an eBilling Admin.
- Use the Global Search feature or navigate to the Contacts tab to find and open the Contact Card of the Timekeeper you want to edit.
- Click Rates on the left sidebar menu, then click Edit.

- Select a currency using the Currency dropdown menu.
- Add as many rates for as many matters (projects) as the Timekeeper needs, then click Save & View.