Setting up a New Document Management System (DMS) in TeamConnect
- Last updated
-
-
Save as PDF
This guide explains how to integrate a new SharePoint Online or iManage DMS connection with your TeamConnect instance. You will learn how to enter credentials, configure the connection, and test the integration.
TeamConnect does allow clients to add other document management systems (including proprietary systems). Currently, the only out-of-the-box integrations are Sharepoint Online and iManage 10.
Step-by-Step DMS Setup
| Instructions |
GIF/Screenshot for reference |
|
1. Access the Integration Folder
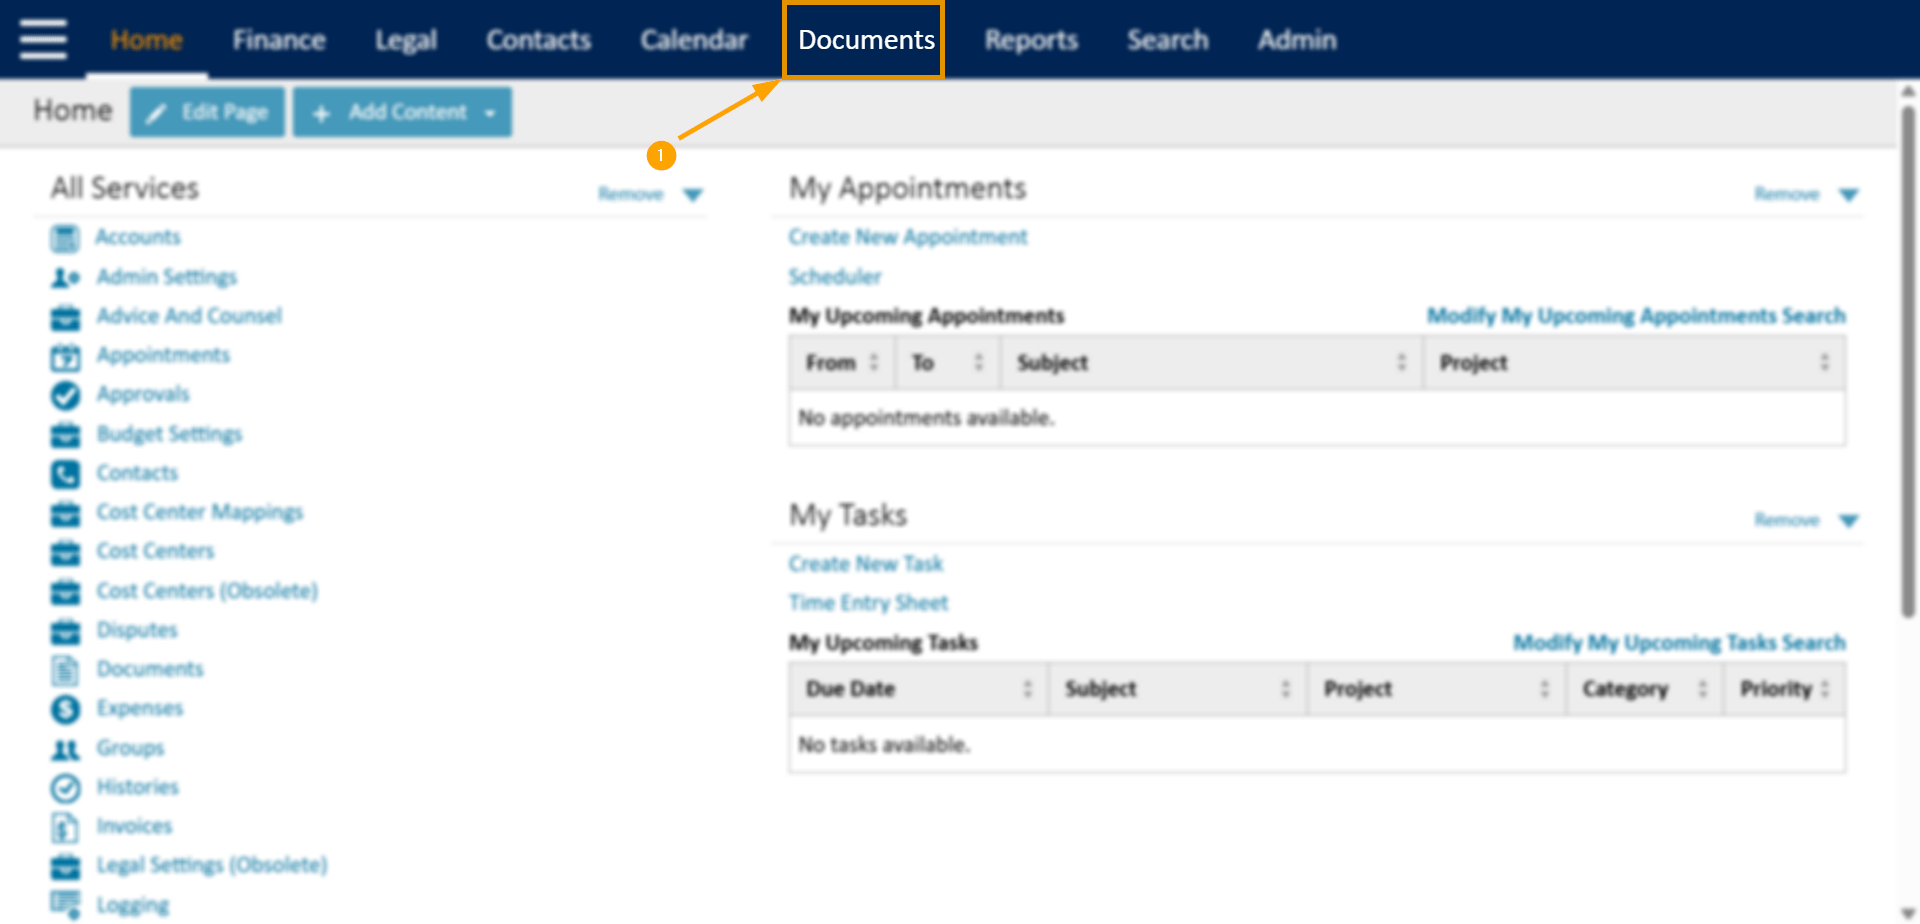
- In TeamConnect, select the Documents tab.
- In the sidebar, select Top Level.
- Under Top Level, select the System folder, then select the Integrations folder.
|
 |
|
2. Create a DMS Connection Folder
- Create a new folder within the Integrations directory.
- Name the folder to reflect the DMS connection (for example, SharePointOnline).
- Folder names must start with an alphanumeric character.
- Do not use spaces or special characters.
- Use a descriptive name; this folder name appears in integration drop-down menus throughout TeamConnect.
|
 |
|
3. Upload Integration Files
- Drag and drop (or insert) the required properties and class files for your DMS integration into the new folder.
- These files are available via Maestro after installation or upgrade.
- For iManage integrations:
- Upload the
httpmime-4.5.3.jar file to the Top Level > System > Libraries directory.
|
|
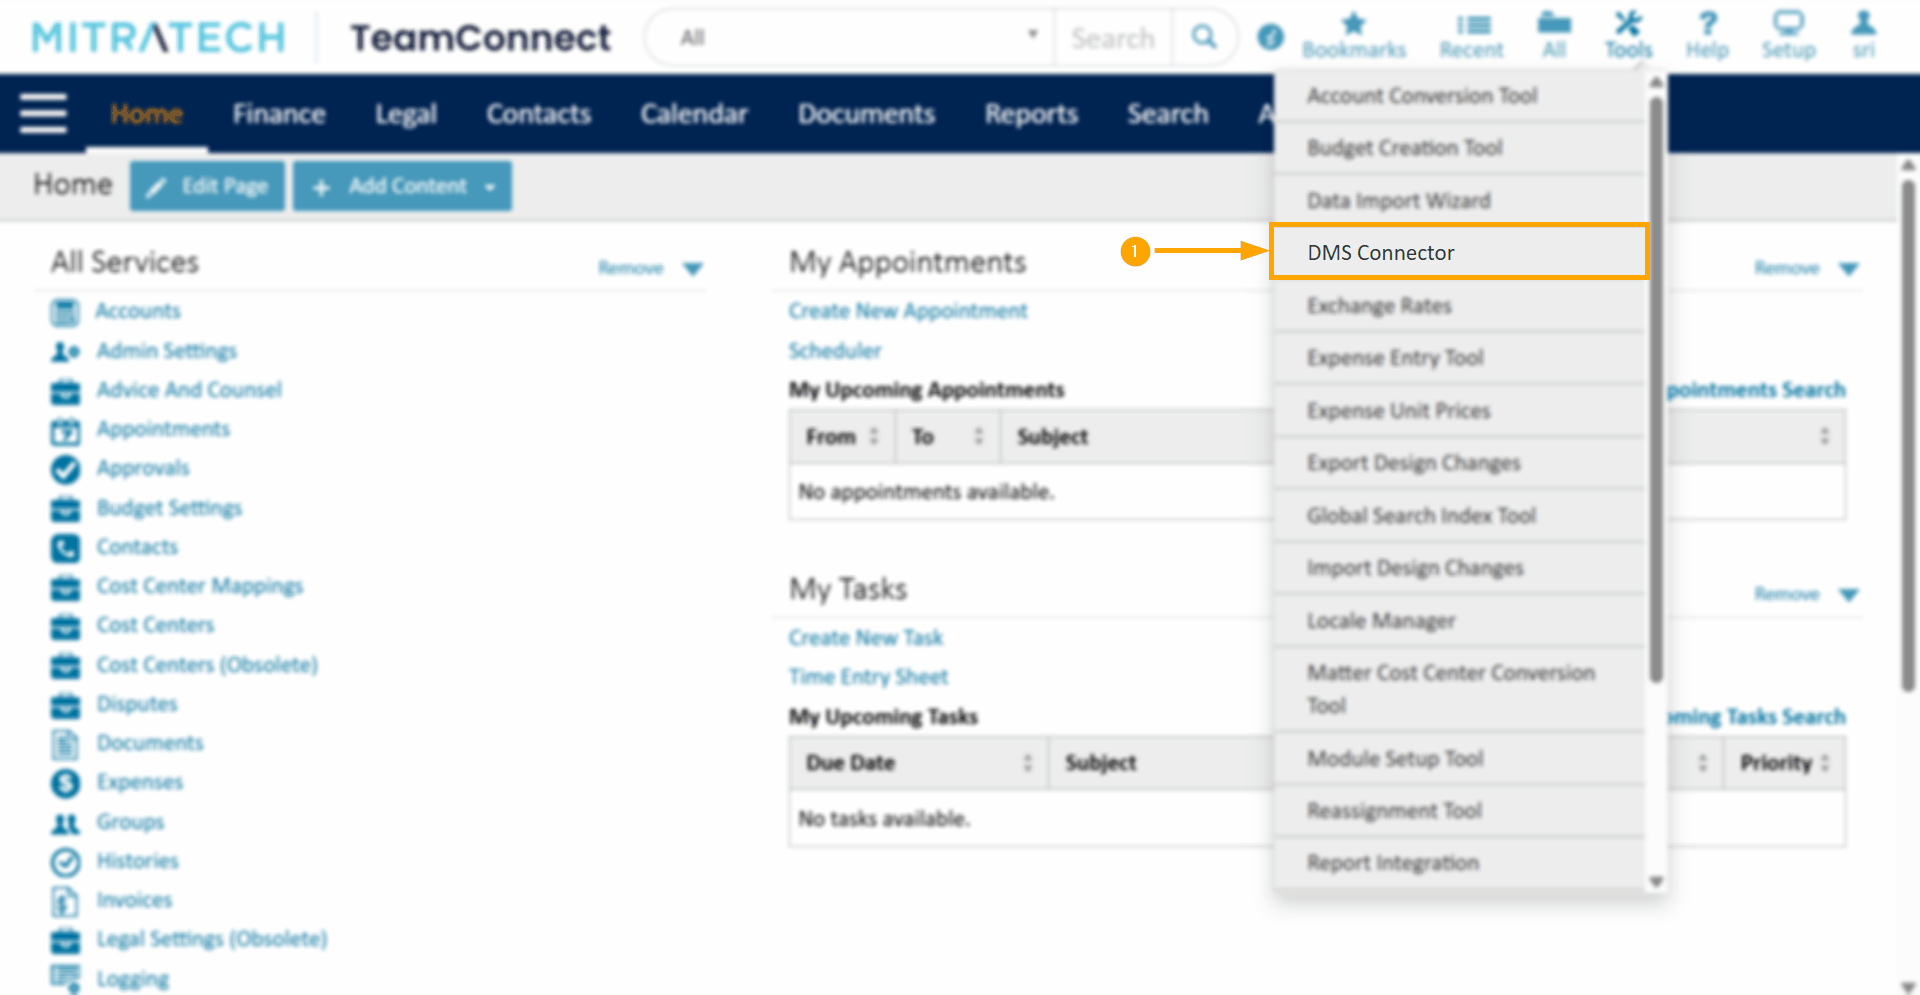
4. Configure the DMS Connector
- Open the DMS Connector tool from the Tools menu.
- Select your newly added DMS from the list.
- Complete the configuration fields. The fields on this page correspond to the information in the properties file uploaded in the previous step.
- URL
- TenantID
- ClientID
- Thumbprint
- Obtain these values from your SharePoint or IT administrator.
- Other fields are populated based on the dedicated library created for TeamConnect documents.
- Select the Default checkbox if you want this DMS to be the default.
- Click Add DMS Integration to finalize the connection.
Note: For more information about the DMS Connector screen, see DMS Connector in the TeamConnect online help.
|
|
Managing and Tracking Documents
-
The TeamConnect DMS Connector tracks documents so users can search for files in both TeamConnect and the connected DMS.
-
You can see which user last modified a document.
-
You can copy and paste documents between DMSes, but you cannot move documents directly between DMSes.
Best Practice: Assign each record to a single DMS. Storing documents from different DMSes under the same record may increase the risk of errors.
