
Appointments Calendar
Appointments are made only for TeamConnect users and can be easily associated with specific projects if necessary. Whenever you create an appointment, it is automatically displayed on the calendar screens of the users who are selected as attendees.
There are several different calendar views that you can use to manage your appointments, such as a 30-day calendar view, or a daily calendar view.
Appointment-specific Pages
Each appointment has the following pages on which you can view and edit information:
- Attendees - Invite or edit the individuals or groups of individuals that you invite to an appointment.
- Resources - Select the additional items that you need for the appointment, such as a conference room or a projector.
Each appointments record also has several other pages on which you can view, enter, and edit additional information that applies to an appointment, such as security rights, or the category for a selected appointment.
The following table shows how you can view, create, and edit appointments.
|
...Appointments |
How... |
|---|---|
|
Viewing |
|
|
Creating |
|
|
Updating |
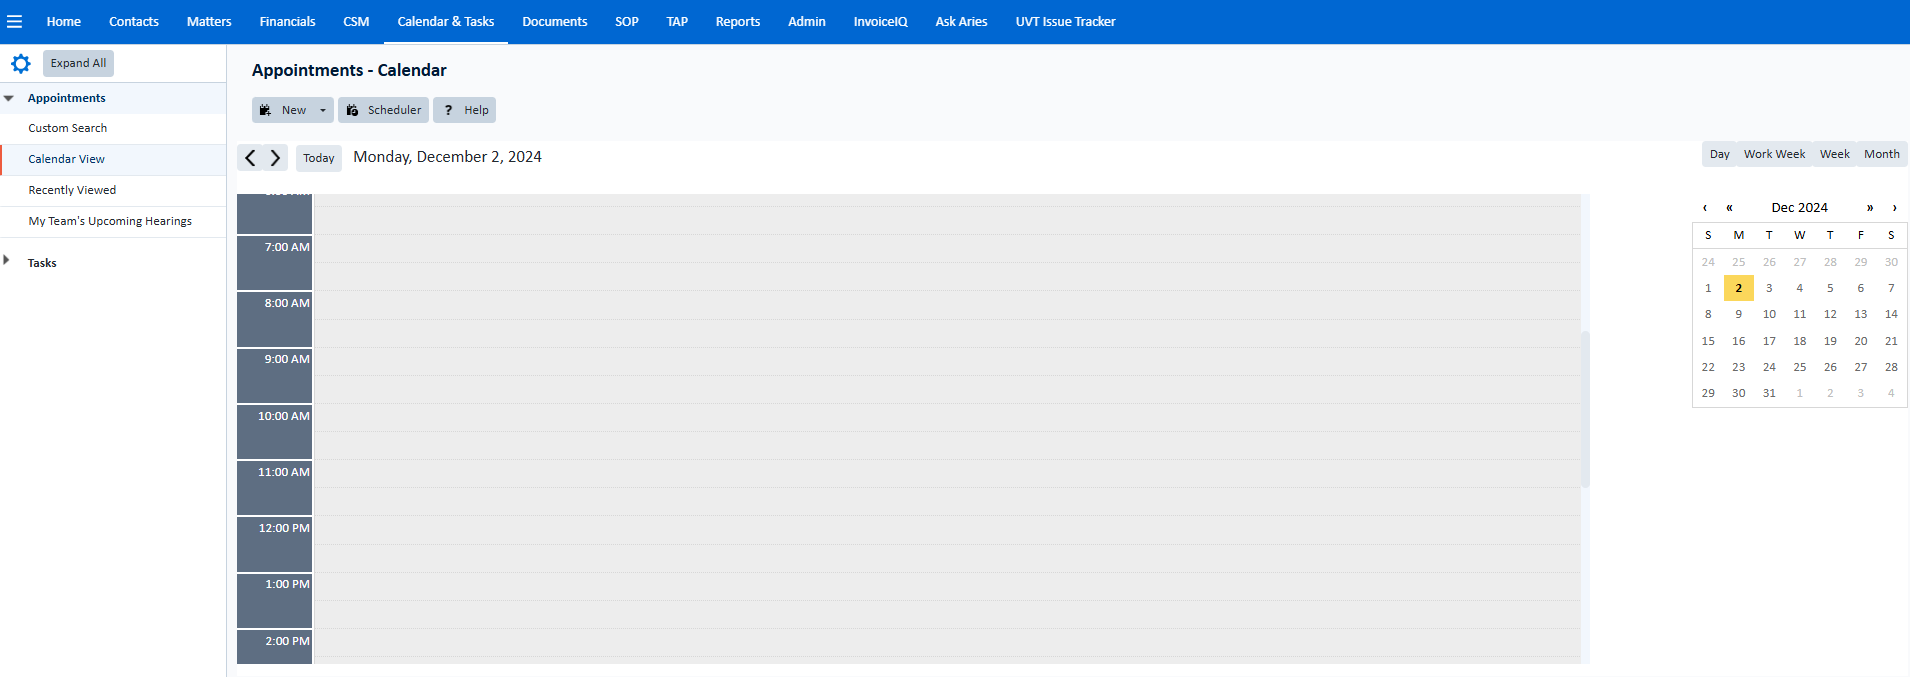
Viewing the Appointments Calendar
Use the appointments calendar to view the appointments that you scheduled, the appointments to
which you are an attendee, and any other appointments that you have the rights to view.
You can also view appointment records in a collection or search for records. See Viewing Collections of Records and Searching for Specific Records.
You can display appointments in several calendar views, such as the day or work week view. In any view, you can create a new appointment or click on an existing appointment to view or edit its details.
To view the appointments calendar
To view the appointments calendar, click the All then Appointments links located on the home screen.

If this is the first time you opened the calendar, it opens in the default Day view. Once you select your preferred view, it becomes the default view.
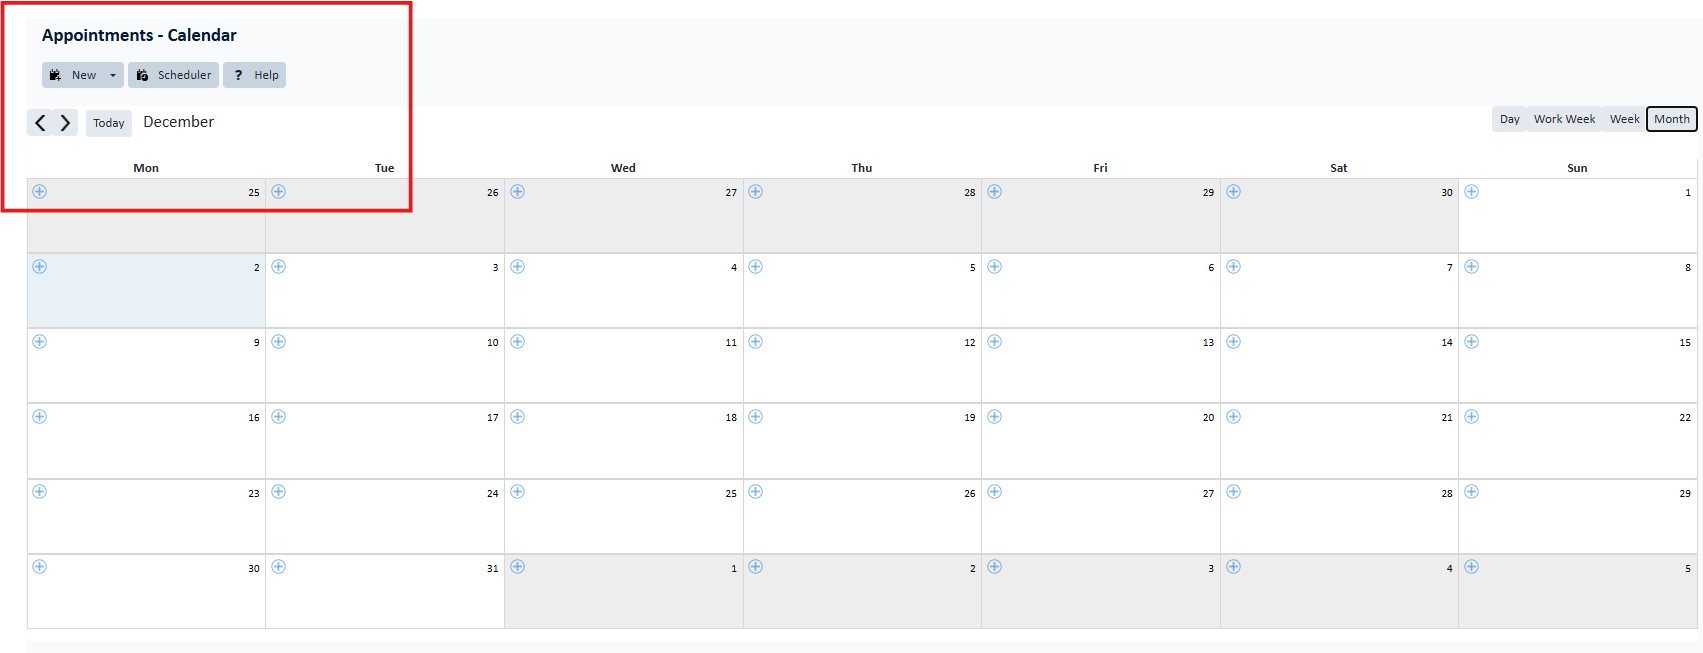
Changing the Calendar View
You can change the way that you view the calendar and move backwards or forwards to view different days, weeks, or months.
Note: If you are currently in List View, click Switch to Calendar View to access the additional views.
To change the calendar view
- Click Work Week to view your calendar and appointments in a Monday through Friday format, excluding weekends.

- Click Week to view your calendar and appointments in a 7-day format.
- Click Month to view your calendar and appointments in a format that allows you to view all of the days in a month.
- Click Switch to List View in any view to return to the default list view.
Calendar Navigation
For information about the areas in the list view, see User Interface.
Opening an Appointment
You can open appointments that you created, all public appointments, and appointments that you have the rights to view.
To open an appointment
- Click the All folder.
- Click the Appointments link in the dropdown.
- If necessary, switch to your preferred calendar view.
- Locate the appointment that you want to open, and then click its link.
The appointment opens to its General page.
Once you open an appointment, you can edit or delete it, add or remove attendees, and make changes to the additional appointment pages. See Appointments Calendar for more information.
Appointments Created Using Outlook
If you open an appointment whose Attendees page is read-only, this appointment was created using Outlook. See Adding Appointment Attendees for more information.
Creating or Editing Appointments
Creating an appointment may include scheduling internal and external meetings, project meetings, or personal appointments, such as a doctor's visit.
When you create an appointment, you set the date and time, and then, if necessary, add resources, such as a meeting room or a projector. Creating an appointment also blocks the time on your calendar so that others can see when you are not available.
You can also use the appointments pages to edit appointments, add categories to an appointment, or attach documents that you want users to review before a meeting.
The following topics apply to creating or editing appointments:
- Creating or Editing an Appointment Manually: If you use this option, you must wait for individual attendees to accept or decline the meeting invitation. You can also use this option to block time for personal appointments, such as a doctor's visit or your vacation so that users can easily see when you are not available.
- Using the Appointments Scheduler: Use the scheduler to check the calendar of each attendee to find an appointment date and time that fits all of the attendees schedules.
You can also schedule appointments that relate to a project. See Adding Appointments to Projects.
Using a Wizard
Your system administrator may provide one or more wizards to help you create new appointments using a guided, step-by-step process. A wizard may be one of the available options or the only option. If you click New and a wizard opens, complete the required fields on each page, and then click Next to progress to the end of the wizard. When you click Finish at the end of the wizard, the record is available in the list view.
Note: Your company may only allow you to create an account using a wizard, so the option to create an account manually may not be available.
Creating or Editing an Appointment Manually
Use the Appointments Calendar General page to create or edit an appointment and add attendees and resources.
To create or edit an appointment manually
- Click the All button.
- Click the Appointments link under the All button.
- Switch to your preferred calendar view, if necessary.
- Select one of the following options:
- To create a new appointment, click New.
- To edit an existing appointment, click the appropriate appointment in your preferred calendar view.
The appointment General page opens.
- On the General page, enter or edit the general appointment information. See the Appointments General page fields table for more information.
To enter date and time information for this appointment, use the Start Time and End Time fields. - If necessary, complete the following pages:
- Click the Attendees link to select the individual users, address books, or user groups that you want to attend the appointment. See Adding Appointment Attendees for more information.
- Click the Resources link to select a location or reserve equipment for the appointment. See Adding Appointment Resources for more information.
- If necessary, use the additional appointment pages to enter or edit supplementary information, such as categories or historical information. See Appointments Calendar for more information.
- Select a save option.
An email notification is automatically sent to the attendees if their TeamConnect Preferences are set to receive email notifications. See Setting Up Email Notifications for more information.
The table below contains the default fields for the Appointments General page. The fields that you see may vary based on your system settings and assigned rights. Field descriptions are listed in alphabetical order and may display in a different order in the application.
Appointments General Page Field Descriptions
|
Field |
Description |
|---|---|
|
All Day Event |
Indicates whether or not this appointment lasts a full workday. If you choose to create an All Day Event, you cannot specify a start or an end time. (If necessary, you can specify such information in the Notes field.) |
|
Location |
The location where the appointment is to take place, such as conference room. This field supports up to 250 characters. |
|
Notes |
Additional comments that apply to this appointment. |
|
Project |
The project that you want to associate with the appointment, if any. Click the search icon to locate the appropriate project. |
|
Start Time |
The time frame of the entire event. |
|
End Time |
The system reads the current time from the application server. It automatically rounds time to the nearest hour. For example, at 9:02 a.m., it displays 10:00 a.m. as the start time for the event. By default, all appointments are set to last one hour. If you go back and change these times, and attendees or resources have been scheduled for only part of the appointment, you may need to adjust their attendance times. This field supports the following formats:
|
|
*Subject |
The name or reason for the appointment. This field supports up to 250 characters. |
Adding and Removing Appointment Categories
Use the Appointment Categories page to add a category to an appointment. Appointment categories such as Conference, Deposition, or Trial help attendees understand the nature of the appointment they are attending and allow them to search for appointments by category.
Categories may have one or more sub-categories and are listed in a hierarchical view with the main category at the top and all of its sub-categories listed below it.
Based on your access rights, you can view, add, change, or delete categories.
See Setting Category Details for more information.
Adding Appointment Attendees
Use the Appointment Attendees page to invite the appropriate people or groups of people to an appointment. With the appropriate rights, you can add the following types of attendees to appointments:
- Individual contacts who are also TeamConnect users
- Address Books that contain the people that you want to attend the appointment
For address books, only members who are also TeamConnect users are added as appointment attendees. Members who are not TeamConnect users are not added or notified. - User Groups that contain the people that you want to attend the appointment.
The user who creates the appointment is automatically added as an attendee.
To add appointment attendees
- Click the All button, and then click the Appointments drop-down link located on the left side of the screen.
- Click the All Appointments link in the left pane.
- Locate the appropriate appointment and open it.
- In the left pane, click the Attendees link.
The Attendees page opens.
You are automatically added as the appointment creator. If you are scheduling this appointment for others and you do not want to attend, delete yourself from the attendee list. - Click Edit.
- Click Add New Item.
- In the User drop-down list, select the type of attendee that you want to add. Options are Address Book, Group, and User.
- In the Attendee drop-down list, select the appropriate attendee. Your choices are based on the option you selected in the Type drop-down list.
- Repeat steps 4 and 5 until all of the appropriate users are added.
Tip: By default, the option in the Attendance drop-down list is set to Will Attend for all attendees. You do not have to change it.
- Select a save option.
The appointment automatically appears on the calendars of all attendees.
To remove appointment attendees
To delete attendees, select the check-box for the attendees that you want to remove, and then click Remove.
Adding Appointment Resources
Use the Appointment Resources page to add a location for the appointment, or equipment that you may need, such as a projector.
To add appointments resources
- Click the All button.
- Click the Appointments link under the tab bar.
- Locate the appropriate appointment and open it.
- In the left pane, click the Resources link.
- Click Edit.
- In the Resource drop-down list, select the appropriate item or location.
- If you want to add additional items, click Add New Item, and then select the additional items or locations.
- Select a save option.
To delete resources
To delete resources, select the check-box for the resource that you want to remove, and then click Remove.
Viewing or Creating Appointment History
Use the Appointment History page to view and write historical details for an appointment, such as the points discussed in a meeting, or the details of a previous meeting.
See Working with Record History for more information.
Using the Appointments Scheduler
The Scheduler is a wizard that lets you search for an available date and time on anyone's calendar, check the availability of the necessary resources, create the appointment, and then add the appointment to the attendees' calendars.
To use the appointments scheduler
- On your home page, click the All button. Click Appointments from the resulting dropdown.
- You can create a new appointment from the main calendar view by clicking the Scheduler button.

The first page of the scheduler wizard opens. - On the first screen complete the fields in the Appointment Information Field Descriptions table.

- Click Next
The Attendees and Resources page opens.

- In the Attendees field, select from the list of attendees that automatically appears on your page. The selected user or contact appears in the attendees list. To invite additional users, click Add New Item and continue adding users until your list is complete.
-
In the Resource drop-down list, select the resources that you may need, such as a conference room or a projector. To select additional resources, click Add Another Item.
-
Click Next.
Based on the criteria that you entered, the system searches the calendar of each attendee to find a date and time when everyone is available to meet, and then returns one or more results.

-
On the Select Available Time Slot page, select the option that you prefer.
If you want to open the appointment to its General page after the appointment is saved, select the Open the scheduled appointment check-box. -
Click Finish.
An email notification is automatically sent to the attendees if their preferences are set to receive email notification. See Setting Up Email Notifications for more information.
In response, attendees can use the appointment calendar to accept or decline the invitation. If an attendee accepts this invitation, the item is automatically added to their calendar.
Appointment Information Field Descriptions
|
Field |
Description |
|---|---|
|
Subject |
Enter the name of the appointment or meeting. |
|
Duration |
Enter how long the appointment or meeting will last. |
|
Da ys(s) |
Click the boxes for the days that you want to check on everyone's calendar. |
|
Week(s) |
Enter the span of weeks that you want to check on everyone's calendar. |
|
Time |
Enter the time span that you want to check on everyone's calendar. |