
Localizing Data in TeamConnect
Once the translated data is imported back into TeamConnect, the translated elements appear in your preferred language. For more information about setting your locale languages, see Working with Locales.
Exporting Data for Translation
TeamConnect lets you export localization data so that you can translate it into your preferred locale language. Exported localization data is saved to an Excel workbook named TeamConnect_MessageResources.xls.
To export data for translation
- Click the All tab.
- In the Tools section, select Locale Manager.
The Locale Manager opens. - In the left pane, click the Export link.
- Click the Export to file button.
A dialog box opens. - In the dialog box, select one of the following options:
- To immediately open the spreadsheet, click Open with, and then click OK.
- To save the spreadsheet without opening it, click Save File, select the appropriate location, and then click OK.
Using the Exported Worksheets
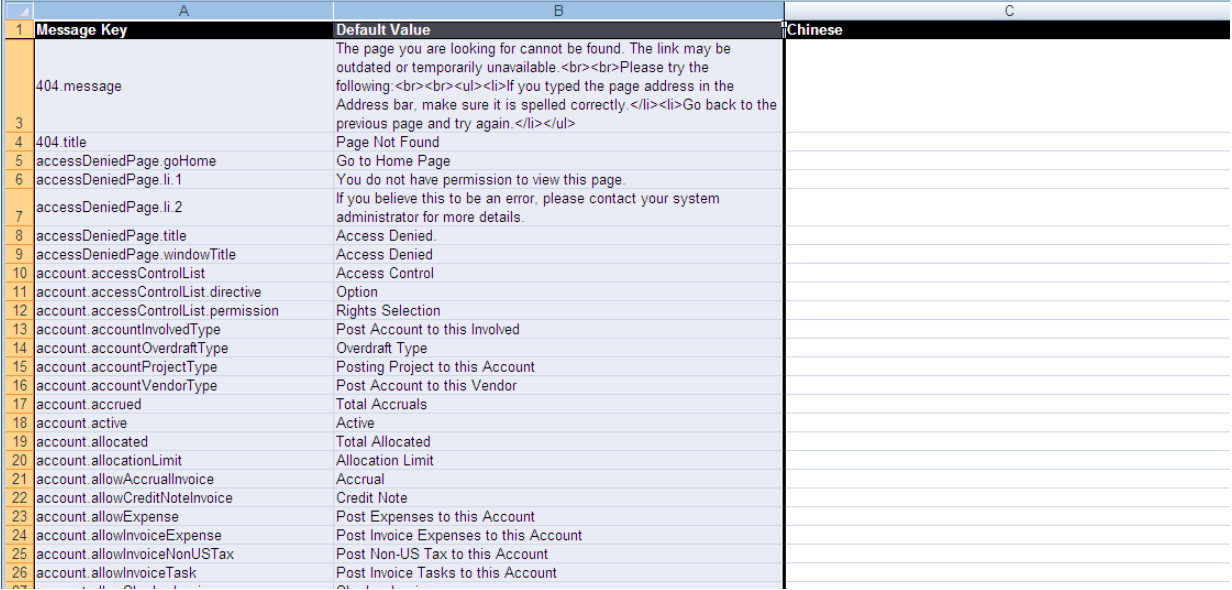
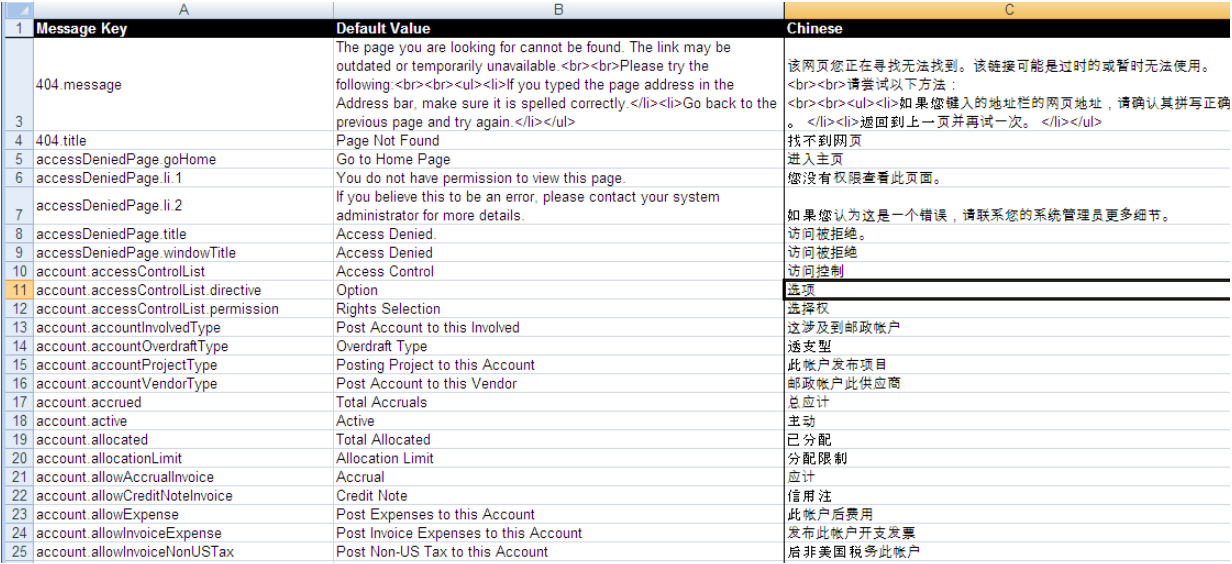
TeamConnect_MessageResources.xls contains all of the TeamConnect data that is available to translate.
The workbook contains the following spreadsheets:
- Static Resources—Contains all of the system error messages and default user interface fields and labels.
- Design Resources—Contains fields and labels for all of the following :
- Object definitions
- Related objects
- System lookup tables
- Custom lookup tables
- Home pages
- Portal panes
- Routes
- Wizards.
This page also contains the text for the following: - The custom logo
- The welcome message on the login page
- The maintenance notification message
- Additionally, this page may also contain fields and labels for other designs, such as CSM and TeamConnect Legal if installed.
- Custom Resources—Contains custom message keys and values. May also contain custom message keys and values for other designs, such as CSM and TeamConnect Legal if installed.
The first two columns of each spreadsheet are in default English and cannot be modified or deleted: - Message Key column—Contains the identification keys for corresponding default values.
- Default Value column—Contains the actual text for the default data. For example, for error or informational messages, the Default Value is the actual text of the message.
Additional columns correspond to the locales that you registered in TeamConnect using the Locale Manage tool. See Working with Locales for more information.
You cannot add or remove any columns in this workbook.
Entering or Changing Localized Data
You can enter or change translated data in the columns that correspond to the locales that you registered n TeamConnect.
To enter or change localized data
Enter or change translated data in the appropriate columns and corresponding fields on the spreadsheet.
To make changes to localized data after the file is imported, see Changing Localized Data After Import.
Once you enter the localized data, you can upload the translations. See Importing Translated Data for more information.
Note: If you copy and paste translated data from third-party translation software, such as Google Translate, you may have difficulty deleting or making changes to the text once you paste it in the spreadsheet. To avoid this, after you copy the text, go to the appropriate cell on the spreadsheet, right-click, select Paste Special, and then select Text. This removes any hidden characters and allows you to make changes to the pasted text when necessary.
Tags, Punctuation, and Symbols
If the information in the Default Value column contains html tags, such as <li> </li> or %20, or symbols, punctuation marks, and/or numbers, such as {0} or "{1}", the corresponding translation must also include this information.
For example, if you are translating the following into German:
<b>Results Display</b>

{1}: Multiple matches were found for "{0}".

(ANY)
The translated text must appear as follows:
<b>Ergebnisse anzeigne </b>

{1}: Mehrere Spiele wurden fur "{0}" gefuden.

(Beliebig)
Important: If you are translating into a language that may have very long words, to improve readability, it is recommended that you use recognized abbreviations in place of the long version of words whenever possible.
Every Clickable Item becomes as a Hyperlink
In the TeamConnect environment, when the user changes the language to Spanish, every text on that particular page appears to be a hyperlink and functions as a clickable item.

The user should be cautious when entering data on the localisation manager export sheet where the angle bracket (<) and the next following letter should have space between them.
For example: For the default value “< Back to TeamConnect”, the spanish conversion is “< Volver a TeamConnect” and there should be a space between “<” and the first letter of the word “Volver”. Also, for default value as “< Go to Home Page”, the spanish conversion is “< Ir a la página de inicio” with a space character between the angle bracket (<) and the next following letter of the word.
Once the user imports the updated localisation manager sheet, the issue will be resolved and the text on the particular page will not appear to be a hyperlink and stop functioning as a clickable item.

Note: This issue can occur for any language and for any content where the angle bracket (<) is used. For all such issues, the user should manually edit the excel by giving space characters after every angle bracket (<) used.
Adding new locales
You cannot add new locales to the spreadsheet. You must first register the new locale in TeamConnect, and then export the TeamConnect_MessageResources.xls file again. A new blank column appears on the spreadsheet, along with the previously localized data. See To add a locale for more information.
Importing Translated Data
After you export and then translate the data, you can import the spreadsheets into TeamConnect. The default data is replaced and you can view TeamConnect in your preferred language.
For information about exporting, see Exporting Data for Translation.
Important: You can only import Excel files that end in .xls or .xlsx.
To import translated localized data
- Click the All tab.
- In the Tools section, select Locale Manager.
- In the left pane, click the Import link.
- Click Browse to locate and select the appropriate .xls or .xlsx file.
- Click Upload.
The file is added to TeamConnect and the data is displayed in your preferred language.

Changing Localized Data After Import
To change localized data after you import the spreadsheet, you must export the TeamConnect_MessageResources.xls file again, make changes, and then import the spreadsheet back to TeamConnect. Your changes appear once the spreadsheet is imported.