
Adding a Player
Designate an entity or a person as a player.
By designating an entity or a person as a player, the entity/person becomes an approver/reviewer for the matter. The player role lets you allocate invoices for an entity/person. Designate an entity/person as a player by using the Player tab in the Matters module.
You can also designate an entity/person as a player in the Invoices module by using the Hot Add feature.
To Add a Player:
- Open the Matters module and add a new matter or edit a matter record.
- On Matters > Player tab, click New.

- Click the
 (three dots) button next to the Player text box to select an entity or person.

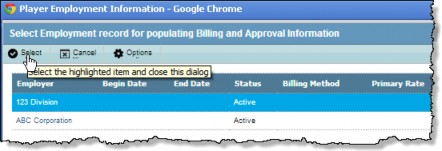
- If more than one active employment record exists for a person, select the employer from the Player Employment Information dialog box.
- Select the type of player and role from the dropdown lists. The player type selected determines the list of available roles.
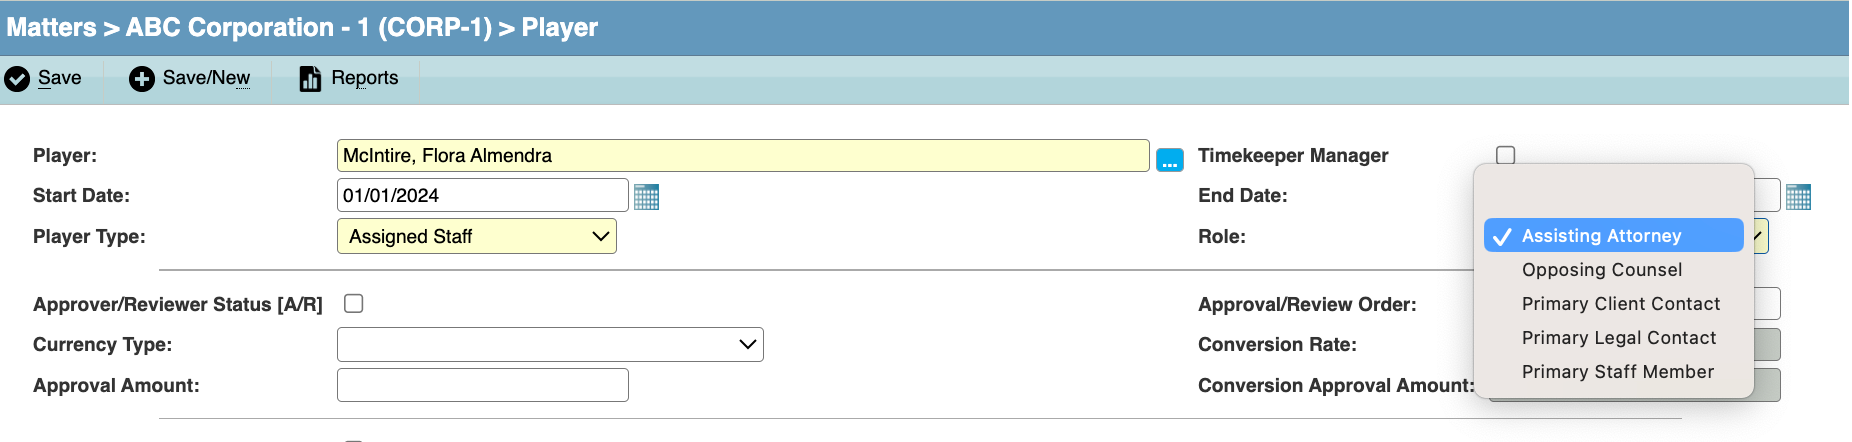
- If the player has invoice approval authorization, click on the Approver/Reviewer Status [A/R] checkbox and enter the maximum amount for which the player has approval authority in the Approval Amount text box. This amount is retrieved from the person’s record in the People module. If the amount does not exist, enter the amount on the player record.

- If the entity is to have costs allocated to it, check the Chargeback checkbox and, if not already completed, enter the chargeback percentage and related account codes. When an invoice is linked to this matter, the account codes will be entered automatically into the invoice allocation record.

- Complete the remaining fields by entering information directly into the text boxes or select from the dropdown lists.
- Click Save.