
Configuring the SiteMinder Policy Server
The SiteMinder Policy Server runs on any number of supported platforms (as defined by CA) ranging from Microsoft Windows to various UNIX versions, Linux, etc. Suite’s integration with the policy server is non-specific as the products only directly interact with the Web Agent. Functionally, the policy has the following components:
- Agents – configuration sets
- Realms – based mostly on which application context is being protected
- Rules – gets, posts, puts
- Responses – bindings for responding to requests
- Trusted Hosts – where Web Agents reside
- Web Agents on Web application servers (Tomcat, WebLogic, WebSphere, and others)
- Domains – which to authenticate
- Active Directory
- LDAP
- etc.
- Authentication Schemes – get bound to the agent realm
- Basic Authentication
- Web Forms
Configuring this integration assumes the client already has a SiteMinder Web Agent properly installed on the Web server and an authentication scheme defined.
To Configure the SiteMinder Policy Server:
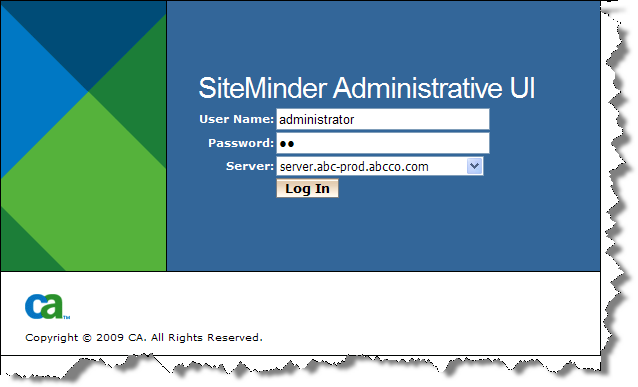
- Login to the SiteMinder Administrative UI.
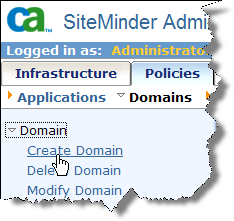
- Click on the Policies tab, click the Domains link, and expand the Domain section. Click the Create Domain link.
- On the Create Domain page, type the name of the domain.
- Click the Add/Remove button in the User Directories section.
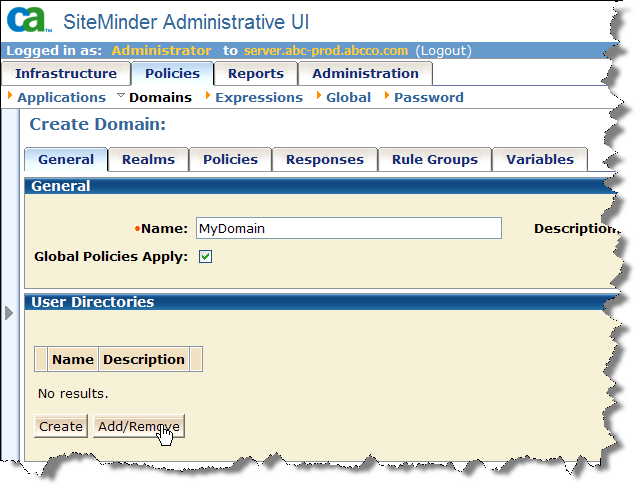
- Select the available member user directory and click the right arrow button to move it to the Selected Members list. Click OK.
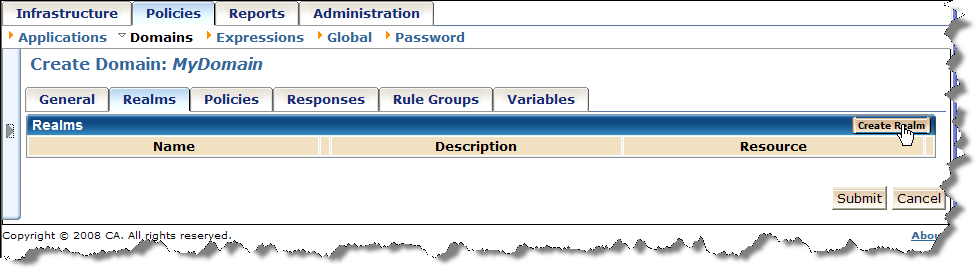
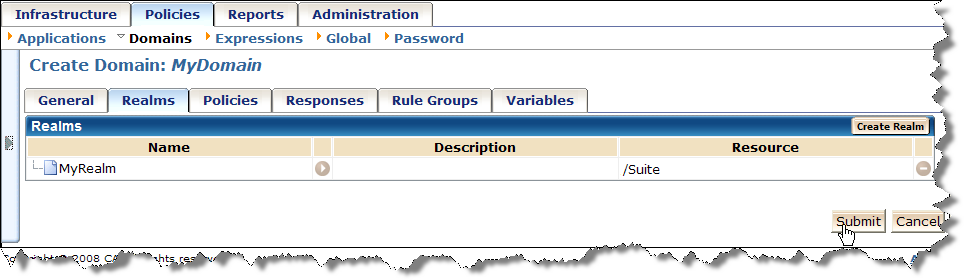
- On the Create Domain page, click the Realms tab.
- Click the Create Realm button.
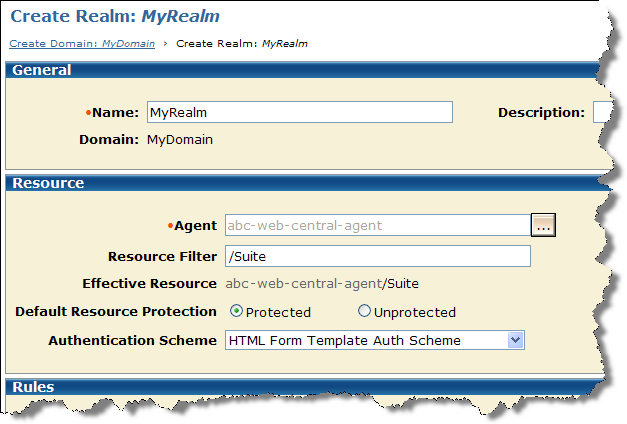
- On the Create Realm page, type the name of the realm.
- In the Resource section, select an agent, type a resource filter (the context of the Suite application, typically “Suite”), and select the previously defined authentication scheme.
- In the Rules section, click the Create button.
- On the Create Rule page, type the name of the rule, then select the Put, Post, and Get actions.
- On the Create Rule page, click OK.
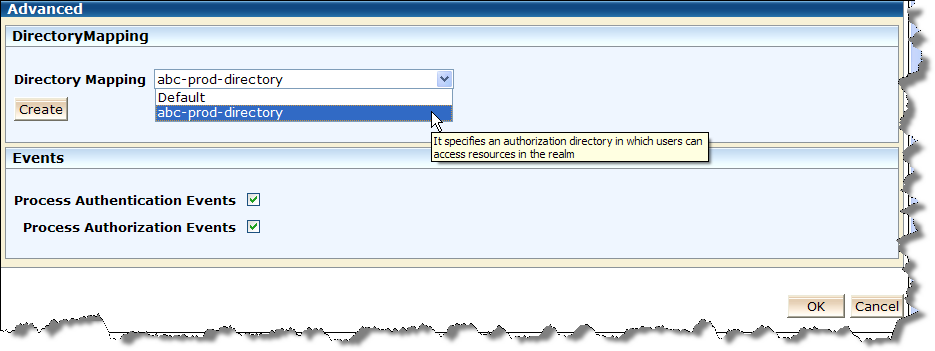
- On the Create Realm page, select the directory mapping in the Advanced section.
- On the Create Realm page, click OK.
- On the Create Domain page, click Submit.
- Click OK.