
Upload a LEDES Invoice
Uploading your LEDES file for Firms
From anywhere in the Collaborati application, select the Invoices tab, then select the "Upload LEDES Invoices" sub-navigation link.

Indicate what type of invoices you are uploading by selecting the appropriate value from the "Invoice Type" drop-down list. The default is Standard invoices. If you want to specify a non-standard invoice type but it doesn't show in the invoice type drop-down, contact your client and report the problem.
Note: If you want to attach a document to your invoice after you upload the LEDES file, make sure to review the field "Submit invoices directly to the client without previewing" checkbox and leave it unchecked.

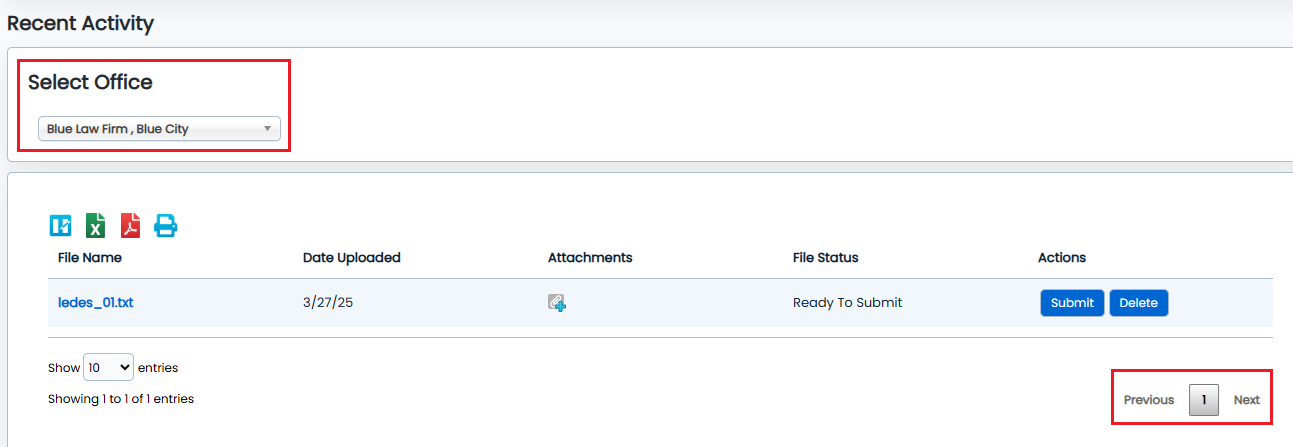
Make sure the "Bill Office From" and the "Select Office" are correct. If the fields are not selected, be sure to select the correct information.

Choose the file or Browse for the file.

Click Upload File button

The system will process the file. The File Status may show as “Processing”. Once the file has been processed, you will see the File Status, “Ready to Submit” or “File Error”.
Troubleshooting: If you don’t see the file, make sure the "Select Office" field is showing correctly. Also, make sure you are on Page 1 if there are many pages (on the bottom right side of the screen).
Attach Your File
For information about the types of files you can attach to your invoice Click here .
Once the invoice is uploaded, click on the Paperclip icon ![]() in the Attachments column (see screen shot).
in the Attachments column (see screen shot).

Click "Choose Files" button and find the document you want to upload.

Click "Attach File" button to attach your selected file

Once you have uploaded your document, click "Close" button.

Your Attachment is indicated by a blue Paperclip icon ![]() . This invoice is now ready to be submitted to the client.
. This invoice is now ready to be submitted to the client.

If you need to review the details of the Invoice (such as the Line Items) you can click on the “File Name” and then click on the “Invoice Number”. Click “Submit” to submit your invoices to the client.
If you have already submitted the invoice without the attachments, then please refer to the "Collaborati: Can I make attachments to an invoice that has already been submitted?". If the status of the invoice is Canceled, please go through the steps above, attach your document and resubmit the invoice.