Add a New Timekeeper Manually (& Video)
Link to Video: Creating Timekeepers
Note: You will not be able to add timekeepers with these instructions if you have not completed your setup with your client in Collaborati. If you have not finished your setup, please refer to our article Process to Complete Setup for assistance.
This article explains how to create a timekeeper without rates.
See this article for how to Add a Timekeeper with Rates manually.
Add a New Timekeeper with a Home Office
- Hover over “Timekeepers” in the top menu bar.
- Click “Timekeepers”.
- Click “Add Timekeeper” link.

- Enter the Email Address for the Timekeeper (the email address must be unique and cannot be used by another timekeeper), then check which Offices the timekeeper needs to be authorized for.
Home Office - optionally add a Home Office for the timekeeper.
Note: All of the Offices that the Timekeeper is authorized for will be checked by default on the right side of the screen. Use the dropdown on the left side of the screen to select a Home Office for that Timekeeper. You can only select a Home Office from one of the offices listed on the right side of the screen.
Click "Next" when finished.

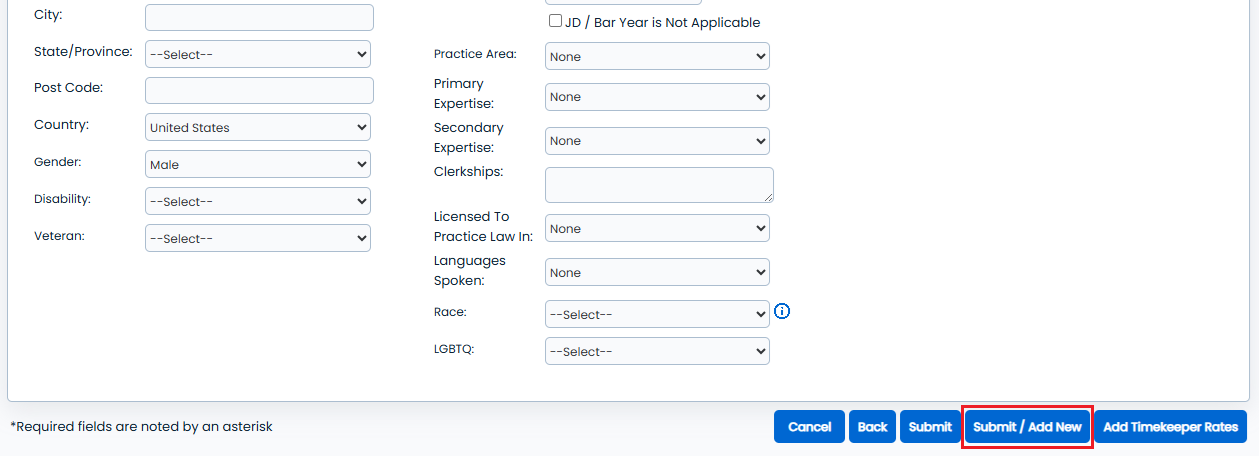
- Enter the required information for your Timekeeper:
- First and Last Name of the Timekeeper.
- Display Code and Timekeeper ID are usually the same and most offices use the timekeeper’s initials for these two fields.
- Choose a Classification from the drop down list and users can also add the details related to classification in Classification Details field. Based on the Enable Expanded Timekeeper classifications settings for the selected client the timekeeper classifications dropdown will be displayed dynamically.

- Check the box next to the client you would like to associate this timekeeper with (there can be one or more clients).
- Click "Submit".
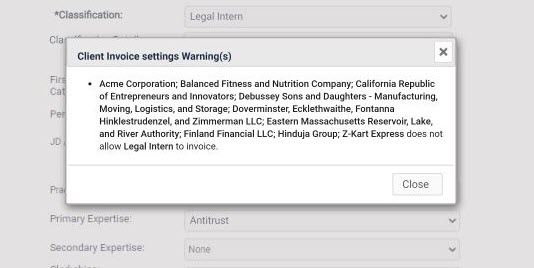
Warnings

- A warning message will appear on timekeepers editing page if any classification value is selected and Authorized for invoicing setting is set to No.
Warning: <Client Names in bold> does not allow <Classification in bold> to Invoice.
Note: An additional link with the text See More will be displayed if the warning message exceeds four lines. By clicking on See More, users can view the complete message
-
While updating the existing/new timekeeper with newly added Expanded Timekeeper classifications, if one or more clients do not support the new classifications a new Client Timekeeper Profile needs to be created to update those clients with new classifications. To create a new Client Timekeeper Profile a new popup window will be displayed on the screen.
-
On the popup message if the user clicks on Confirm Client Timekeepers, then new client timekeeper profiles will be created with the default classification existing on the associated clients. Users can edit and create the Client Timekeeper profile by clicking on the Edit icon on the Client Timekeeper profile. When users click on the Edit icon a new popup with header Edit Client Timekeeper profiles will be displayed which has all the populated data and Cancel and Save Client Timekeeper as action buttons.
Once submitted, an email is sent to the client notifying them that there is a timekeeper ready to be authorized. Once authorized, that timekeeper can be used for your invoices with that client.
If you have multiple timekeepers to upload, you can select the "Submit / Add New" button, and it will submit your current Timekeeper and return you to the start of the manual Timekeeper creation process.