
How to Change Remote Workflows
Goal
This guide explains the process for changing from one remote workflow to another. The Tracker I-9 system supports five different remote workflow options.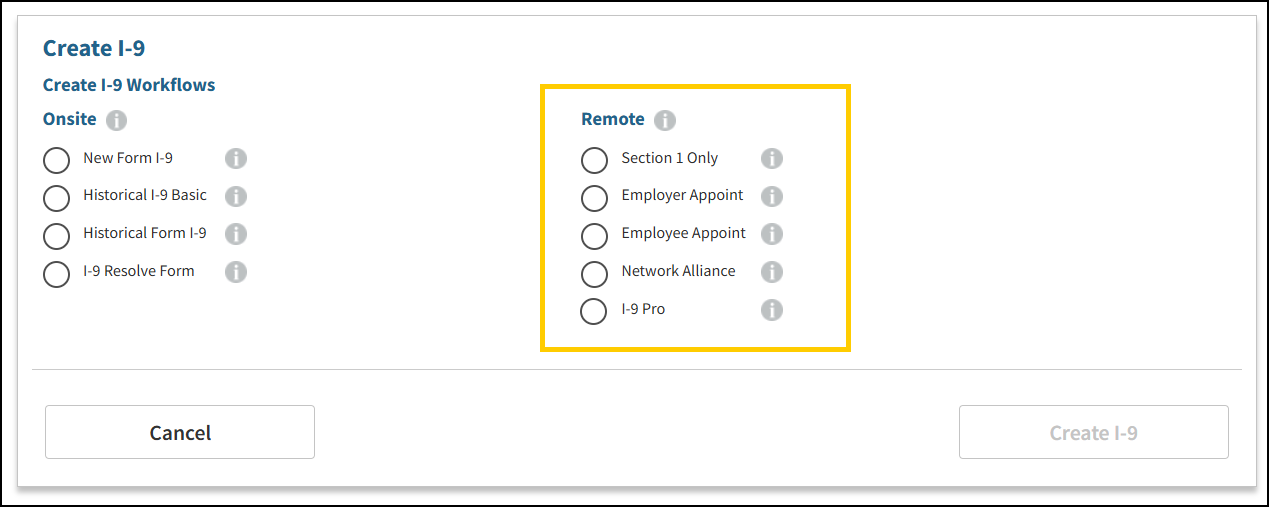
- Section 1 Only: The employee completes Section 1 remotely. The employer completes Section 2 at a later time.
- Employer Appoint: The employee completes Section 1 remotely. An authorized Employer Representative completes Section 2.
- Employee Appoint: The employee completes Section 1 remotely and designates an Authorized Employer Representative to complete Section 2.
- Network Alliance: The employee completes Section 1 remotely and schedules an appointment with an Authorized Employer Representative from Network Alliance who completes Section 2.
- I-9 Pro: Employee completes Section 1 remotely and also instructs the employee to schedule an appointment date/time to meet with an I-9 Pro representative via a live interactive video meeting to complete Section 2. This workflow is available only when the I-9 Pro feature is enabled and the employee’s worksite is E-Verify enabled.
- I-9 Pro + E-Verify: Employee completes Section 1 remotely and is instructed to schedule an appointment date/time to meet with an I-9 Pro representative via a live interactive video meeting to complete Section 2. In addition, the I-9 Pro representative may also administer the associated E-Verify case for eligible statuses. This workflow is available only when the I-9 Pro + E-Verify feature is enabled and the employee’s worksite is E-Verify enabled.
Click here to learn more about the I-9 Pro and I-9 Pro + E-Verify features.
Note: Network Alliance, I-9 Pro, and I-9 Pro + E-Verify will only be available if your organization is utilizing our respective services.
Please be aware that you may not have five options available to you based on how your system is configured and the services you are using.
Switching from Section 1 Only to Another Remote Workflows
This section explains how to switch a Section 1 Only remote Form I-9 workflow to another available remote workflow in Tracker I-9.
Follow these steps to switch the section 1 only workflow to another workflow:
Create New I-9:
Note: The remote options of Form I-9 will not be present if they have not been turned on for your Tracker account.
- Navigate to the Form I-9 page for the employee.
- Select Section 1 or Section 2 of the Form I-9.
- Click the three-line menu (Administrative Options menu).

- In the Administrative Options Menu, select the Remote Workflow tab.
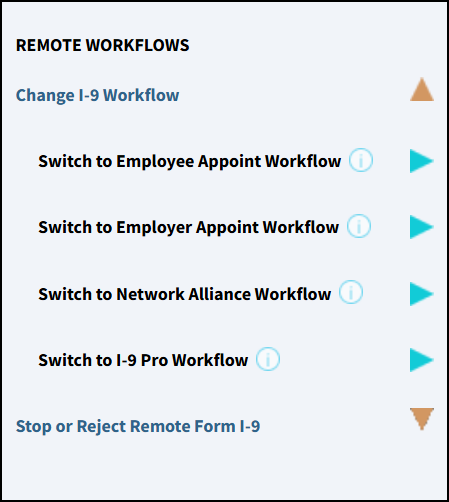
- Click Change I-9 Workflow.

-
Select a New Workflow, after selecting Change I-9 Workflow, a menu displays all eligible remote workflows available for the Form I-9.
-
Depending on the workflow selected, additional required information may be requested. Once the required information is completed, confirm the change by selecting Yes. The workflow will then be updated.
- Switching to the Employee Appoint Workflow

- Switching to the Employer Appoint Workflow

- Switching to the Network Alliance Workflow

- Switching to the I-9 Pro Workflow

- Switching to the I-9 Pro + E-Verify Workflow

- Switching to the Employee Appoint Workflow