Document Builder
What is the Document Builder?
TAP's Document Builder is used to generate documents on-the-fly within TAP, and is used for redlines within the collaboration state. (which is where multiple people can collaborate/edit a document at the same time).
Document Builder can be used to fulfill any of the following:
- Attach files to email notifications. The notification (with the document) will be sent every time a user passes through that stage in the workflow.
- Use it as a template for eSignature support. This is most common way it's used. (Note: this feature is visible in PDF but not in docx - see step 5).
- Attach files for TeamConnect Support - pull TeamConnect fields into a TAP form.
- Attach files for Salesforce Support - pull SF fields into a TAP form.
Note: Document Builder cannot be used to send documents to FTP.
Permissions for Document Builder
The document builder is found in the workflow Designer, however this will NOT be available to all users that have access to the Designer.
Contact your system administrator if you need access to the document builder but cannot access it.
Create a Document Builder Template
Build documents within TAP to add as conditional attachments to a workflow stage.
- Hover your mouse over Business Automation and select Designer.
- Find the desired workflow and load it.
- In the Workflow screen, select Options then click Workflow Templates.
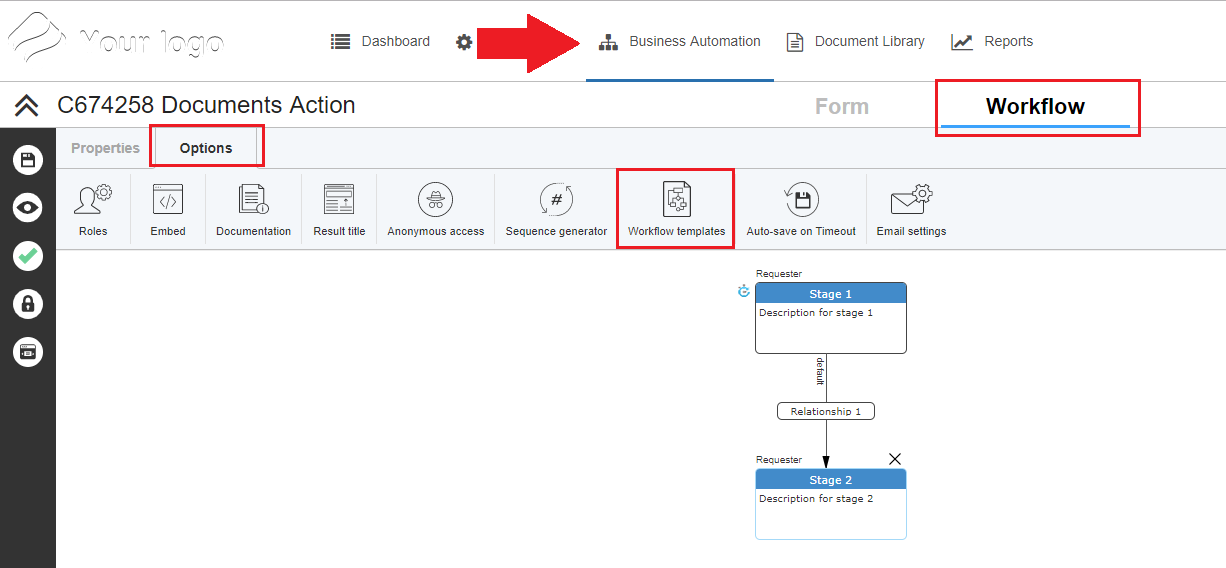
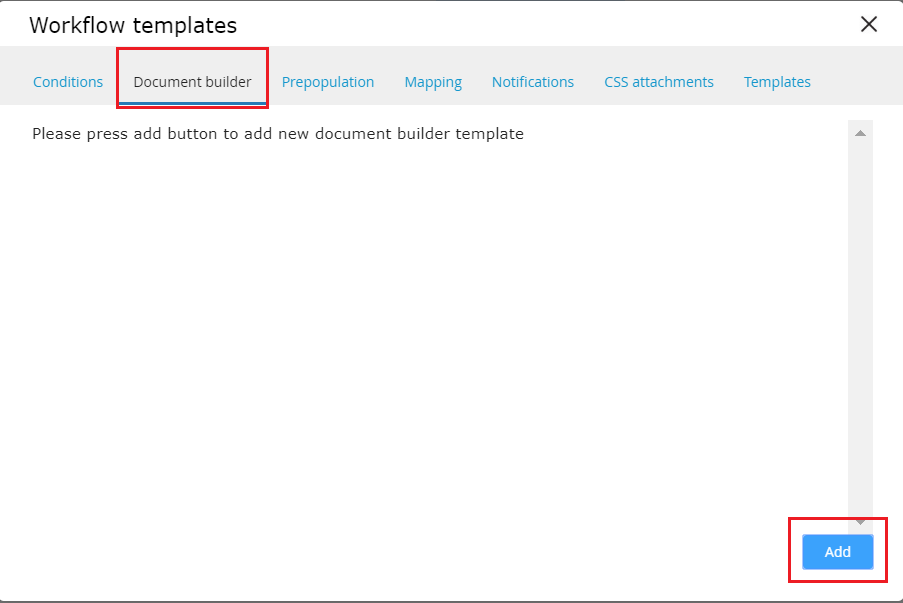
- Click the Document Builder tab, then select Add.
- The next steps detail how to fill out the document builder screen and it's options:
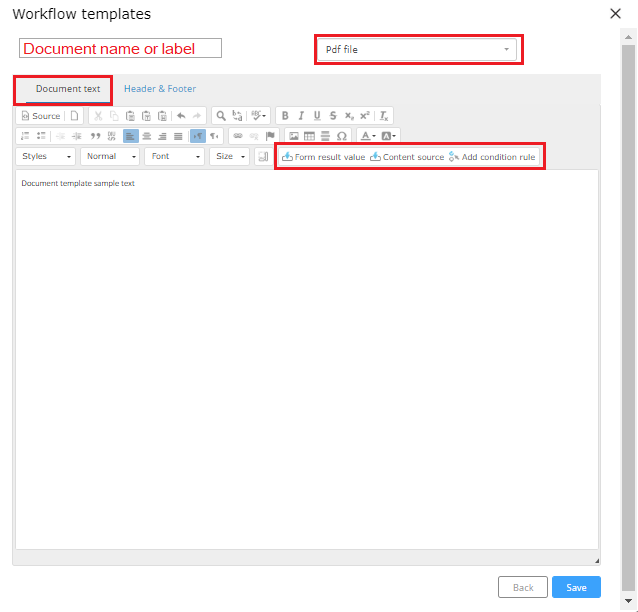
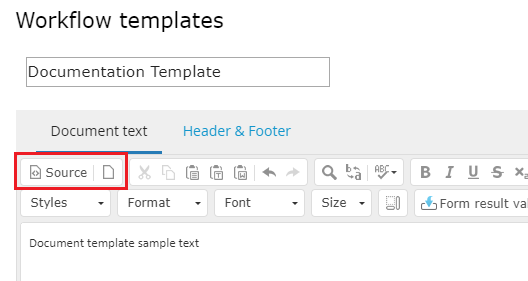
Document Text Header & Footer - Give the document an intuitive name.
- Use the dropdown menu to specify if you want the document to be a docx or pdf file.
- Fill in the body of the document using the rich text editor.
- Use the Content Source, Form Result, and Condition Rules options to add additional content to the document. The Content and Form options act similarly to other parts of the designer (such as setting up notifications), but the Condition rule is unique. See additional details below:- Click on the Header & Footer tab to add header and footer information.
- The Add Document Header/Footer check boxes must be checked.
- You can use HTML tags but there are height limits if you're using the PDF option. If the header will not appear if it exceeds the height limit.Important: For Document Builder templates, the header and footer sections in PDF outputs have a fixed height of approximately 30 pixels. Images exceeding this height may not appear in the final document. Unlike form field templates, which have dynamic margins, Document Builder templates reserve a limited area for headers and footers. To ensure banner or logo images are displayed correctly, use images that fit within this size range or resize existing ones accordingly.
- There are 2 additional tags you can use to display the current page number and number of total pages:

Content Source: TAP's concept of uploaded variables or small database elements that are configured to populate within dropdown menus. Populate a dropdown with a content source and it will be universal anywhere you use it.
Form Result: values that are pulled from somewhere else on a form or from a completely different form.
Condition Rules: Use conditional rules to affect variables within the document. Conditions are typically set up in a "if this, then that" manner, and several conditions can be applied to a single relationship.
- Fill in all of the desired options then click Save.
Using Condition Rules for the document body
Apply condition rules to the document you just created.
- In the Workflow screen, select Options then click Workflow Templates.
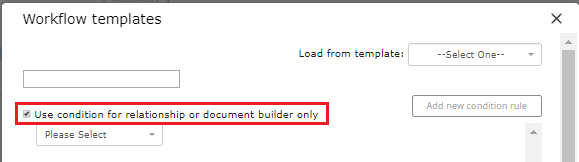
- Select the Conditions tab and click the Add button.

- Check the Use condition for relationship or document builder only checkbox.
- Save the condition.
Click Save as Template if you think this condition logic will be used again in the future.
Click Save to simply save it and apply it to this document.
- Navigate back to the document builder tab, select the document template you want to attach this condition then open it in edit mode.

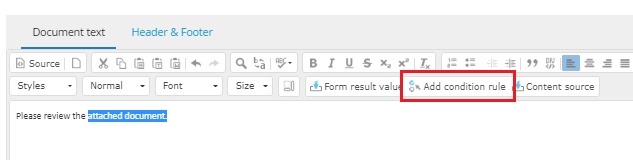
- In the body of the text, highlight some text and click the Add Condition Rule button (in the text editor).
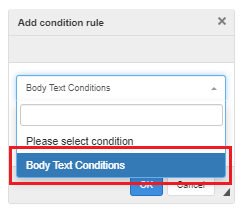
- Using the dropdown menu, select the condition you just created. Then click Ok.
- After you click Ok you will see that your text is now surrounded by condition tags.
Note: If the condition is not "true", you will see an empty <p> tag that displays as empty lines. To prevent this, you can edit it by clicking the Source button in the top left corner of the text editor screen.
Note: You can write the condition text tags in order to invoke them if you prefer. The syntax for an open tag is #if name of condition# and the close tag syntax is #/if name of condition #. See below for an example:

Add Document Builder doc. to a workflow relationship
A document created in the document builder can only be added at the relationship level in a workflow. The instructions below detail how to set this up:
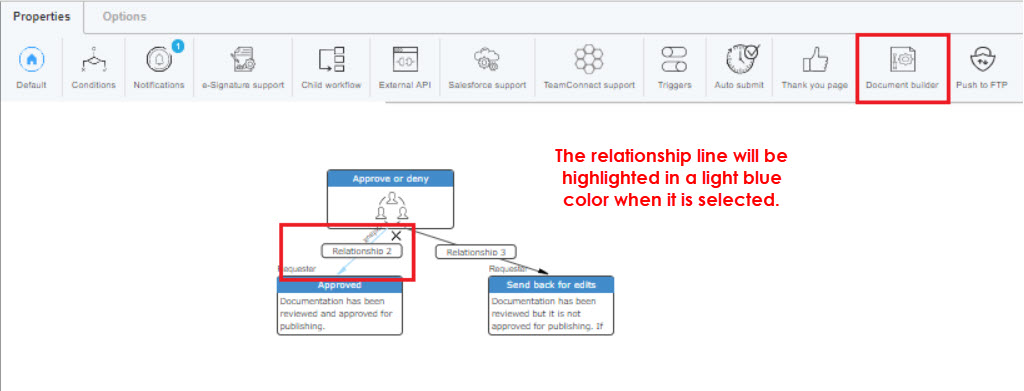
- Open the workflow, click on the desired relationship, then select Document Builder.
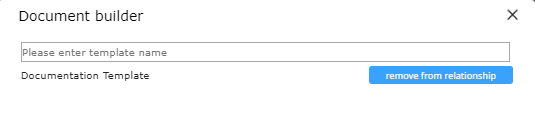
- Select the document that you want to attach to this particular relationship by clicking the Add to Relationship button.
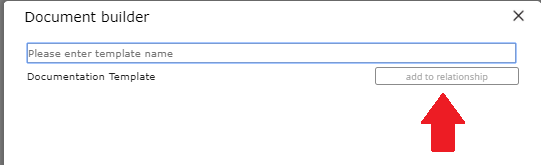
The button will be highlighted blue when the document is added. Simply click the Remove from Relationship button to remove this document with this particular relationship.
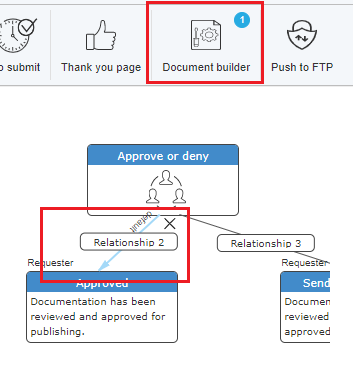
How do I check to see if the relationship has a document attached?
Select a relationship. If it has a document attached, you will see a Notification symbol on the Document Builder button.