
Pages and Tabs
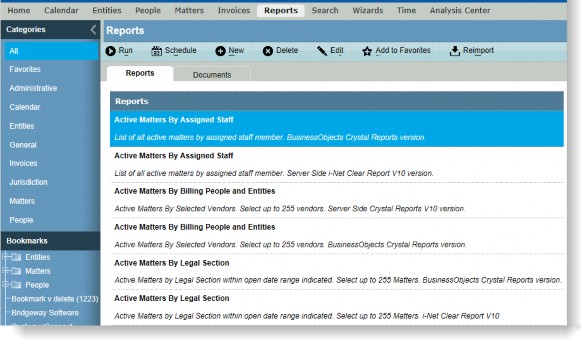
Reports List Page
The Reports List page allows you to generate reports, documents, and forms incorporating information from Suite.
Categories
All – Click to list all available reports.
Favorites – Click to list all reports that have been categorized as favorites.
Any other categories are determined by the System Administrator or a user with Reports Administrator security attribute rights.
Reports Tab Fields
Reports – The name of the report.
Documents Tab Fields
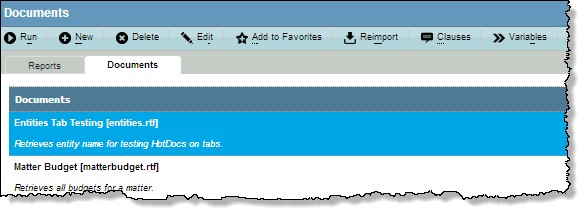
Documents – The name of the document.
Buttons
Run – Click to generate the report or document.
Schedule (BusinessObjects Reports only) – Click to create a schedule to execute and e-mail the selected report.
New – Click to create a new report or document.
Delete – Click to remove the selected report or document.
 Edit – Click to modify information concerning the selected report or document.
 Add to or Remove From Favorites – Click to move the selected report or document to the list of favorites.
 Reimport – Click to import the report or document again.
 Clauses (Documents only) – Click to open the Update Clauses dialog box to display available components of a document.
 Variables (Documents only) – Click to open the Variables dialog box to display association to variables in the document.
Print Preview Page
When a report is generated using i-net Clear Reports, it will open in a Print Preview page. From this page, the report can be printed and saved to a variety of formats.

Buttons
Close – Click to close the current view.
First Page – Click to open the first page of the report.
Previous Page – Click to open the previous page of the report.
Next Page – Click to open the next page of the report.
Last Page – Click to open the last page of the report.
Page Dialog – Click to open the Page Setup dialog box to configure settings for printing.
Print – Click to send the report to the default printer.
Export Report – Click to export the report file to another format.
Search – Click to search for a string in a report.
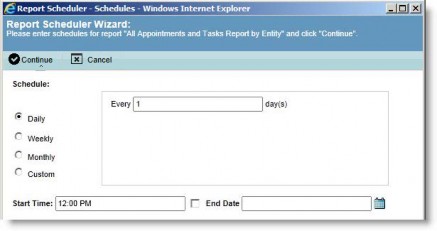
Report Scheduler Wizard
The Report Scheduler Wizard allows you to schedule SAP BusinessObjects Business Intelligence Platform reports to be sent to recipients within eCounsel. Only users who have been designated as Reports Administrator can schedule reports, and only one schedule can be created at a time for a single report by a single user. Once a schedule is selected, recipients may be selected. Only those active users that are associated with a person record appear in the list. If an e-mail address for the person record does not exist or is undeliverable, the report will not be sent to that recipient. Any security settings for the recipient will be applied to the report (for example, if the user is restricted from viewing social security numbers, and social security numbers appear on a report, the scheduled report will not show this information).
Fields
Schedule – The basis on which eCounsel will determine how often to run the report.
Daily – If the report will be run on a daily basis, specify how many days between runs.
Weekly – If the report will be run on a weekly basis, specify the day(s) on which the report will be run.
Monthly – If the report will be run on a monthly basis, specify the day of the month on which the report will be run.
Custom – If the report will be run on a custom basis, specify the schedule used to determine when the report will be run.
Start time – The time at which the report will be run. This field is applicable to daily, weekly, and monthly schedules.
End Date – The date on which the schedule will be terminated for the report.
Recipient List – A list of all active users that are associated with a person record.
Parameters – Any parameters that must be set for the report.
Buttons
 Continue – Click to open the next screen of the wizard.
 Cancel – Click to close the wizard without creating a schedule for the report.
Delete – Click to remove the selected schedule for the report and create a new schedule.
Reschedule – Click to remove the selected schedule for the report and create a new schedule.
Close – Click to exit the wizard.