
Managing Documents in the Database
eCounsel allows you to organize and access documents related to an entity. Documents are categorized by type. Database storage of documents provides system-wide accessibility and improved security.
To Create a New File Record:
- Open the Matters module and add a new matter or edit a matter record.
- Open the Documents tab, click the
New button, and select the type of document being uploaded.
- Enter the appropriate information in the text boxes or select from the dropdown lists.
- Click the
Save button to save your changes.
- On the Document File subtab, click
New.
- On the Save File dialog box, click the Choose File button to locate the file. You also can enter the filename manually, but you must enter the full path, including drive and extension (for example: F:\Documents\Minutes\120399.doc).
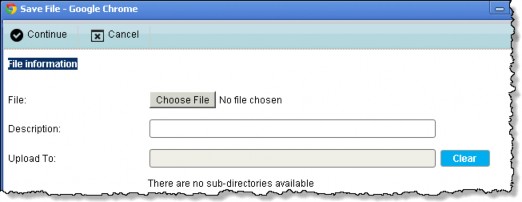
- Enter a description for the file, then click
Continue.
To Access Files Stored in the Database:
Files that are stored in the database may be copied to your hard drive in order to be viewed, edited, or printed.
- Select a file from the Document File subtab on the Documents tab.
- Click the
 Lock/Unlock button to notify other users that the file has been checked out.
 - Click the
 Download button to open or save the file to your hard drive.
 - Either click Open to open the file in the associated program or click Save to save the file to a default location. Click Save and select Save As to save the file to a location you specify. Navigate to a directory in which to save the file, enter a new name if needed, then click Save on the Save As dialog box.
To Save a File Back to the Database:
- Select a file from the Document File subtab on the Documents tab.
- Click the
 Lock/Unlock button if necessary.
 - Click
 Update.
 - On the Save File dialog box, click the Choose File button to locate the file.
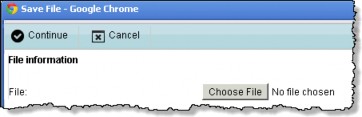
- Click
Continue.
The file index that is created when a file is saved to the database will attempt to match the current file with the file in the database. If the filename is different, you will get a message telling you that the filename does not match the one in the index.
To Delete a File from the Database:
- Select a file from the Document File subtab on the Documents tab.
- Click the
 Delete button.
 - Click OK on the confirmation dialog box.

The file will be saved to the hard drive and deleted from the database.