Linking E-mails to a Matter using Bridgeway Link
 Premium feature – A registration key code is required to activate this feature.
If your company has purchased Bridgeway Link, you can link e-mail messages from Microsoft Outlook to eCounsel matters if Bridgeway Link is installed on your machine and activated for your company. E-mail messages may be linked individually or in multiples.
For Microsoft Outlook, a copy of the e-mail message is created and stored based on your company’s file storage method (note that if you are using a Document Management System, Bridgeway Link will not store the message in the DMS, but will store it using the specified document storage method). A document record is created in eCounsel for each e-mail with a document type of “E-mail”. The subject of the e-mail is copied to the Document Description field, and the date of the e-mail is copied to the Document Date field. A detail record is created for each e-mail with the appropriate link to the stored document. If the original e-mail message is deleted in Microsoft Outlook, the copy of the e-mail message is still available from eCounsel.
To Link an E-mail to a Matter:
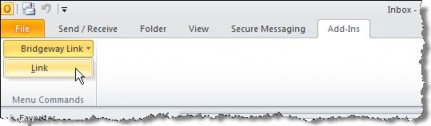
- Open Microsoft Outlook, select the e-mail(s) you would like to link to a matter in eCounsel, click the Bridgeway Link menu, and select the Link menu command.
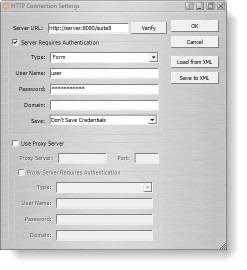
- The first time you select the menu command during a session, you will need to enter information concerning the connection to the Suite server. On the HTTP Connection Settings dialog box, type the server URL (for example, http://<ServerName>/suite8, where <ServerName> is the name of the server on which Suite is installed). If your HTTP server requires authentication or you use a proxy server, check the appropriate box. Once the settings have been entered, click the Save to XML button to save the settings for future reference. Since the configuration must be set on each user’s computer, the Load from XML button allows you to load the saved settings. Click OK, then click OK on the URL Verified message box.
- Users will be required to enter their eCounsel login ID for each new Microsoft Outlook session even if eCounsel is running. This authentication ensures that security settings are enforced.
- Once logged in, the selected e-mail(s) will appear on the Bridgeway Link dialog box. Select a matter name or number by clicking the appropriate
 button. Comments can be added by clicking the
  button.
 - Search for the matter and click on the matter name to select it.
- Once a matter has been selected and comments have been added, the matter number and corresponding matter name will display in the dialog box. Click OK.
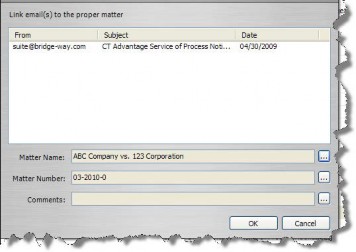
 If you selected multiple messages, they will all be linked to the selected matter.
To Configure Bridgeway Link Login using SiteMinder Authentication:
In Step 2 above, you will need to perform the steps below if you are using SiteMinder authentication to connect to Bridgeway Link.
- On the HTTP Connection Settings dialog box, click on the Server Requires Authentication checkbox to enable it.
- From the Type menu, select the Form option.
- Type the user name, password, and domain (if needed) to login to Suite Manager.
- Select an option (such as Don’t Save Credentials) from the Save menu.
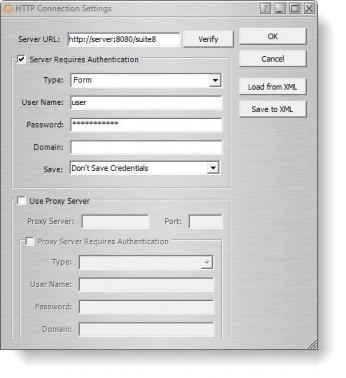
- Click OK.
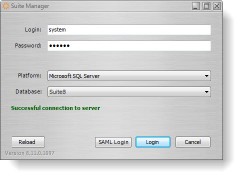
- If needed, select the platform and database to which you want to log on and click Login.

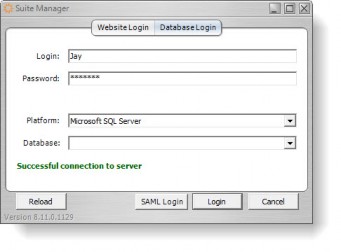
To Login to Bridgeway Link using SiteMinder Authentication:
After the initial configuration of the login, login using the steps below.
- On the Website Login tab of the eCounsel – Bridgeway Link login dialog box, enter a user name, corresponding password, and domain (if needed) if you did not select to save the credentials.
- Click Next.
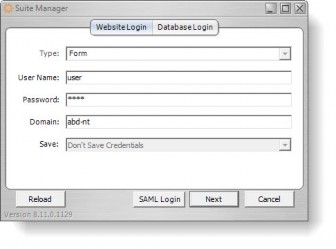
- On the Database Login tab, click Login.