Configuring Smart Link
Within Smart Link, several steps need to occur to import a rule from Mitratech, configure the database connection, configure the information to be exported, and enable the rule.
Installing Relationship Builder
The integration between Smart Link and Suite, Legal Hold, or LawManager Enterprise requires the IntApp Relationship Builder Version 4.x. If the IntApp Relationship Builder application is installed on your machine, go to “Defining Data Sources” on page 5.
To Install the IntApp Relationship Builder:
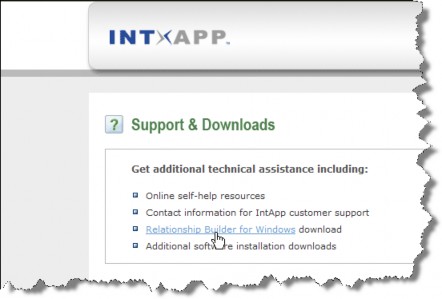
- Navigate to the IntApp home page for the newly installed appliance and download the Relationship Builder for Windows application.
- On the File Download dialog box, click Run.
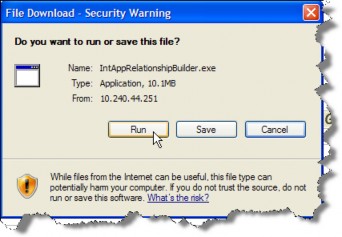
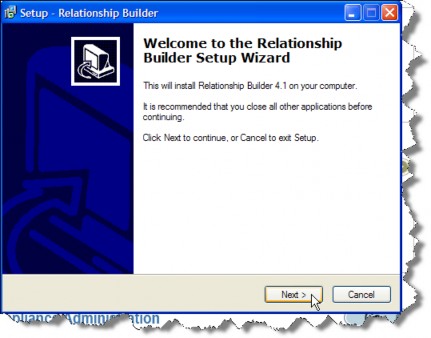
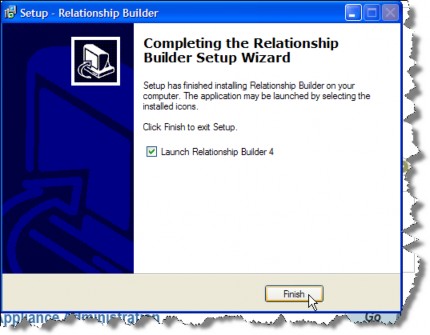
If you receive a security warning, click Run to continue. - On the Setup wizard, follow the instructions to install the application.
- When the installation wizard has completed, launch Relationship Builder.
- On the Register your appliance dialog box, type the Internet Protocol address for the appliance and click OK.
Defining Data Sources
Once you have installed Relationship Builder, you must define a data source for the Mitratech product database.
To Define a Microsoft SQL Server Database:
- Open IntApp Relationship Builder.
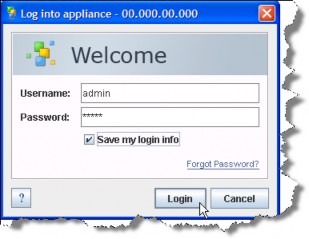
- On the Log into appliance dialog box, enter your username and password, then click Login.
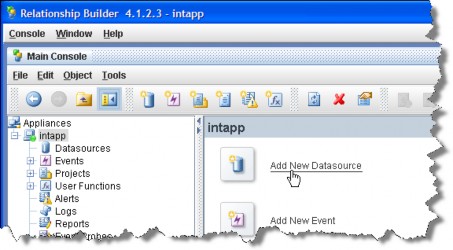
- On the Relationship Builder window, click the Add New Datasource link.
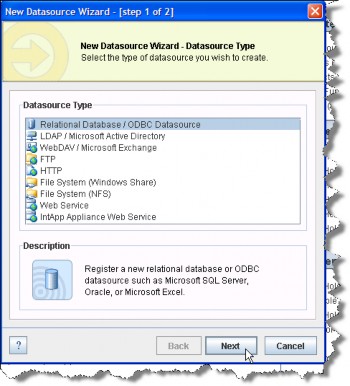
- On the New Datasource Wizard, select the Relational Database/ODBC Datasource type, and click Next.
- Select Microsoft SQL Server 2005 as the database type, and enter the name of the host server, port, database name, user name, and password to connect to the Mitratech product database, then click Finish.
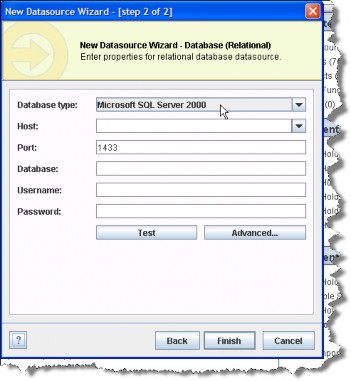
The user name and password must be an account that is able to create tables in the Microsoft SQL Server database. Your database administrator should create a separate database login account for the IntApp appliance in Microsoft SQL Server. Create the Microsoft SQL Server login and grant this new login access to the appropriate database along with the db_owner database role. The db_owner database role will enable the IntApp appliance to use a more privileged account to create the tables and triggers necessary to process the various business rules.
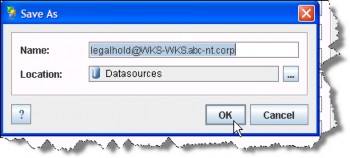
- Click Test to test the connection to the database immediately.
- On the Save As dialog box, click OK.
Importing a Rule
Once the data sources are defined, you can now import a rule template.
To Import a Rule:
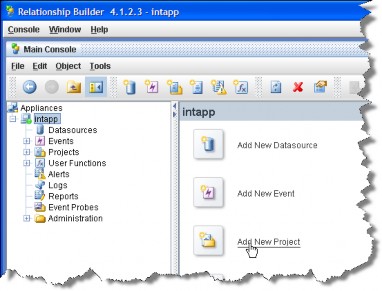
- On the Relationship Builder window, click the Add New Project link.
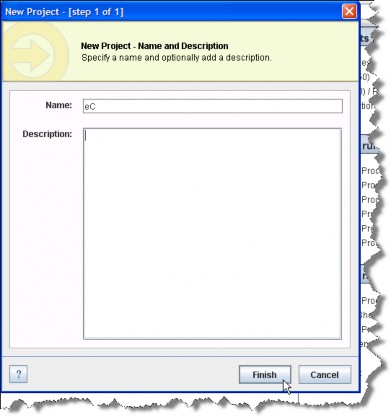
- On the New Project dialog box, enter the name of the project and, optionally, a description, then click Finish.
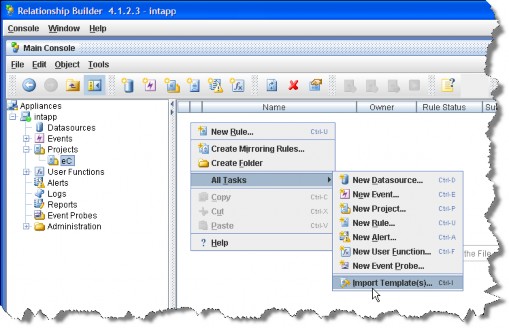
- On the Relationship Builder window, expand the Project node and click on the newly created project. In the right pane, right-click, select All Tasks, then select Import Template(s).
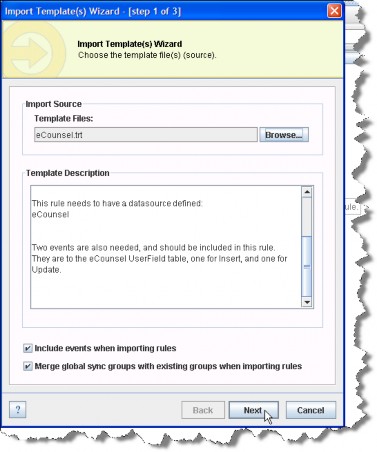
- On the Import Template(s) Wizard dialog box, click Browse and open the file provided by Mitratech. Click Next.
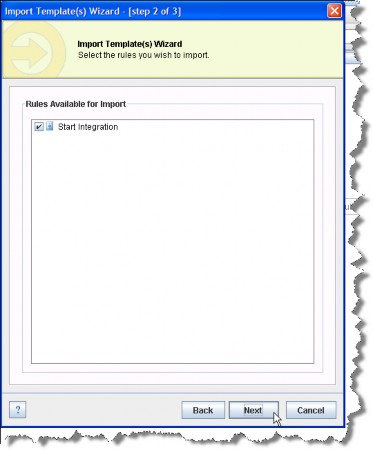
- Make sure the rule is checked, then click Next.
- Make sure the correct project is selected as the rule destination, then click Finish.
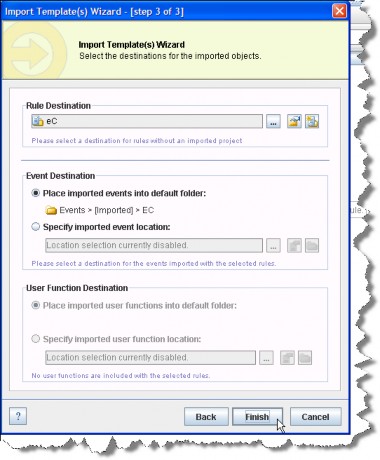
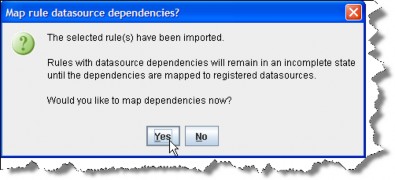
- On the Map rule datasource dependencies dialog box, click Yes.
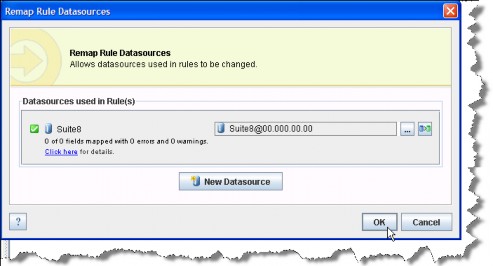
- On the Remap Rule Datasources dialog box, select the Mitratech product database created previously. Click OK.
Configuring a Rule
Once the data source is defined and you have imported the rule template, you can complete configuration of the rule if additional configuration is needed.
To Configure a Rule:
- In the right pane of the Relationship Builder window, double-click on the rule template that was imported.
- On the Rule Editor window, double-click on a task for a rule.

- Make any changes or set any parameters as needed.
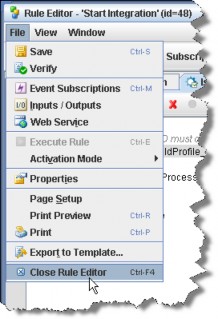
- On the Rule Editor window, click the File menu and select the Close Rule Editor menu command.
- On the Save changes dialog box, click Yes.
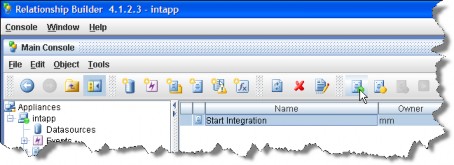
- On the Relationship Builder window, click the
 Activate Selected Rule(s) button.
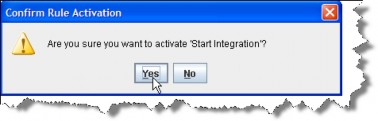
- On the Confirm Rule Activation dialog box, click Yes.
Running a Rule
You can now run the rule at any time or create an event to schedule the rule to be executed.
To Execute a Rule Manually:
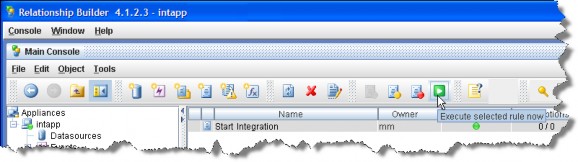
- In the right pane of the Relationship Builder window, click on the rule, and click the
 Execute Selected Rule Now button.
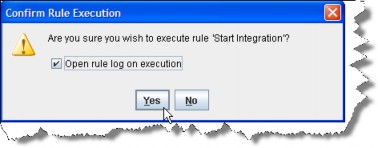
- On the Confirm Rule Execution dialog box, click Yes.
To Create an Event to Schedule Rule Execution:
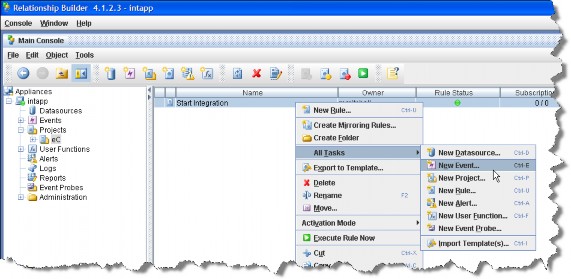
- In the right pane of the Relationship Builder window, right-click on the rule, select All Tasks, and selectNew Event.
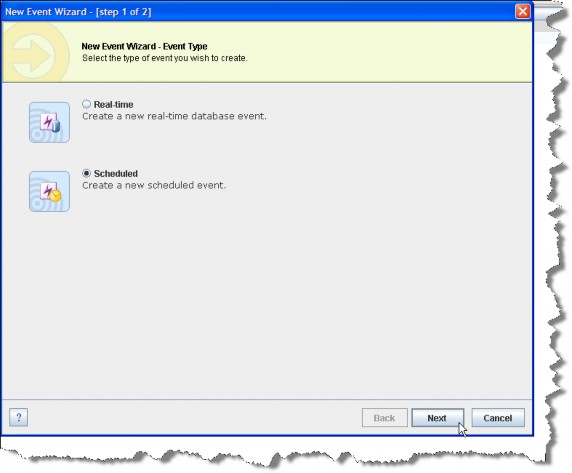
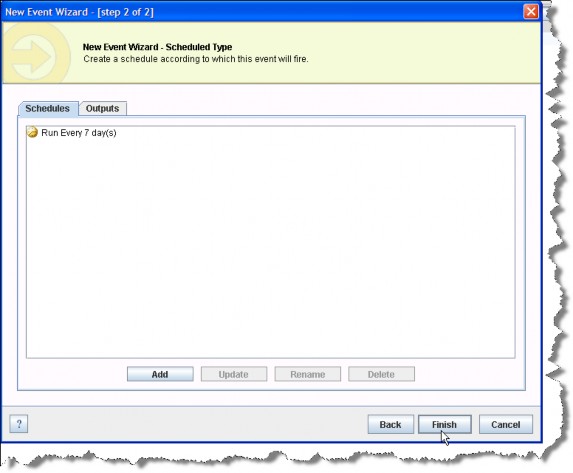
- On the New Event Wizard, click on the Scheduled radio option, then click Next.
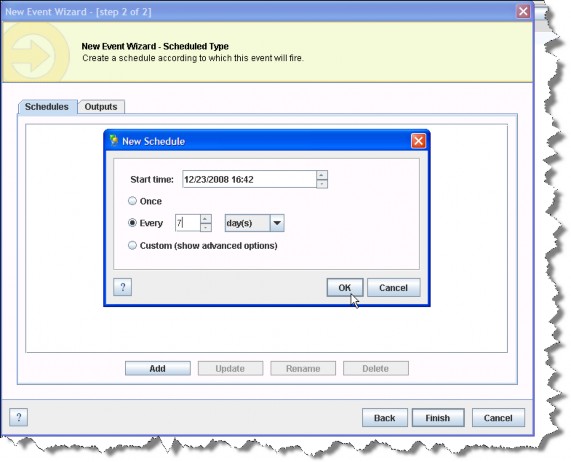
- Click the Add button.
- On the New Schedule dialog box, select the options to execute the rule and click OK.
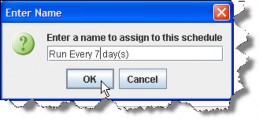
- On the Enter Name dialog box, change the name of the schedule if needed and click OK.
- On the New Event Wizard, click Finish.
- On the Activation Prompt dialog box, click Yes.
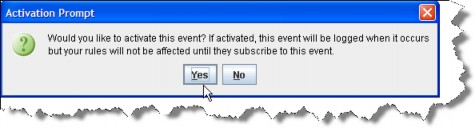
- On the Save As dialog box, enter a name for the event and click OK.