Managing Documents on a File Server
If documents are stored on a hard drive, an index of files is stored in the database. You will need to have access to the drive in order to view a document. In addition, any existing subdirectories in the files server path (configured by the system administrator) can be used to classify documents when saving the document.
The file size of attachments is limited to 100 MB.
To Attach a File:
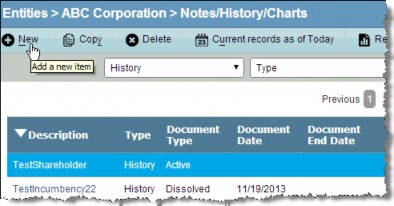
- Open the Entities module and add a new entity or edit an entity record.
- Open the Notes/History/Charts tab, and click the
New button.

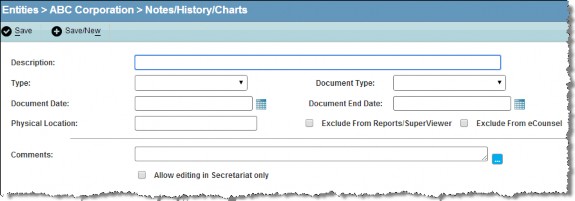
- Enter the appropriate information in the text boxes or select from the dropdown lists.

- Select the type of document being uploaded.
You cannot add a CorpCharts type to this tab. A CorpCharts Document record is created by CorpCharts and will appear on the tab automatically.
- Click
Save to save your changes.
- On the Notes/History Files subtab, click
New.
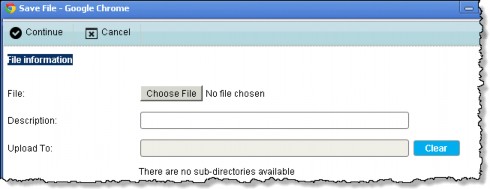
- On the Save File dialog box, click the Choose File button to locate the file. You also can enter the file name manually, but you must enter the full path, including drive and extension (for example:
F:\Documents\Minutes\120399.doc).

If you are trying to save a file with the same as another file, a dialog box will appear to suggest a new name for the document. You also can rename the document yourself and click OK.

- Enter a description of the file.
- If subdirectories exist in the file storage path, click on a directory in which to save the file, then click
Continue.
To Detach a File:
- Select a file from the Notes/History Files subtab on the Notes/History/Charts tab.
- Click the
 Delete button.
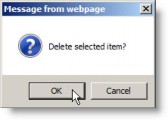
 - Click OK on the confirmation dialog box.

To View an Attached File:
- Select a file from the Notes/History Files subtab on the Notes/History/Charts tab.
- Click the
Lock/Unlock button to notify other users that the file has been checked out.
- Click the
Download button to open or save the file to your hard drive.
- Either click Open to open the file in the associated program or click Save to save the file to a default location. Click Save and select Save As to save the file to a location you specify. Navigate to a directory in which to save the file, enter a new name if needed, then click Save on the Save As dialog box.

