Approving/Rejecting Changes to an Entity Record
If you have been assigned the Entity Edits - Approve security attribute, you can approve or reject changes to an entity record made by users who have been assigned the Entity Edits - Restricted security attribute. Typically, you will receive a notice in the Lobby widget to alert you to changes that must be approved.
All additions/changes made to entity records pending approval will not appear in reports until the changes are approved.
After a change to an entity (addition, modification, or deletion) is approved or rejected, Secretariat sends an e- mail to the user who made the pending change to notify him/her of the status of the change. Make sure all users who have been assigned an Entity Edits security attribute have an e-mail address associated with their people record in Secretariat and the Is Primary checkbox is selected.
To Approve Edits to an Entity Record:
- Open the home page.
- On the Lobby widget, click the link for a Restricted Entity Edits notice.
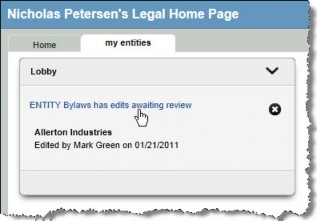
If you accessed the entity record from an e-mail notice, you will skip directly to Step 3 by clicking on the link in the e-mail and logging on to Secretariat.
- Click
 Approve.
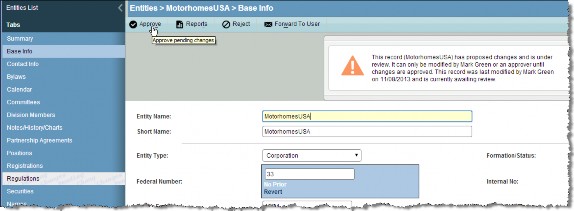
The Restricted Entity Edits notice will still appear in the Lobby widget on the home page until the widget is refreshed (click on the down arrow next to the widget name and select the Refresh Widget menu command).
To Reject Edits to an Entity Record:
- Follow Steps 1-2 above.
- On the dialog box, click the
Reject button.
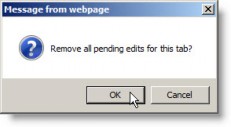
- On the message box asking to confirm rejection of the edit, click OK.
To Forward the Notice to Another User:
- Follow Steps 1-2 above.
- On the dialog box, click the
Forward to User button.

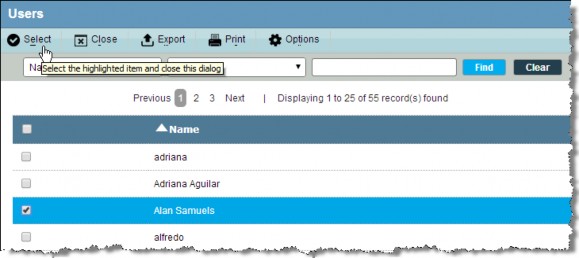
- On the Users List dialog box, select a user from the list by clicking on the checkbox next to a name, then clicking
Select.
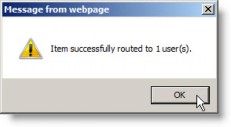
- Click OK on the informational message box.
