Collaborati Setup
To ensure a successful synchronization between Collaborati and Lawtrac 4.3, users must ensure certain property values within ColdFusion Administrator. New Collaborati clients will need to manually configure their scheduled task URL. See Scheduled Task URL Setup for more information.
Follow the steps below to run a change directory command for both Collaborati certificates.
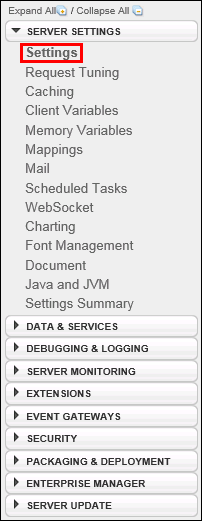
- In the ColdFusion Administrator sidebar, select Server Settings.
- Select Settings.
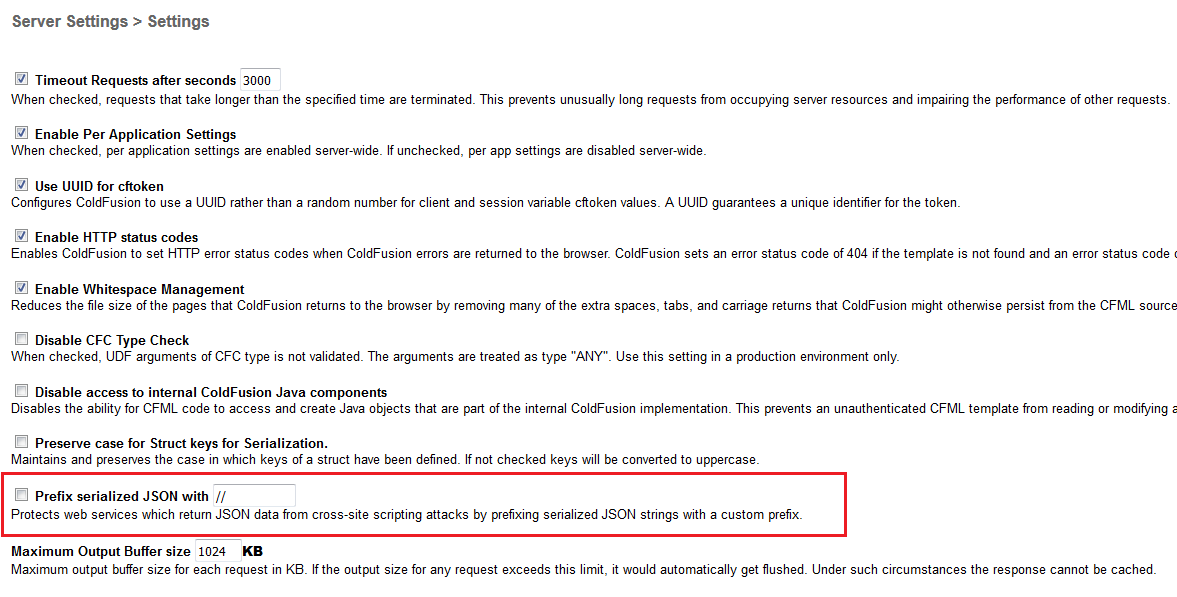
- Locate the property titled "Prefix serialized JSON with" and make sure the box is not checked.
- Open a command prompt and use the cd command (change directory) into the
\jre\binfolder located in your ColdFusion installation directory. - Click Submit Changes to confirm.
The next portion of the set-up covers how to download the Collaborati certificates and use a key tool to import CACERTS within the ColdFusion installation.
The default password for the CACERTS keystore is "changeit".
- In an open Internet browser, go to https://help.teamconnect.com/SSL.
- Click the link provided in Step 1 on the CSM Administrators: SSL Certifications form.
- Open the
wildcard.collaborati.net.zipand download all files contained within, starting withgd_bundle-g2-g1.crt. - Open the command prompt located in
coldfusion/jre/binand run the following command:
keytool -import -v -trustcacerts -alias collaborati -file C:\path\to\your\cert.cer -

    keystore F:\coldfusion\jre\lib\security\cacerts
The command prompt transfers thewildcard.collaborati.net.zipfiles to the application server where your ColdFusion application is stored. The files will be kept in thejre/lib/securityfolder. - Type
"Y"to trust both certificates and add them to the keystore. Press [Enter] on your keyboard. - Restart the ColdFusion Administrator.
Scheduled Task URL Setup
For new Collaborati clients, Scheduled Task URL must be manually set following these steps:
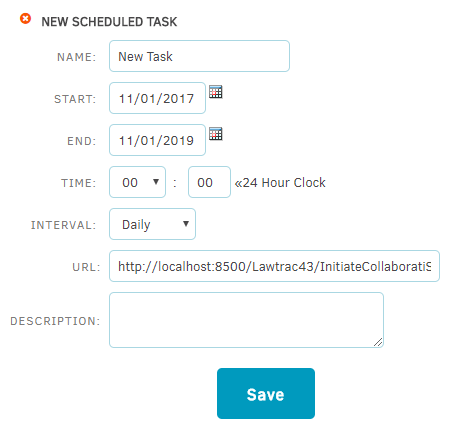
- Log into Lawtrac and navigate to My Lawtrac > Application Administration > Application & Database > Scheduled Tasks.
- Click Add New Scheduled Task.
- Add a New Scheduled Task, by providing a name, start and end date, time, interval and set the URL to: 'http://localhost:8500/YourLawtracVer...boratiSync.cfm’. For example, a Lawtrac 4.3 user would enter: http://localhost:8500/Lawtrac43/Init...boratiSync.cfm.
- Click on the Save button and test the Collaborati Sync by clicking the Run Now button.
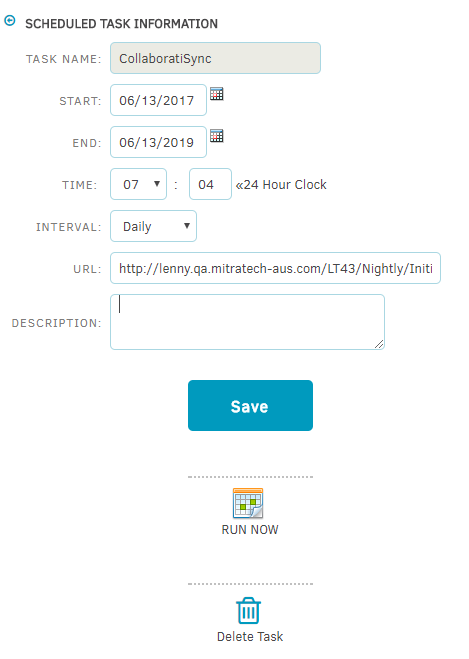
For existing Collaborati clients, Scheduled task URL must be manually updated to a new URL.
- Log into Lawtrac. Navigate to My Lawtrac > Application Administration > Application & Database > Scheduled Tasks.
- Update the existing Collaborati Sync to http://localhost:8500/YourLawtracVer...boratiSync.cfm in the URL field. For example, a Lawtrac 4.3 user would enter http://localhost:8500/43/Nightly/Ini...boratiSync.cfm.
- Click on the Save button and test the Collaborati Sync by clicking on the Run Now button.