Create Matter Routing Slips
-
Select the Routing Slips tab within a matter.
-
Click
 to be redirected to a new page where you have the option to select one of the three following:
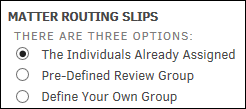
3.When finished, click Continue. Depending on your selection, you have different options going forward.
The Individuals Already Assigned
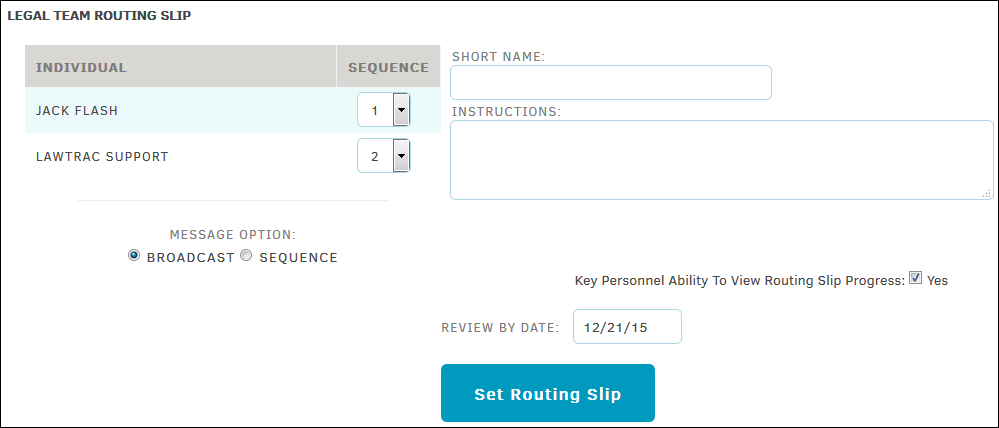
If you selected the radio button for individuals already assigned to a matter routing slip, your Legal team is listed.
-
Select the drop-down list next to the individual's name to change the order of review.
-
Choose a radio button next to "Broadcast" or "Sequence" to decide how you want to send the notification.
Select "Broadcast" to send a notice to all reviewers at the same time. Select "Sequence" to notify the routing slip reviewer of their role via email after the reviewer in the preceding sequence has taken action. -
Optionally, enter a short name for the routing slip, and provide instructions in the text box. You can also set a "review by" date by entering a calendar date in the bottom text box.
-
When finished, click Set Routing Slip.
Pre-defined Review Group
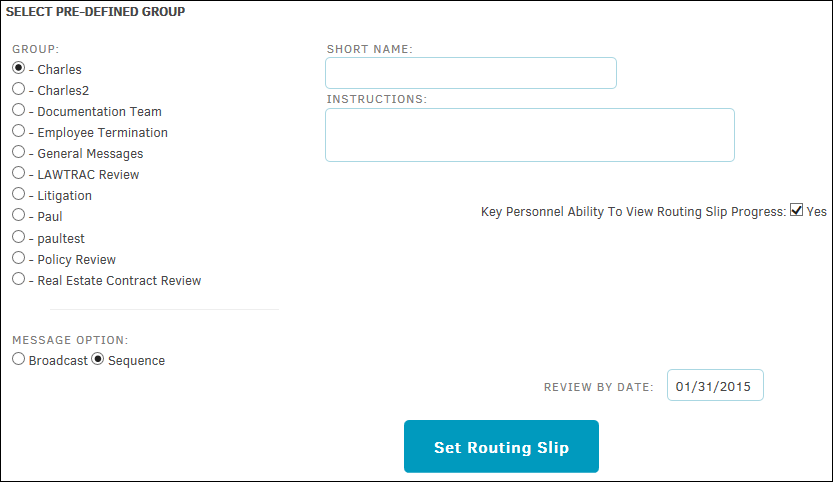
If you selected the radio button for a pre-defined review group, you are able to select one radio button next to a group name. All other routing slip options remain the same.
Choose a radio button next to "Broadcast" or "Sequence" to decide how you want to send the notification. Select "Broadcast" to send a notice to all reviewers at the same time. Select "Sequence" to notify the routing slip reviewer of their role via email after the reviewer in the preceding sequence has taken action.
When finished, click Set Routing Slip.
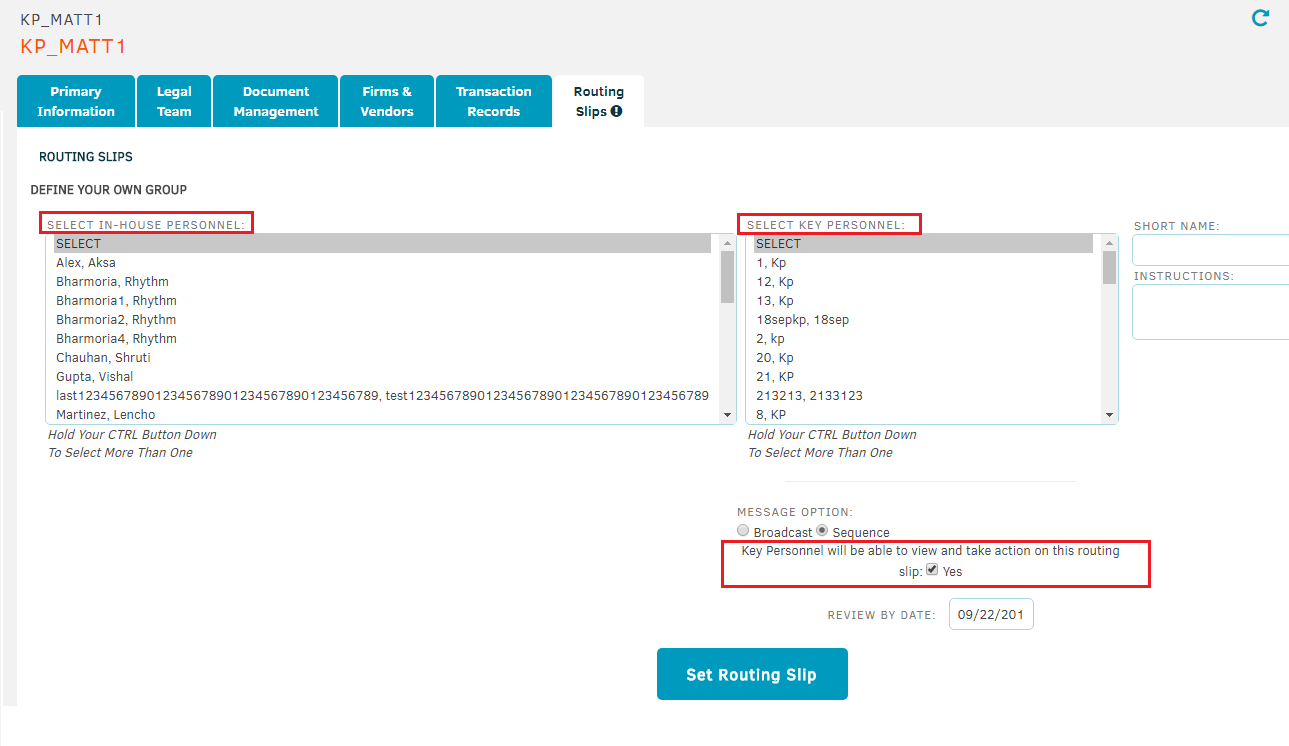
Define Your Own Group
If you selected the radio button to define your own review group, you are able to select multiple In-house and Key Personnel users to add to the routing slip.
Select multiple users from each list (In-house & Key Personnel) by holding the control key down while selecting users. There is no limit to how many users can be added to a routing slip.
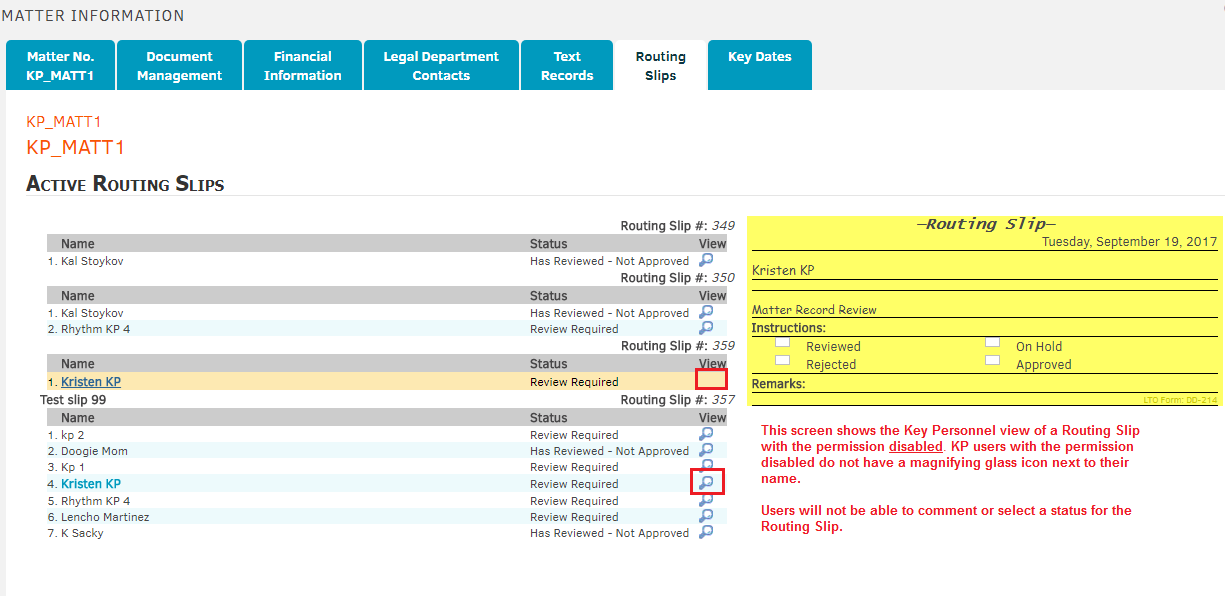
Key Personnel users can have the ability to take action on routing slips if the Key Personnel will be able to view and take action on routing slips checkbox is checked.
- If checked, KP users will be able to mark the routing slip as Reviewed, Rejected, On Hold, or Approved and they will have the ability to add comments before updating the routing slip.
- If unchecked, KP users will only have viewing access to the routing slip.
See the images below to see how KP users will view routing slips with the permission enabled and disabled.
Choose a radio button next to "Broadcast" or "Sequence" to decide how you want to send the notification. Select "Broadcast" to send a notice to all reviewers at the same time. Select "Sequence" to notify the routing slip reviewer of their role via email after the reviewer in the preceding sequence has taken action.
All other routing slip options remain the same.
Additional images below detail how Key Personnel users will see routing slips with and without the take action permission checked.
When checked, the KP user will be able to view and edit the routing slip.
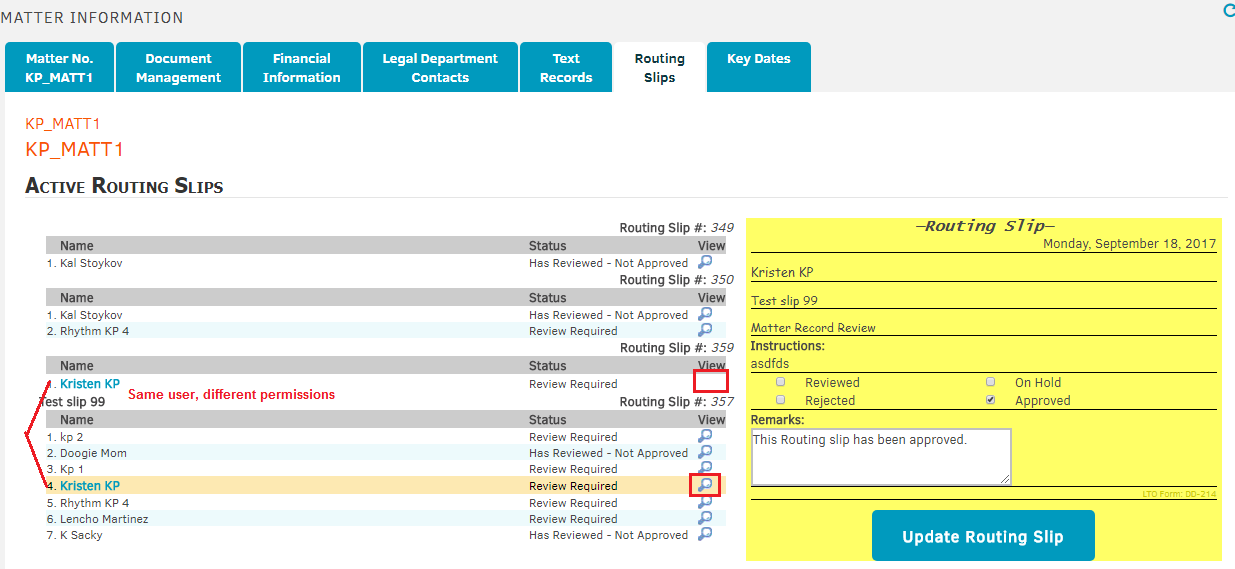
When unchecked, the KP user will only be able to view part of the routing slip.