Understanding the Home Screen
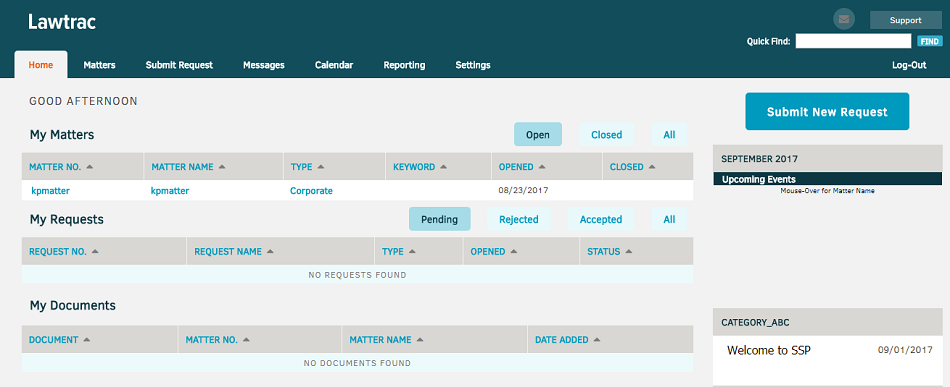
The homepage displays all open and closed matter records to which you are assigned. Requests that have been accepted, rejected, or are pending are also listed.
Click on the table headings in bold to sort your list.
In the My Matters and My Requests tables, click on the matter or request number to be directed to that matter record or request information page.
Click on the text in the Type column to open a search tool at the top of the page. This search tool queries for matter records within a specific period of time. Use the calendar icon to select a date from the calendar.
Located on the right side of the page you can find your upcoming events, which include notifications from your assigned matter records if you have been allowed notification permissions. Click on the event title to navigate to that matter record or event information.
Announcements and notifications are located here as well, as set up by the site administrator. These notices could be anything from general announcements to instructions and reminders.
Submit a New Request
Click Submit New Request to create a request for such things as contracts, approval for an issue, claim numbers, etc. Any requests made here show up on your homepage, where you can review them, and they also show up in your key personnel user profile for the in-house Legal team and site administrators to view. This process is detailed below
To submit a new request, you can click the Submit New Request button found on the home screen (seen in image above), or you can navigate to the Submit Request tab and submit from there (seen below).
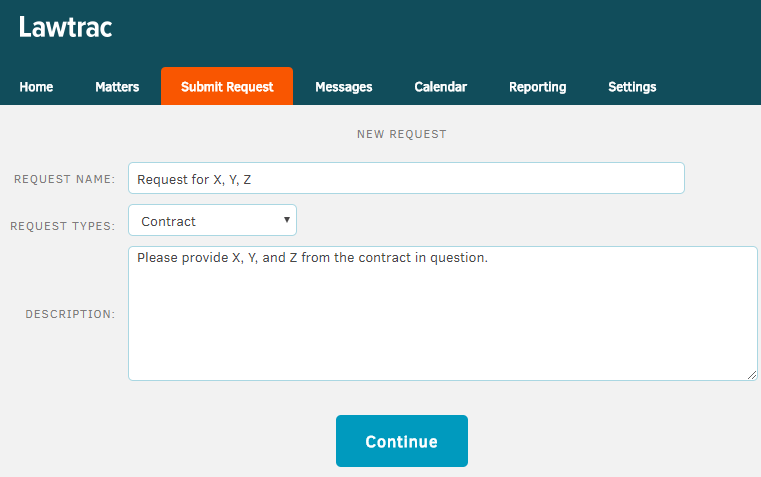
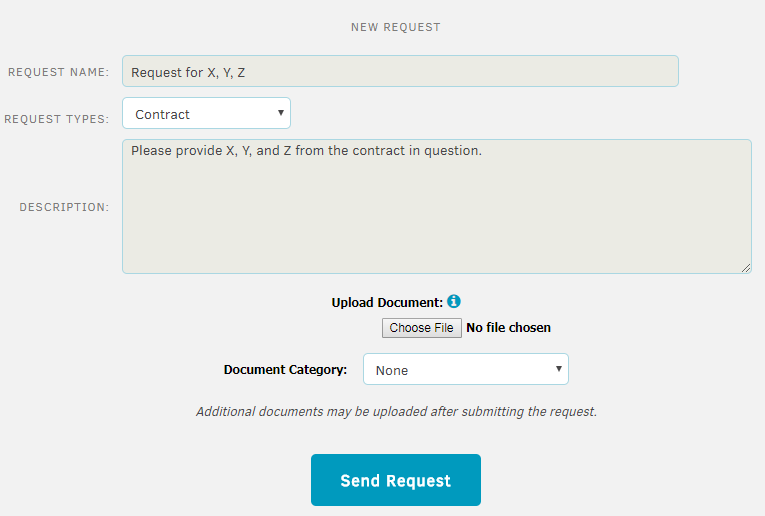
Fill in the fields and click Continue. Once you are in the next screen, add any additional information or attachments then click Submit.