
Events Module in Mobile App
Introduction
The guide provides users with information about creating, performing, editing, and completing an Event. The CMO lite mobile app must have an internet/network connection to perform these actions.
Note: Events created on the mobile device are synced to the web application when a user performs a Sync Events/Actions sync.
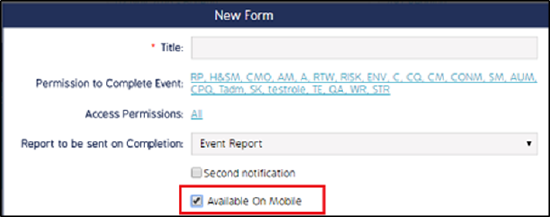
In Forms, when the Available On Mobile setting is enabled on the web application, they are automatically downloaded during the initial sync of the CMO lite mobile app.
To enable the setting:
- Go to Forms > New Form > Edit
- Select Available On Mobile
Relevant Role Permissions and Business Rules
Ensure the correct Form and Event permissions are set for Roles that will be creating Events and syncing them between the web and a mobile application. Enable the Role Permissions for Mobile and User Permissions to ensure the correct permissions are set. The Available On Mobile permissions detailed above is also relevant.
Create a New Event
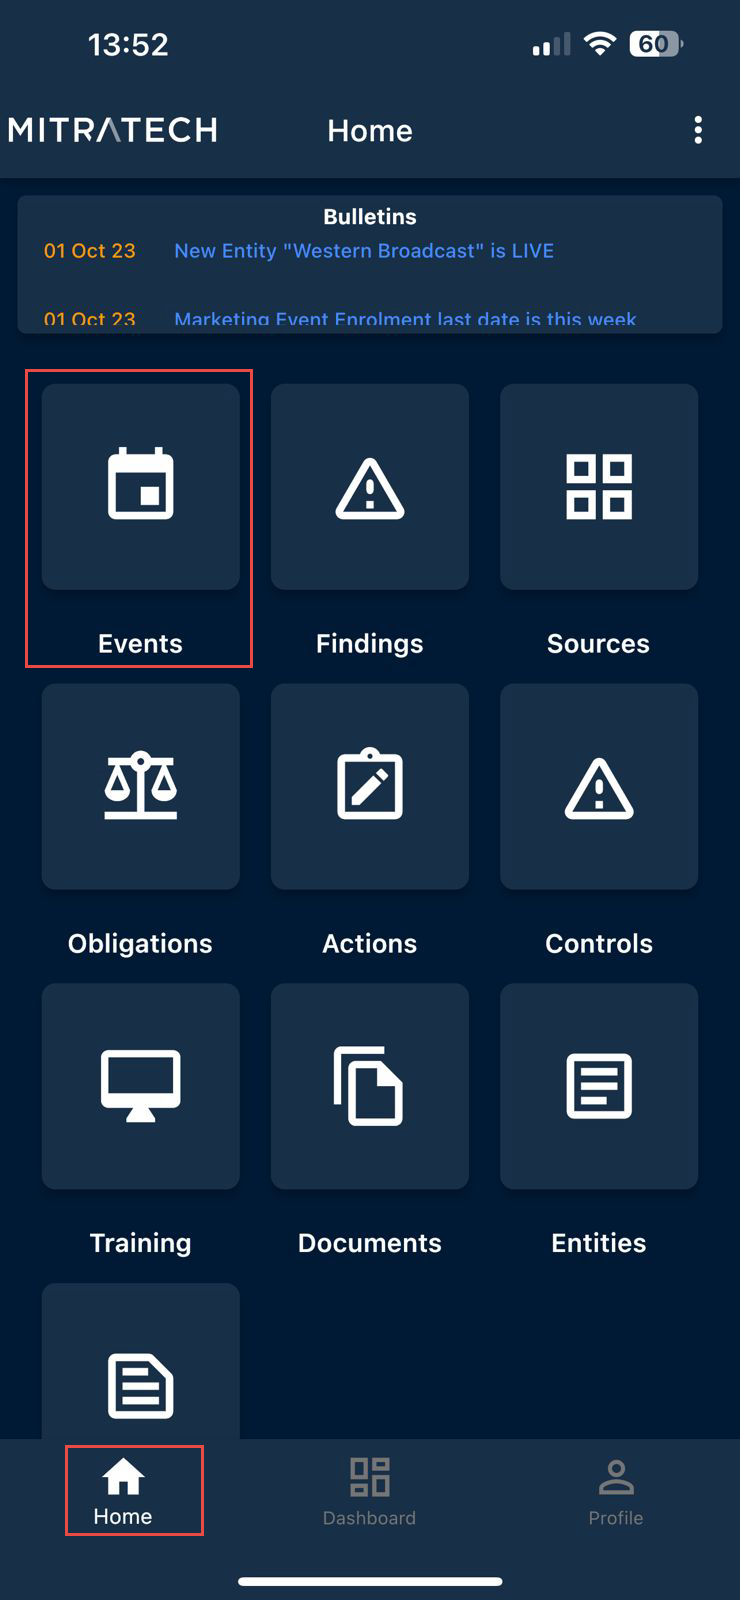
- Log into the CMO mobile app.
- Go to the home screen and click on the Events button
3. The user lands on the Event Register page. The list of already available Events will be displayed on the Event Register page. The user can edit the Event based on the percentage of the Event form completion progress or create a new Event.
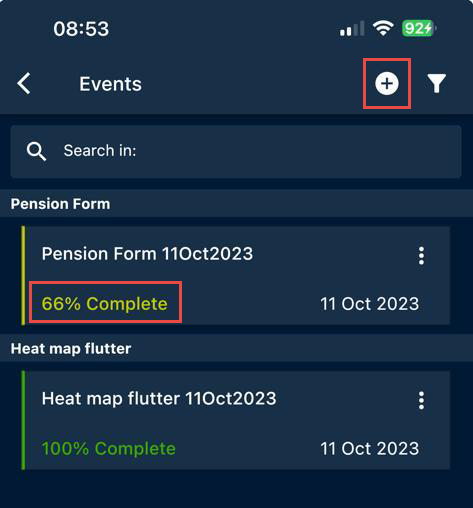
4. Click on any already existing Event to open the form and edit to complete the form. When the user clicks on the add  icon, a new Event form is displayed.
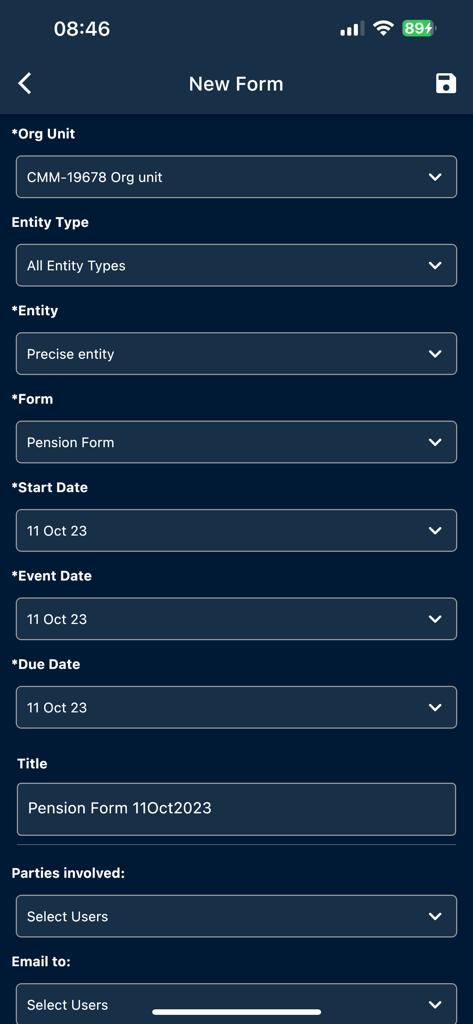
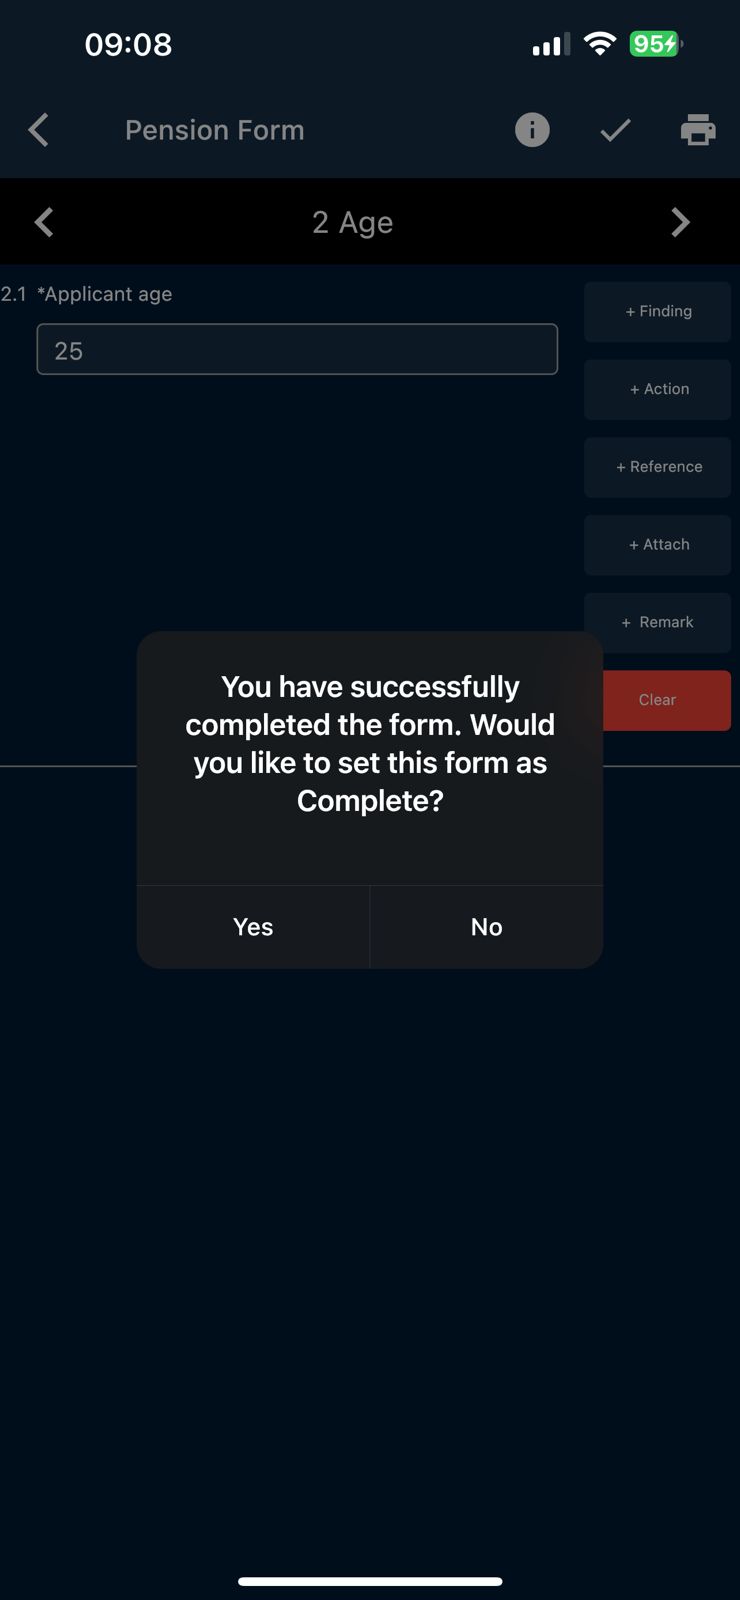
5. Enter the details and save the form. Once the form is completed, based on the type of form, the user must answer the questions. The user can also add a Finding, Action, Reference, Attachment and Remarks to the form.

Note: The user can save the form without adding Finding, Action, Reference, Attachment and Remarks.
6. Click on the check  icon to save the form. The application prompts a message for the user to complete the form. Click 'Yes' to complete the form.
The user can add Findings, Actions, References, Attachments and Remarks to each question in the Event form.
Add a Finding to the Form
1. Once the form is completed, based on the type of form, the user must answer the questions. The user can also add a Finding to the form.

2. Click on the Finding button to open a new Finding form.
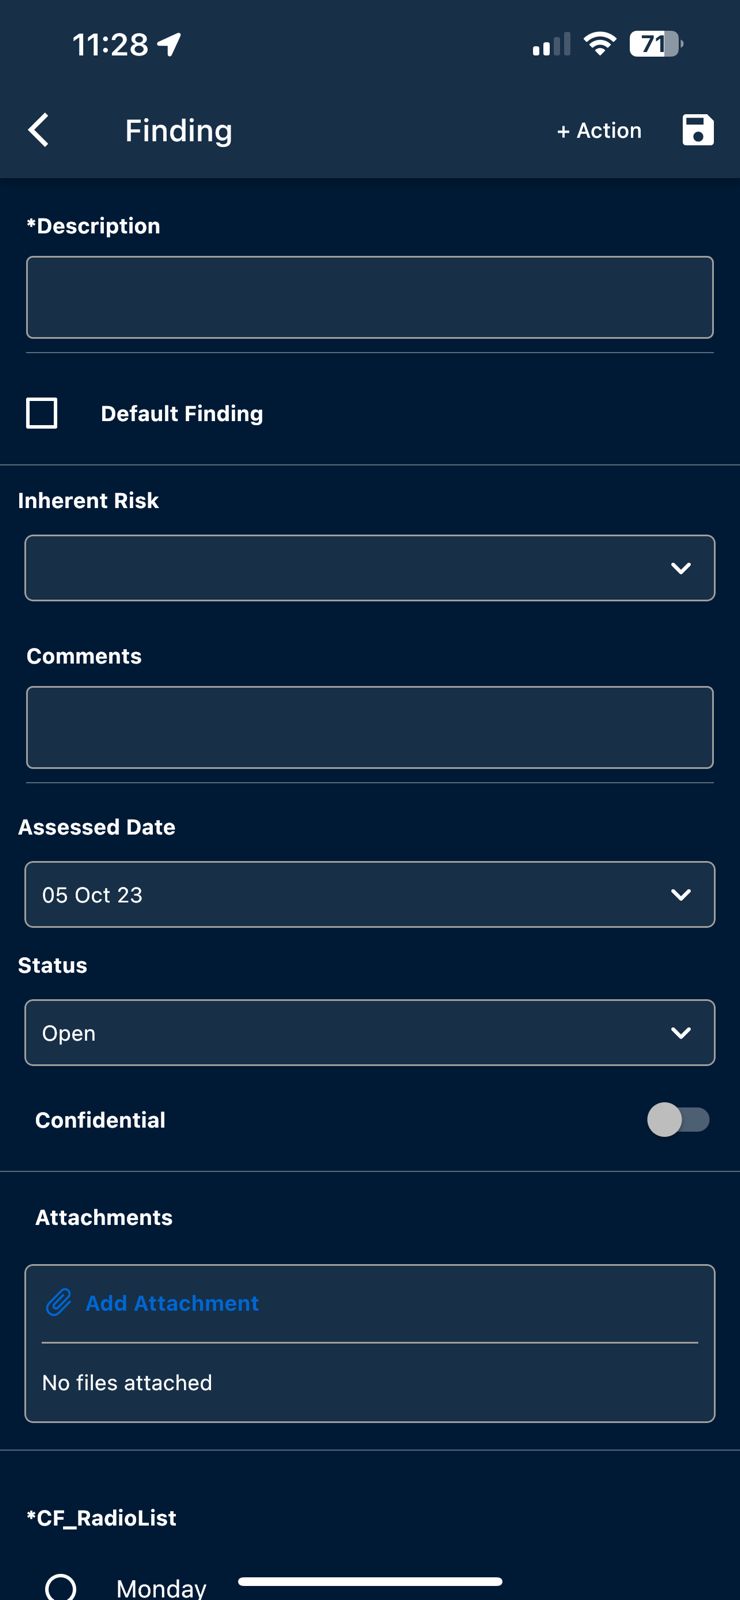
3. Enter the details in the text fields and save the form.
Note: The user can add Action to the form from Finding or Individually from the Action button.
Add an Action to the Form
1. Once the form is completed, based on the type of form, the user must answer the questions. The user can also add an Action to the form.

2. Click on the Action button to open a new Action form.
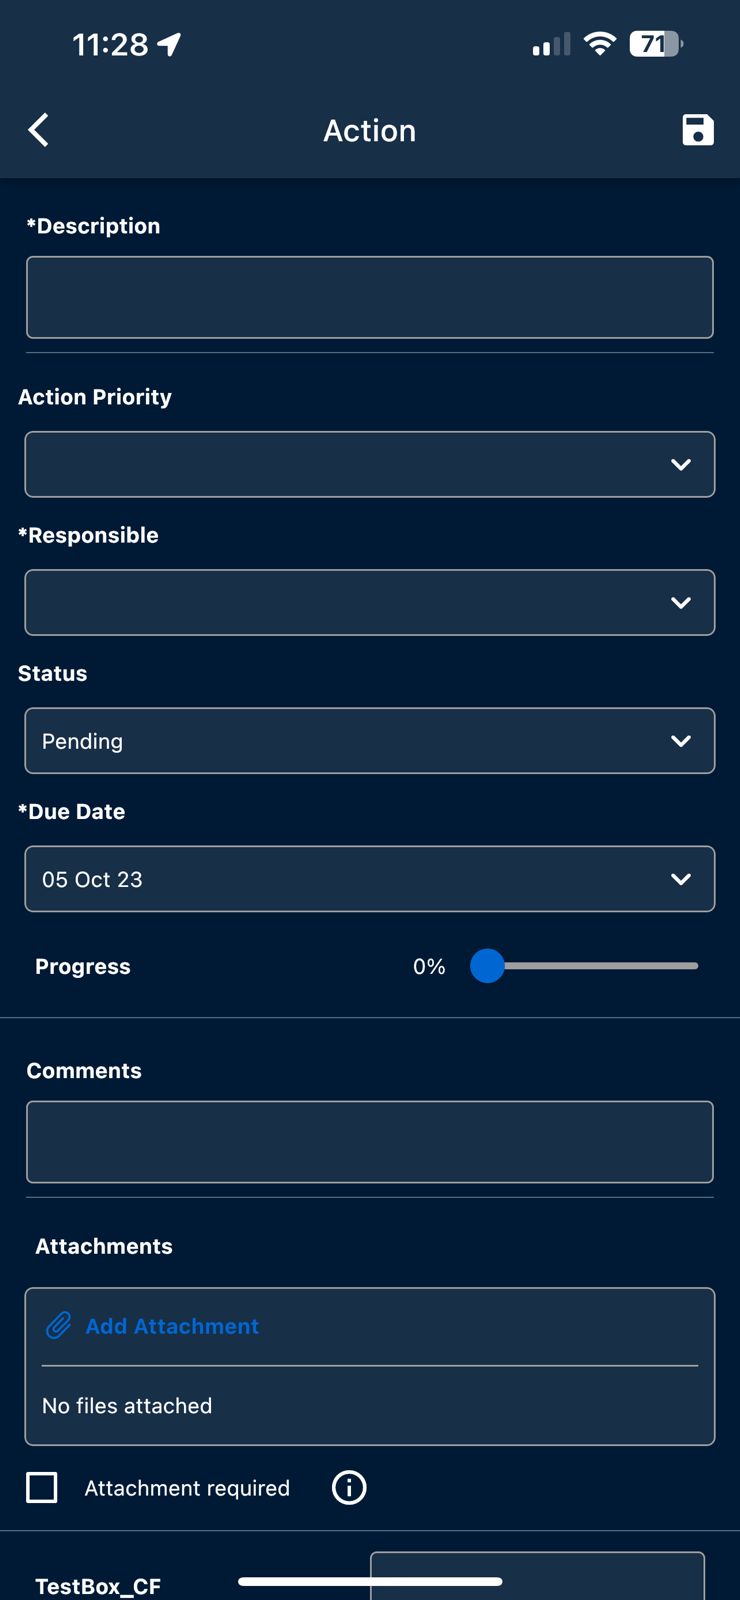
3. Enter the details in the text fields and save the form.
Add a Reference to the Form
1. Once the form is completed, based on the type of form, the user must answer the questions. The user can also add a Reference to the form.

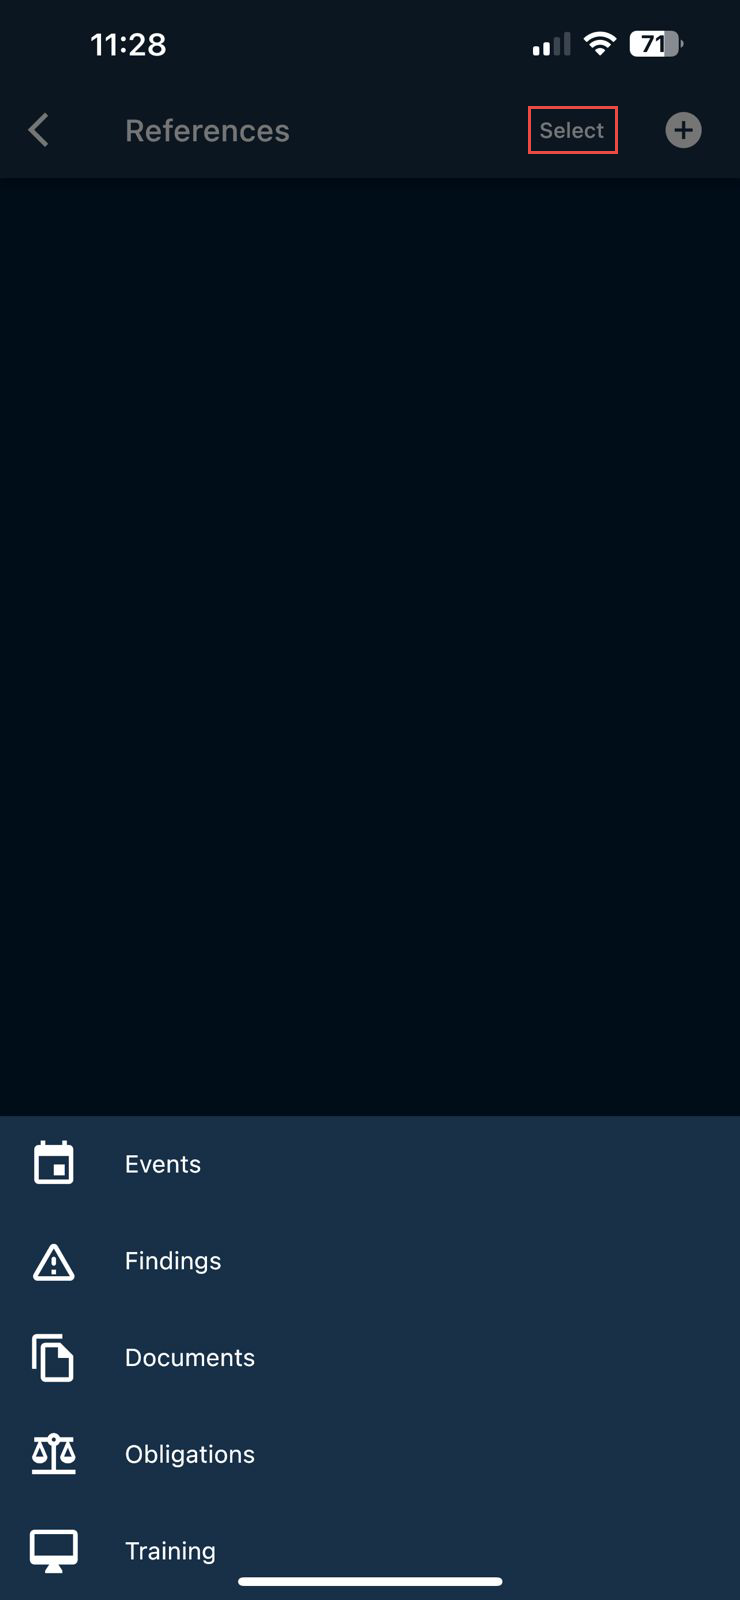
2. The user lands on the Reference page. The user can select a reference or add a new reference to the form.
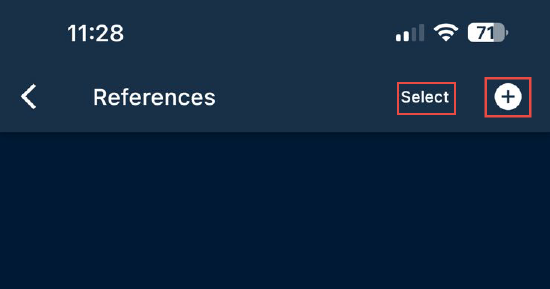
3. Click on the Select button to select the type of references available in the application.
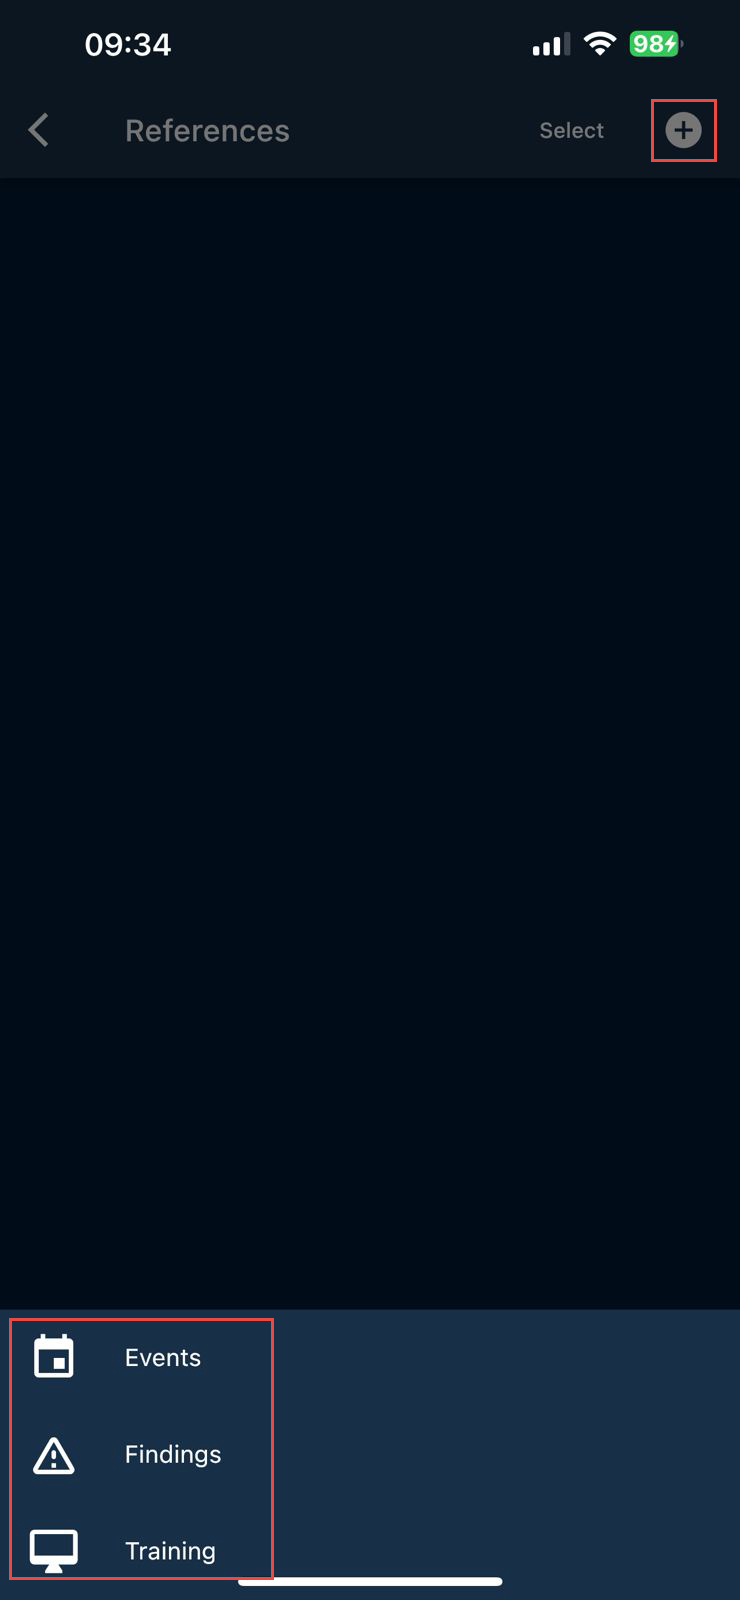
4. Click on add icon to create a new reference to attach to the Event form. The user can attach only new Events, Training and Findings references.
Add an Attachment to the Form
1. Once the form is completed, based on the type of form, the user must answer the questions. The user can also add an Attachment to the form.
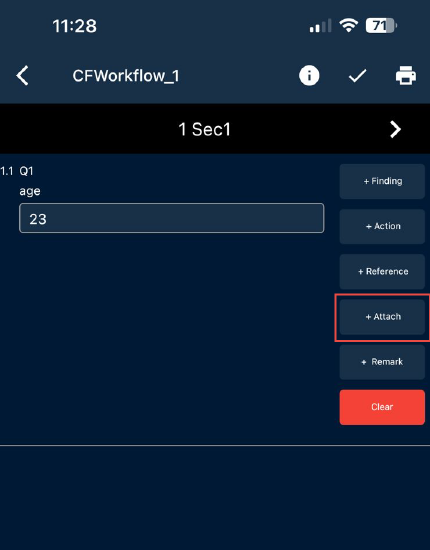
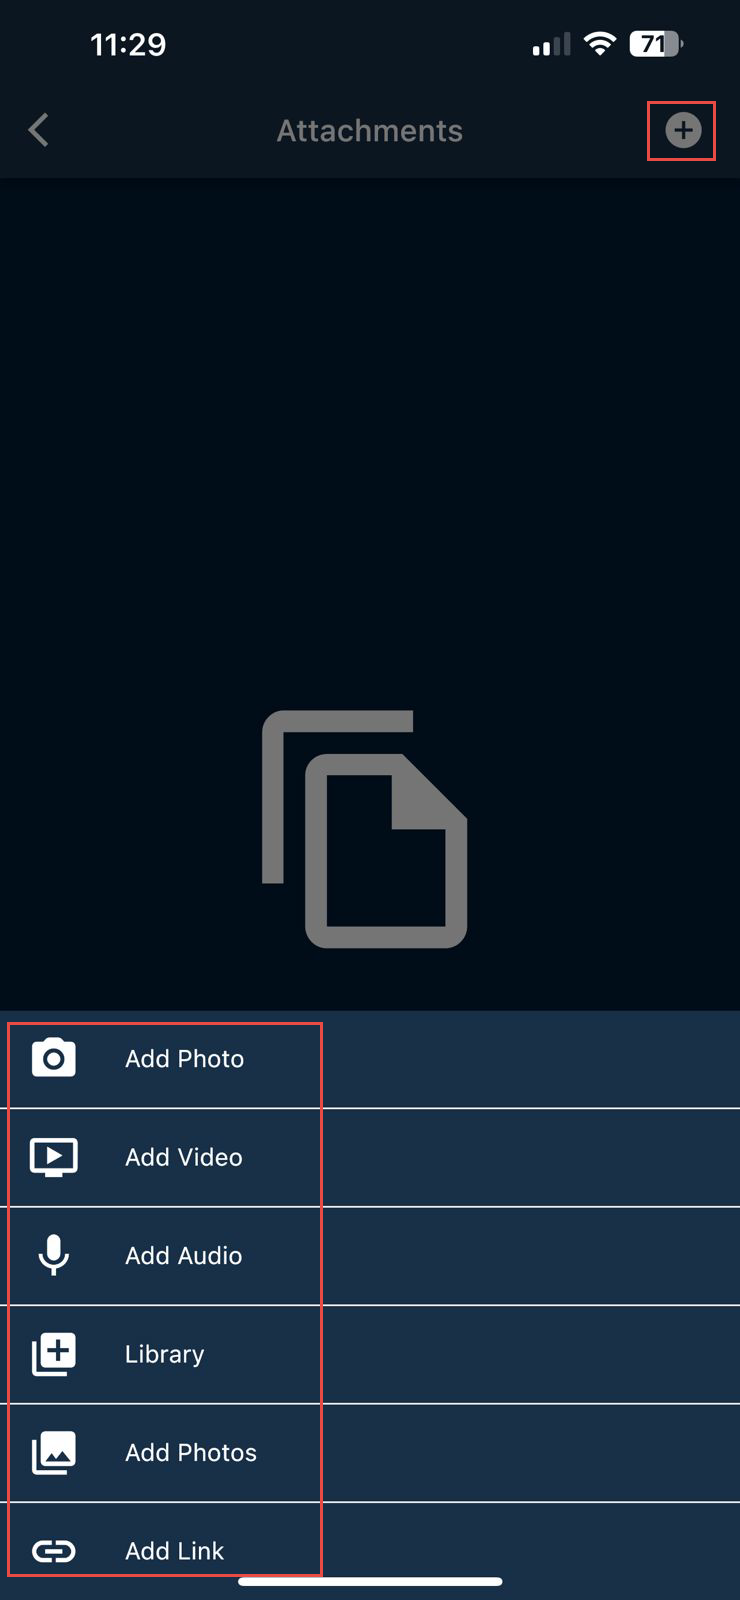
2. Click on the Attach button. The user lands on the Attachment page. Click on the add icon to add attachments based on the type of attachments.
Add a Remark to the Form
1. Once the form is completed, based on the type of form, the user must answer the questions. The user can also add a Remark to the form.

2. The different types of remark options will be displayed. The user must select the type pf remark and add his/her statements.
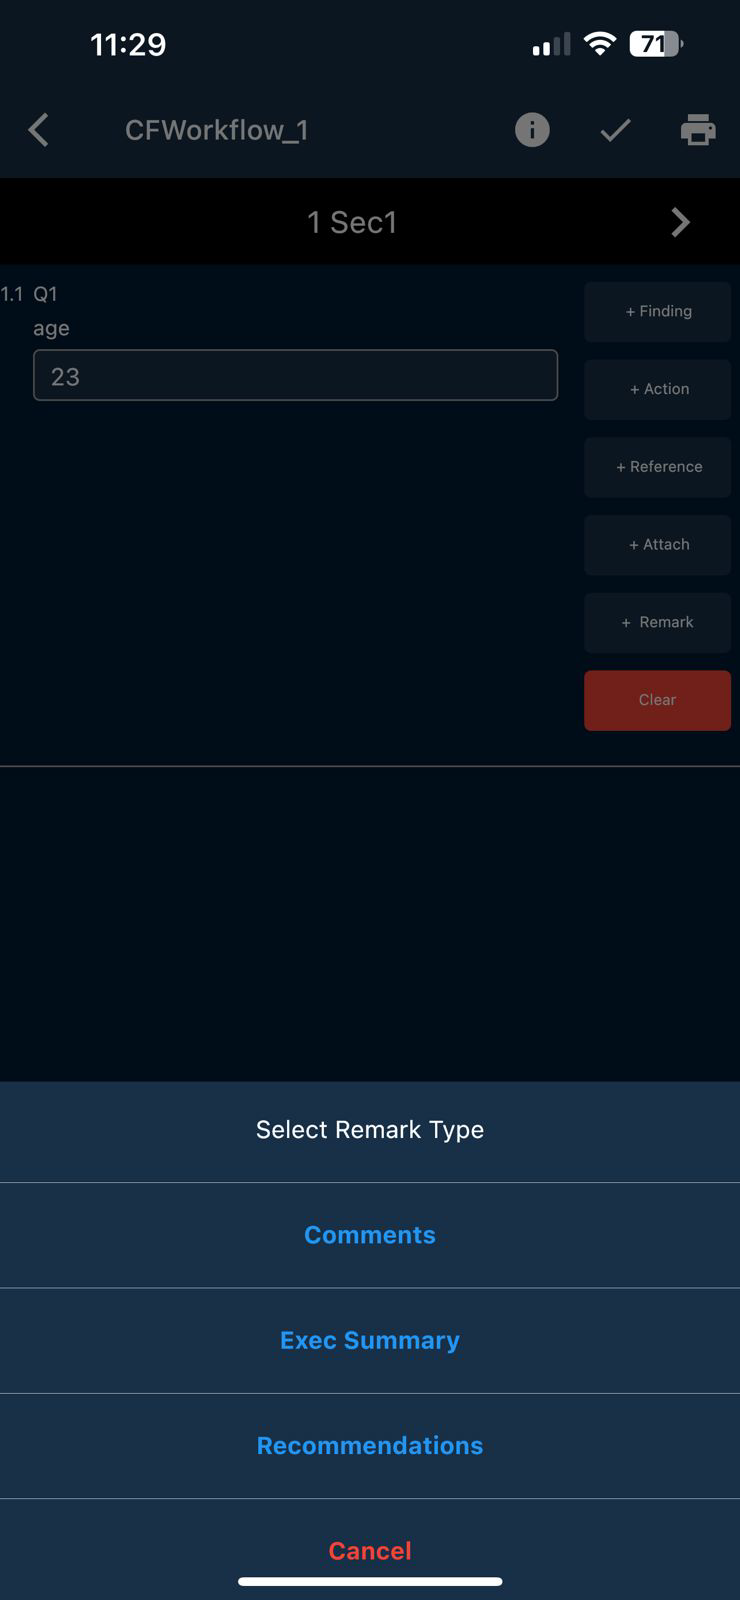
3. The user can make three type of remarks.
- Comments
- Exec Summary
- Recommendations.
4. The user can also use default comments/exec summary/recommendations available in the application. The user must click on the three dots option in the respective remarks page and search for the default comment types.
The user can add one or none or all to findings, actions, references, attachments and remarks to all questions or any one question to the Event form. Once this process is completed, the user can save the form. Once the form is saved the app prompts the user to sync the form to the web.
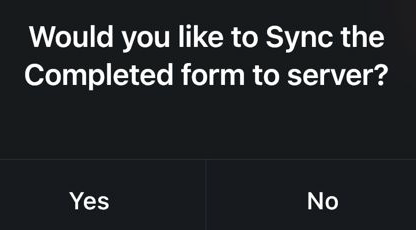
Click 'Yes' to sync the form to the server. Click 'No' to sync the form to the server later from the sync screen.
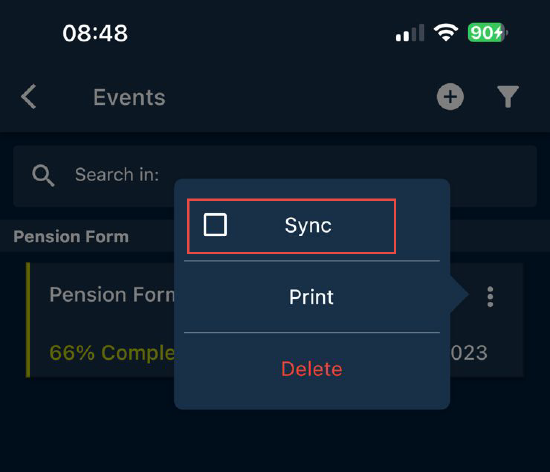
Sync Event from the Register Page
The user can also sync the Event from the Event Register page. Go to any Event from the Register page, and click on the three dots available on the Event. Select the sync option.
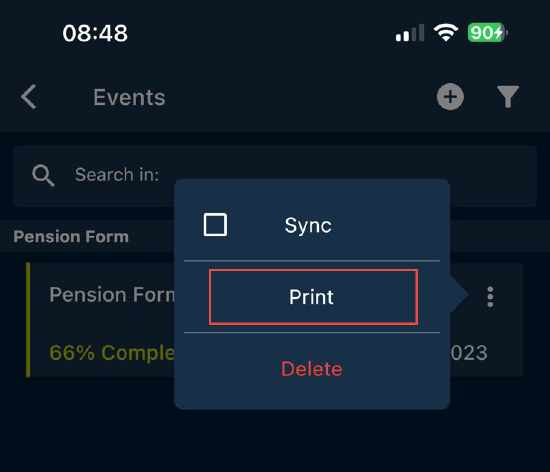
Print Event Report
The user can also print the Event report from the Event Register page. Go to any Event from the Register page, and click on the three dots available on the Event. Select the print option. An Event report is generated.
Filter Events Based on Org Unit, Entity, Entity Type
From the Events Register page, select the filter icon  .
.
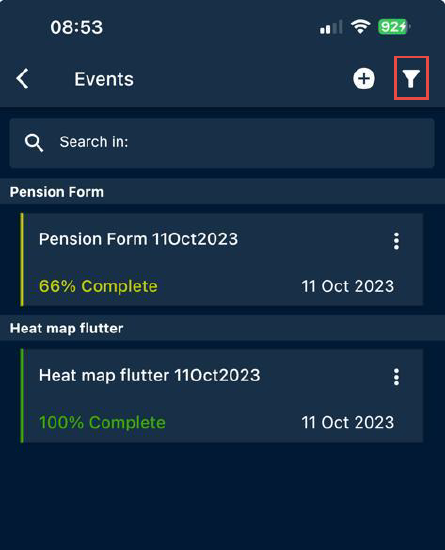
A filter page is displayed with multiple filter options.

The user can filter the Events based on Org Unit, Entity, Entity Type, Status of the Event, Form, Date (From and To).
Here are some interesting things about...