How To Schedule Recurring Reports
Steps To Schedule Recurring Reports
This article details the steps needed to create automatically recurring Reports.
Navigation And Configuring The Report
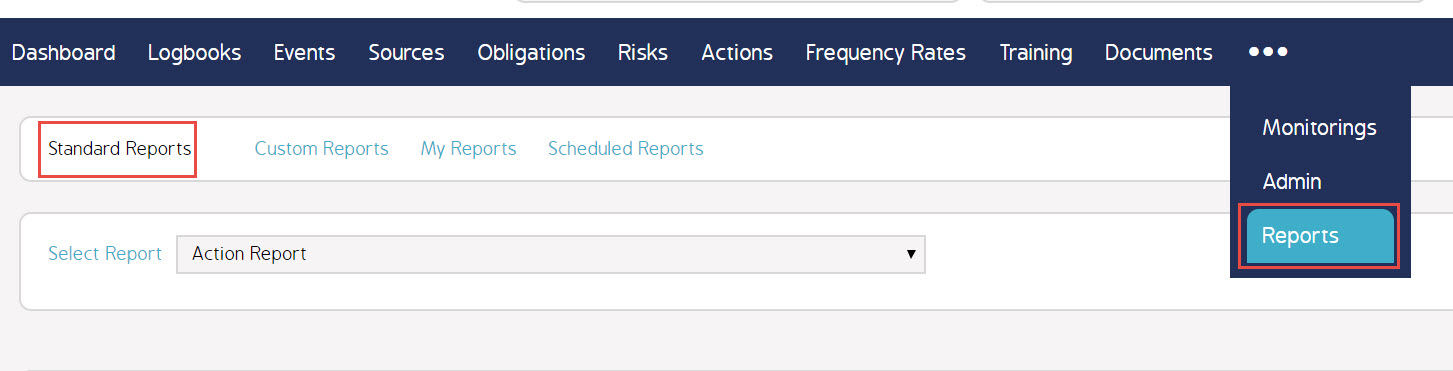
Once logged into CMO, select the Report tab from the top of the screen. In Reports, select Standard Reports if you are not already there and select your desired report. We will use "Action Report" shown in the example below.
Now, configure the desired Report filters under Standard Reports.

For this example, I have selected all values for the filters while designating the need Form filter as 'Test Form' and the Date as 'Last 30 Days.'
Setting The Recurrence Pattern And Email Preferences
Then click Auto Send directly under the filter settings from the previous step.

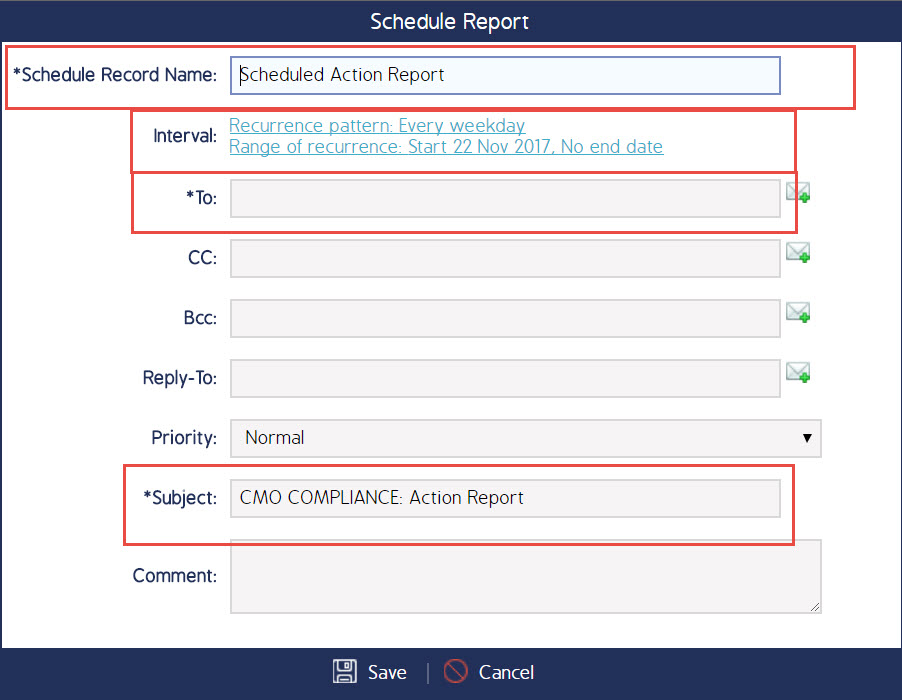
The Schedule Report window will now appear over the previous screen. At a minimum fill out the required fields to generate the report. These will be 'Schedule Record Name:', 'To:', and 'Subject:'. Setting the 'Interval:' is completed by clicking the blue hypertext.
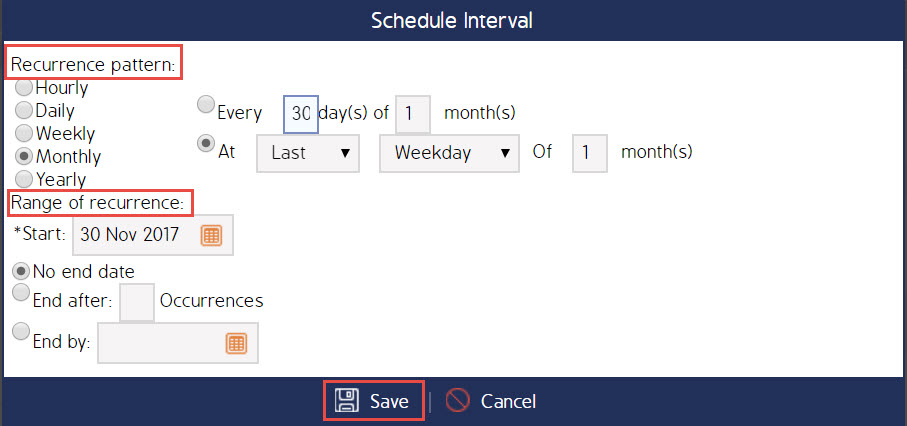
The Schedule Interval window will now appear over the previous one. Set the 'Recurrence pattern:' and the 'Range of recurrence:'. For the purposes of this example, I will set this Report to generate on the last weekday of the month with a start date of November 30th, 2017 and no end date. Finally hit Save at the bottom of the window.
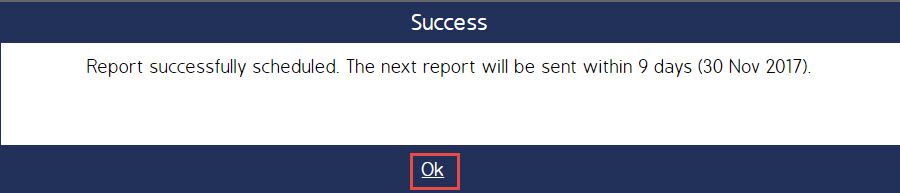
Once all of your changes have been saved, a final window will appear displaying the next report date. Select Ok to clear the window.