
Currency Converter
What is a Currency Converter?
In Acuity, Law Firms have the ability to create or upload invoices in their native currency, and to toggle back and forth between their native currency and their client’s default currency - typically the client’s default is US dollars. We will update exchange rates daily for currency conversion.
Note: While invoices can be uploaded in your native currency, timekeeper rates and budgets must be entered in the default of US dollars.
Follow the below steps to get started.
Add a New Timekeeper
To upload a non-US invoice successfully, your firm will first need to enter timekeepers in Acuity for approval. The timekeeper rates must be entered in US Dollars and approved by the client.
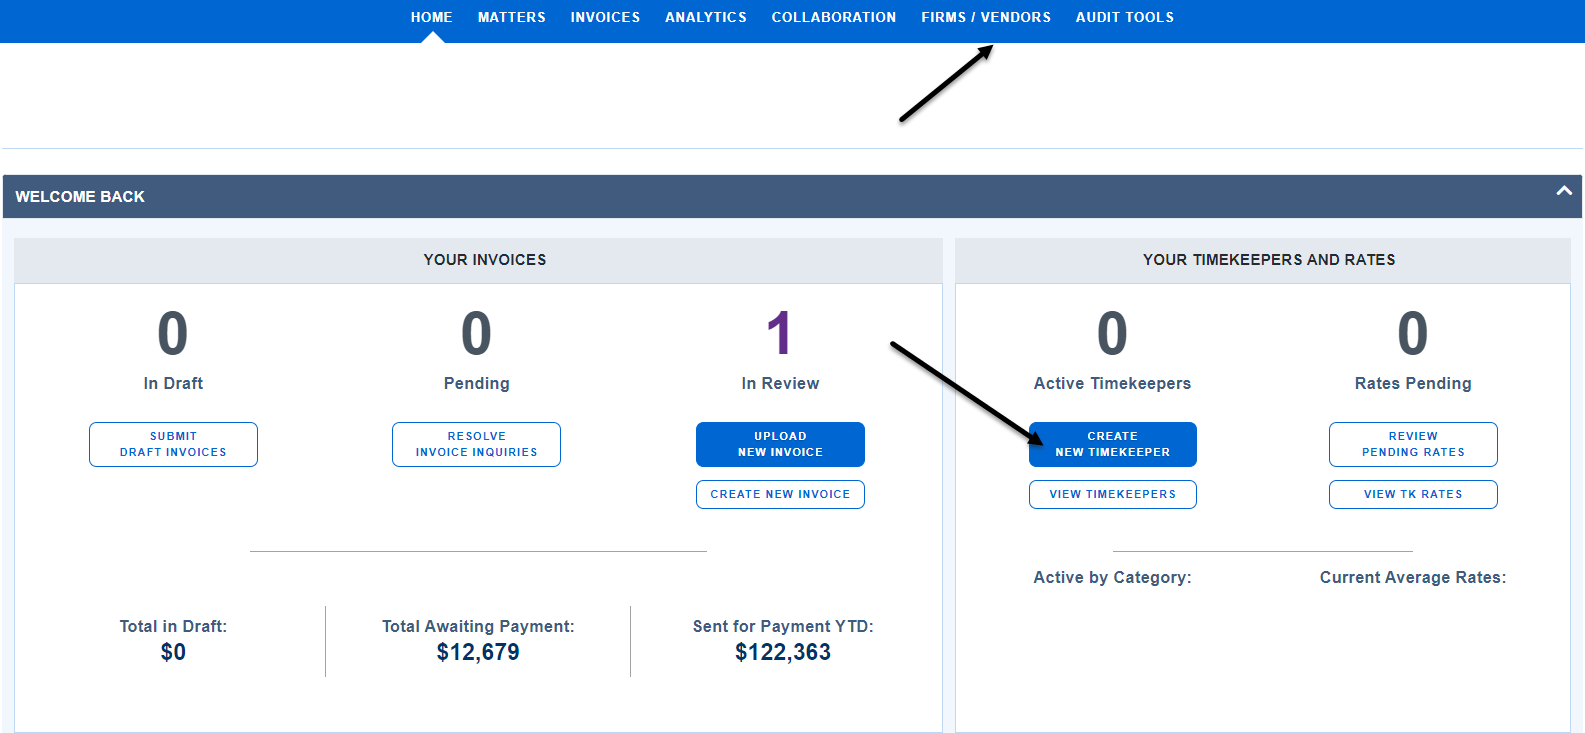
To add a timekeeper from the Landing Page, click the Create New Timekeeper action button, or click the FIRMS/VENDORS navigation link at the top of the page.
On the firm profile page, click  to open a new timekeeper profile window.
-
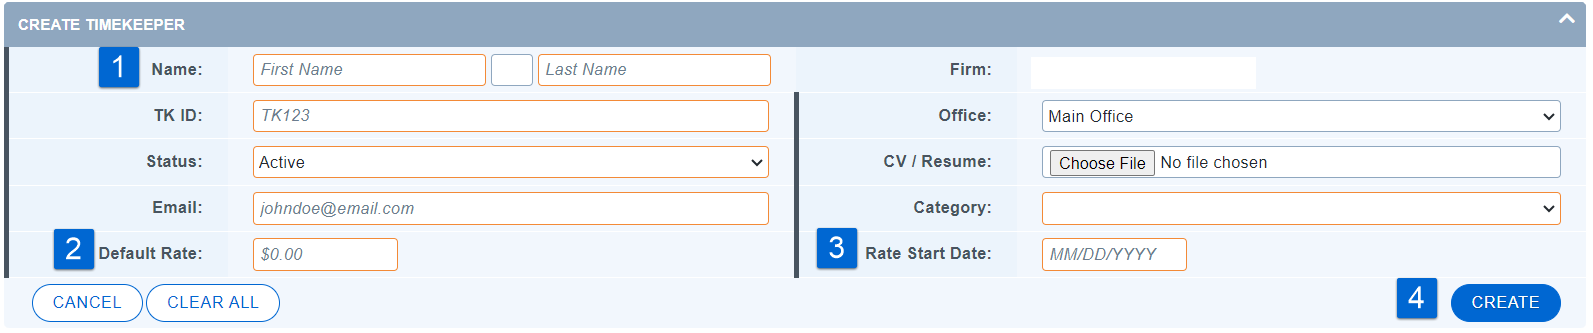
Enter all required information in the profile as follows:
-
Name – first name, middle initial (optional), last name
-
TK Number – the identification number assigned by the firm’s time and billing system. This will match the TK ID included on the firm’s LEDES files. Can be numbers and/or letters, but must be a unique value for each timekeeper
-
Status - This field will default to ‘active’
-
Email Address – Acuity uses this address to send notifications and communications from the client directly to the timekeeper. Do not use a generic email address.
-
Office (Optional) – if the firm has more than one office, this selection should match the home office of the timekeeper.
-
CV/Resume - may be optional
-
Category – firms must select from the categories defined by the client
-
Enter requested billable hourly rate in US Dollars.
-
Enter the rate effective date.
Note: The effective date must be the same as, or precede, any fees submitted for payment.
4. Click Create.
Notifications
- Acuity sends notices of new timekeepers to the client.
- Acuity sends rate approval/rejection notices to the firm user who added the new rates.
Note: Acuity does not approve rates.
Uploading a Native Currency Invoice
-
LEDES 1998B-International format (LEDES1998BI V2) is required for upload.
-
From the Home Page, select
 within the Your Invoices information box.
-
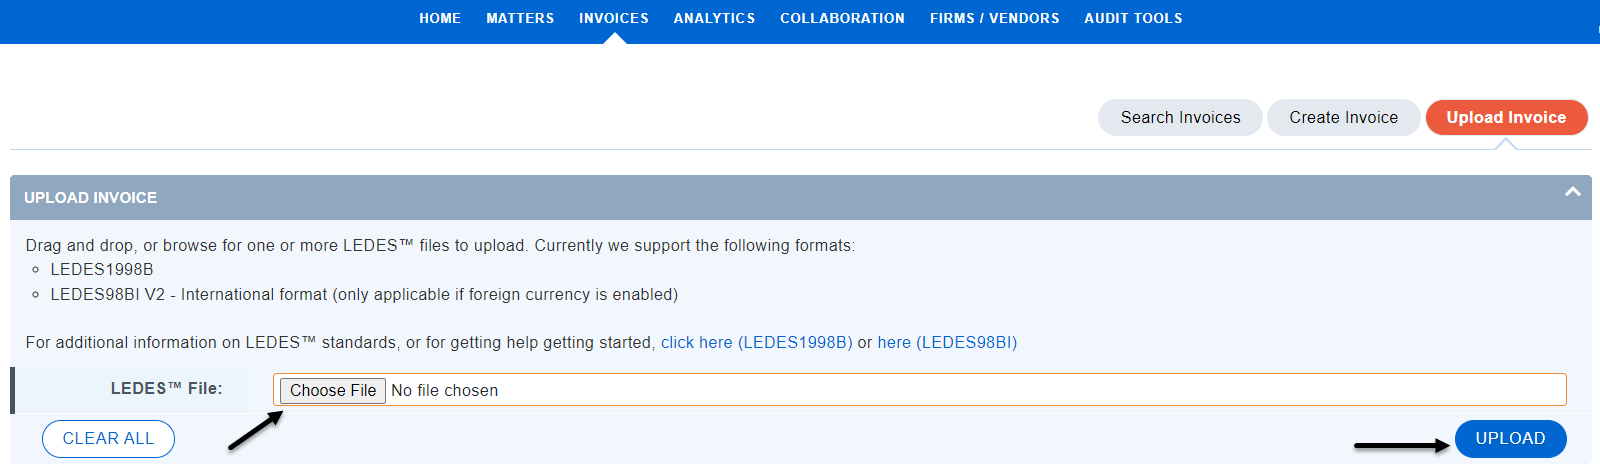
OR, navigate to the Invoices Navigation link and select “Upload Invoice.”
-
Browse and attach, or click-and-drag, your LEDES file into the designated field.
-
Click Upload.
Note: For more information on the international version of the LEDES 1998B format, visit https://ledes.org/ledes-98bi-format/
Invoice Upload Results
The Upload Results page displays important information about your newly created invoice. Acuity will also send you an email with this same information for your records.
-
Click your invoice number to navigate directly to your invoice profile.
-
Quickly review the number of critical and non-critical exceptions on your invoice. You will have an opportunity to resolve these directly in your invoice.
-
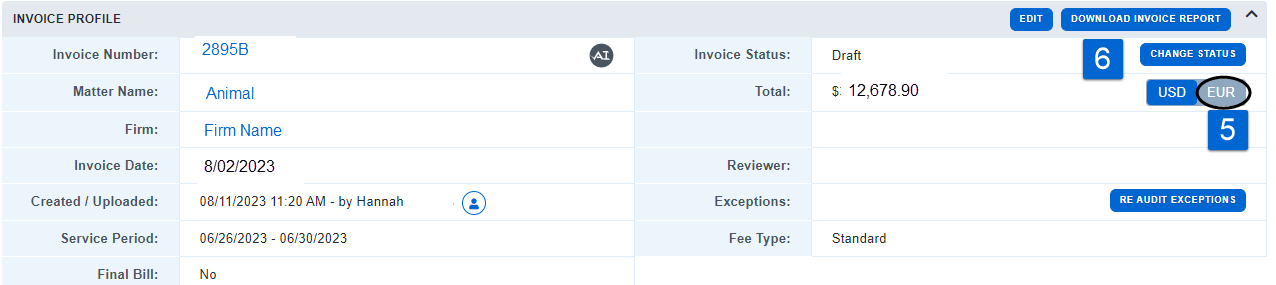
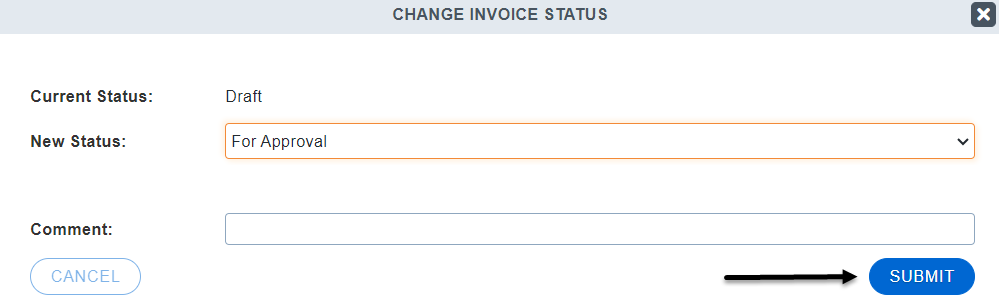
Notice your invoice status is DRAFT. You must change the status of your invoice to FOR APPROVAL for the client to review it. To change the status of your invoice, click on the Invoice Number.

-
The invoice profile will display invoice totals in your firm’s native currency. The conversion rate will be applied at the time of your invoice upload.
-
If any adjustments or edits need to be made, you will need to toggle to the USD display.
-
Once you have resolved any critical exceptions and made any further edits, click
 and select FOR APPROVAL to move the invoice into your client’s queue for review.
Creating a Native Currency Invoice
-
Navigate to the Invoices Navigation link and select “Create Invoice”.
-
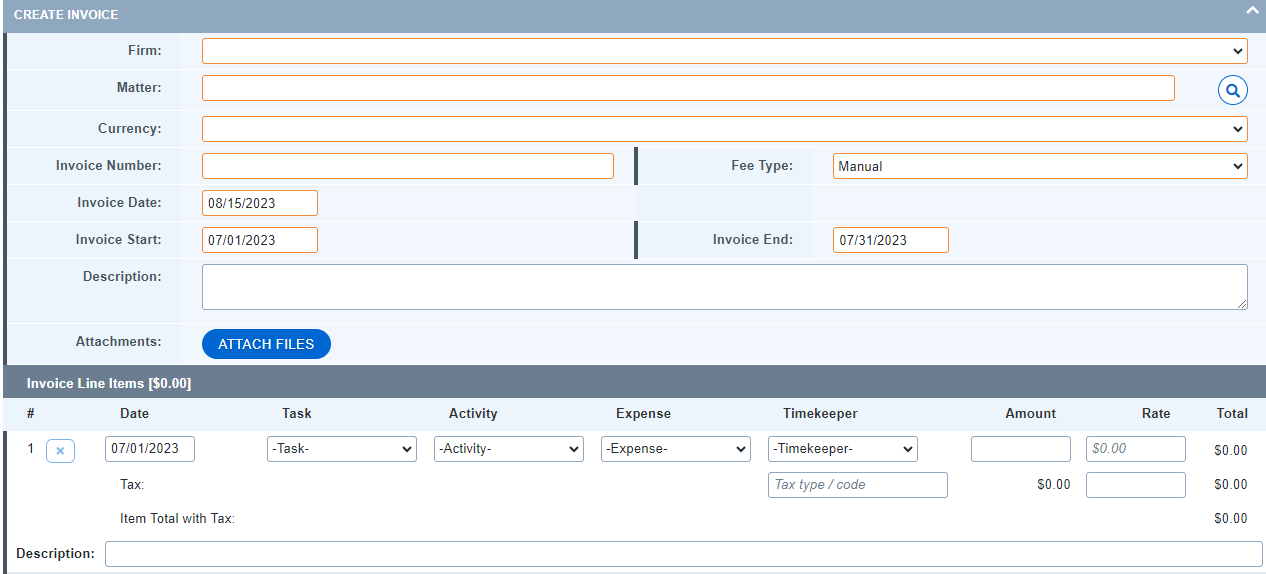
Fill in the required fields in the Create Invoice Form:
-
Firm- Your firm name should fill in when you open the form.
-
Matter- Begin to type in the Matter Name or Matter Number into the field or use the magnifying glass to search your assigned matters.
-
Currency- Select your native currency from the drop down menu.
-
Invoice Number
-
Fee Type- Manually created invoices will default to “Manual”, but you can select another Fee Type if needed.
-
Invoice Date- will default to today’s date.
-
Invoice Start and End Date- The date range that the invoice will cover.
-
Enter line item information.
-
Select the “Save” button to save and create your invoice in a Draft status. As with invoices that are uploaded, manually created invoices will need to be changed to FOR APPROVAL status in order for the client to receive it for review.