
How to Attach Documents to a Client's Profile
Documents can be uploaded to a client's profile. These documents are for office view only and do not sync over to the client's system.
- From anywhere in the Collaborati application, select the Clients in the top menu bar.
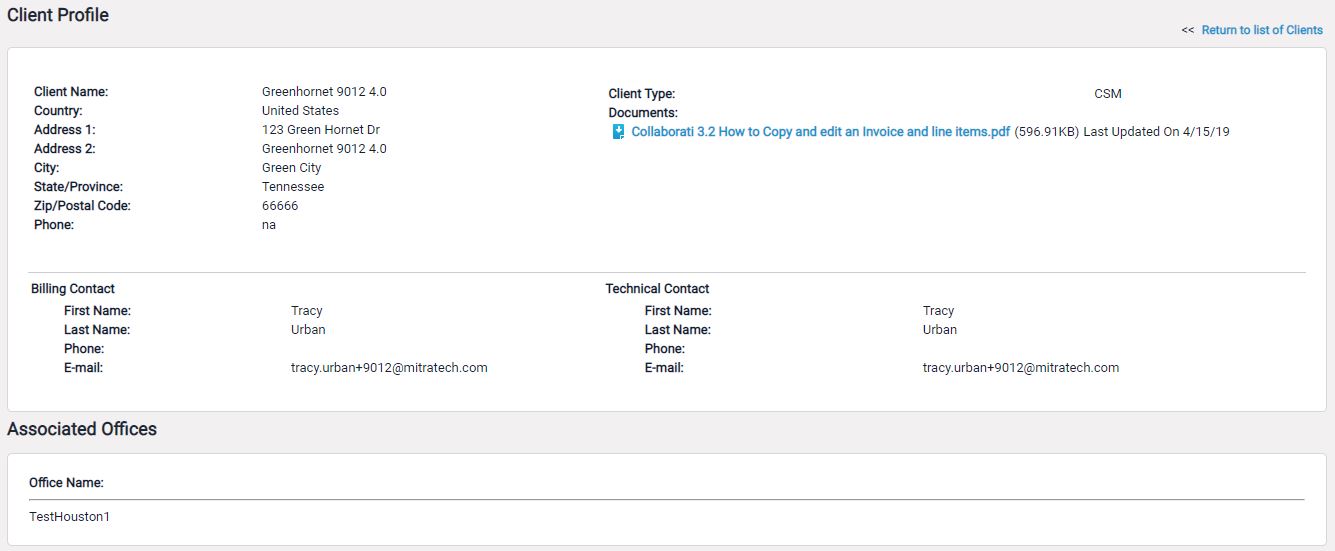
- Click on the client's name.
The Client Profile page opens. - In the section titled "Attach Files", click "Choose File".
Your computer's file explorer opens in a new window. - Select the desired file to upload, then click Open.
- Optionally, add comments or descriptions in the new "Description" text field.
- Click Upload.
Note: The Upload button and the Description field do not appear until after a document has been selected.
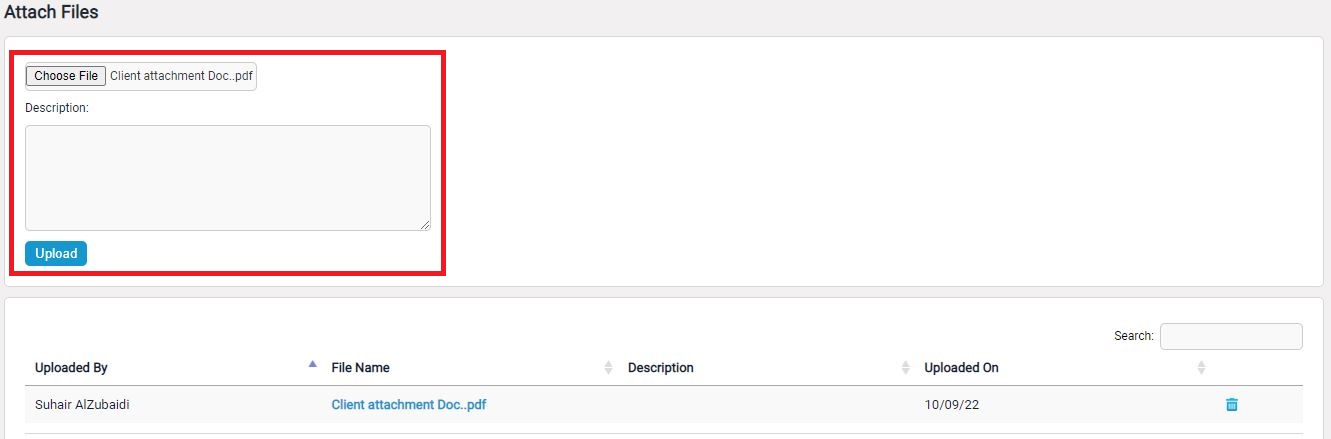
Attach Files to a Client's Profile
 —Delete an uploaded document.
- Uploaded By—Show the user's name.
- File Name—Click the name of the document to download the document to your computer.
- Show [x] entries—Change the amount of entries displayed in the uploaded document list by selecting a number from the drop-down at the bottom of the page. The table is paginated for entries exceeding the amount selected.
- Control the position of each column by clicking the header of the column and dragging your mouse to the left or right. The column name hovers under your mouse as you move, and a blue bar indicates where it will appear once dropped.
- Sort the columns alphabetically or chronologically by clicking the
 icon in the column header.