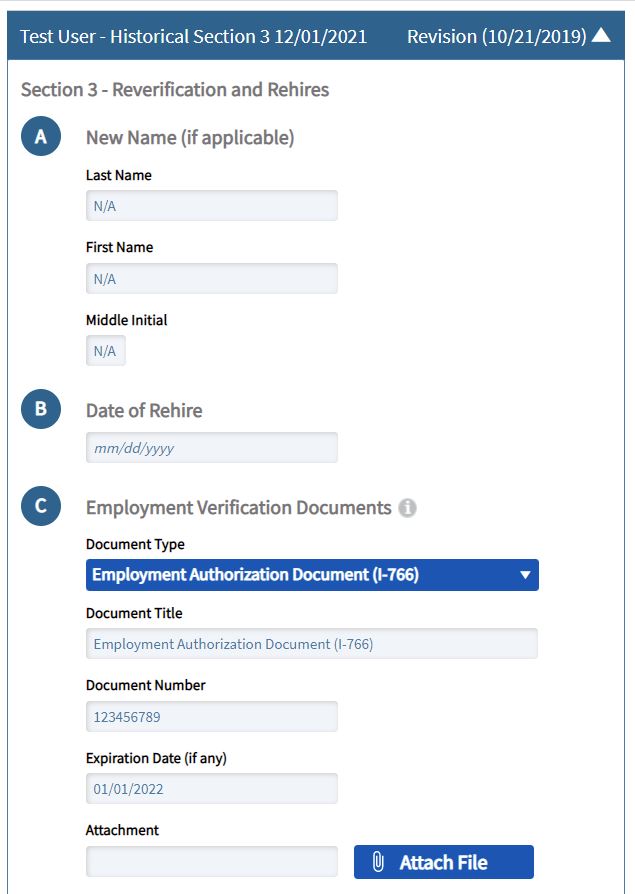
How To Add/Create a Historical Suplement B (Formerly Section 3)
Goal
The most common usage for Section 3 of the Form I-9 is to reverify employees whose employment eligibility is expiring. The updating and reverification of expiring work authorization is a key component of keeping your organization's Form I-9 records compliant.
Steps
From the Form I-9 tab, you may add additional Historical Section 3 entries by clicking the I-9 menu, then selecting Review/Correct Data in Table option.

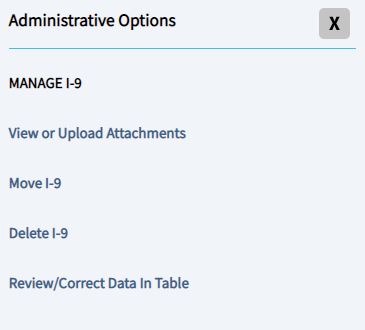
After clicking on the link, a new modal will appear displaying options to modify the Historical Section 3. Scrolling to the bottom of the modal will display the options to add a new Section 3, along with its associated information:
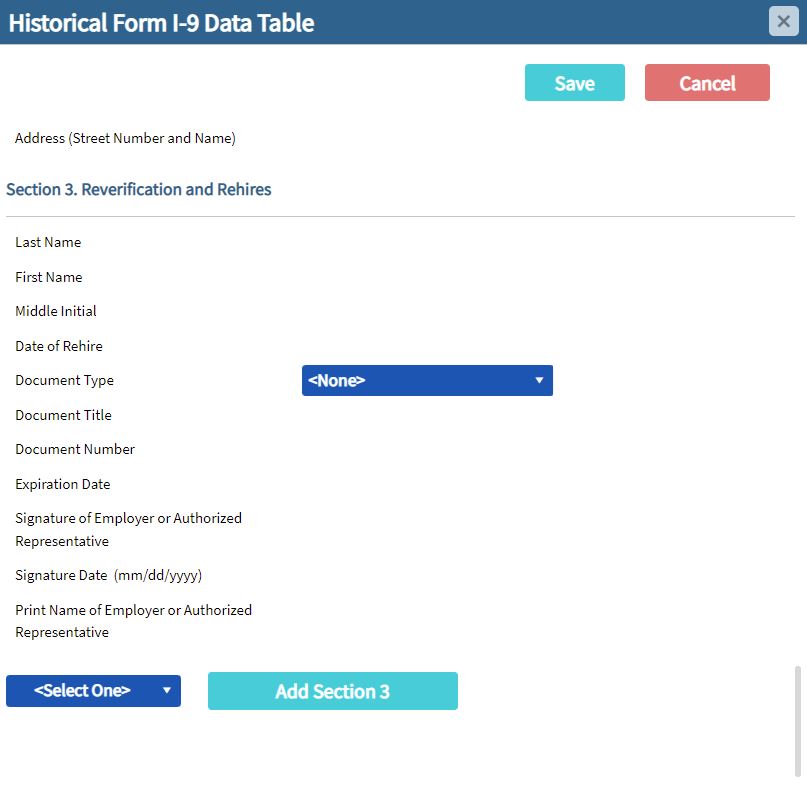
To add a Historical Section 3, enter in the applicable information into the form, then select the form revision of the original it was completed on. Finally, clicking the Add Section 3 button, and then click Save.
Once entered and saved, the application will close the modal and display the newly created Historical Section 3. User's will also be able to attach any related copies of documentation required as part of their organization's retention policy. This feature can be accessed by clicking on the Attach File button found on the newly created historical Section 3 page.