
Windows and Dialog Boxes
Rules Engine Window
The Rules Engine window allows you to manage rules that are used for alerts, validation, workflow, and invoice audits as they are imported into eCounsel or workflow for Suite. Rules that have been disabled appear with a strikethrough font; rules that process with errors have a red background.
Lobby alert notices cannot be disabled the same as rules.
Alerts Tab
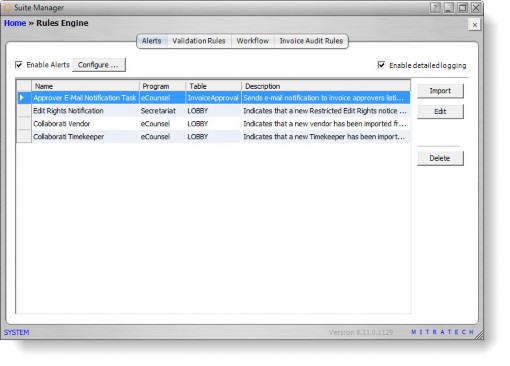
Note that alerts that are imported with Lobby service providers will appear on the Alerts tab.
Enable Alerts – An indication of whether alerts will be sent to an e-mail recipient.
Configure button – Click to open a dialog box to specify the e-mail address from which the alert will be sent.
Enable detailed logging – An indication of whether the logs created for alerts contain more extensive descriptive information.
Name – The name of the alert.
Program – The name of the Suite application for which the alert applies.
Table – The name of the table in the database to which the alert applies.
Description – A freeform comment concerning the alert. This text will display in the e-mail alert.
Validation Rules Tab
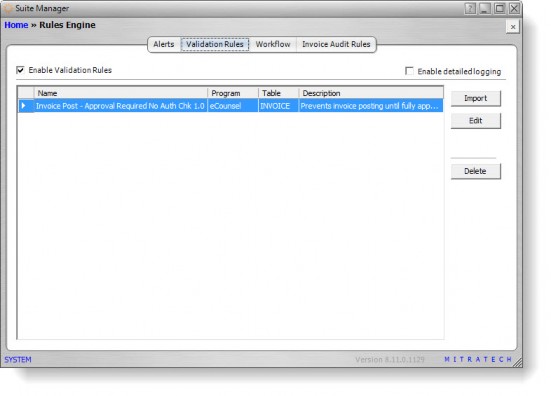
Enable Validation Rules – An indication of whether validation rules will be applied.
Enable detailed logging – An indication of whether the logs created for validation rules contain more extensive descriptive information.
Name – The name of the validation rule.
Program – The name of the Suite application for which the validation rule applies.
Table – The name of the table in the database to which the validation rule applies.
Description – A freeform comment concerning the validation rule.
Workflow Tab

Enable Workflow Rules – An indication of whether workflow rules will be applied.
Enable detailed logging – An indication of whether the logs created for validation rules contain more extensive descriptive information.
Name – The name of the workflow rule.
Program – The name of the Suite application for which the workflow rule applies.
Table – The name of the table in the database to which the workflow rule applies.
Description – A freeform comment concerning the workflow rule.
Invoice Audit Rules Tab
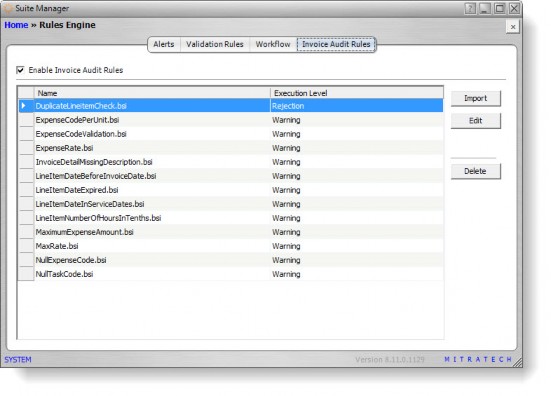
Enable Invoice Audit Rules – An indication of whether invoice audit rules will be applied.
Name – The name of the invoice audit rule.
Execution Level – An indication (such as Rejection) of the action that will be taken during execution of the invoice audit rule.
Buttons
Import – Click to open a dialog box from which to select an eXtensible Markup Language (XML) or script (BSI) file containing the rules to be imported.
Edit – Click to modify the rule.
Order – Click to change the order of execution for workflow rules only.
Delete – Click to remove the rule from the system.
Profile Information Dialog Box
The Profile Information dialog box allows you to view the properties of a rule and assign users to the rule.
Properties Tab
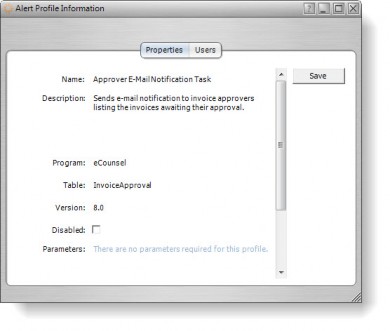
Name – The name of the alert.
Description – A freeform comment concerning the alert. This text will display in the e-mail alert.
Program – The name of the Suite application for which the alert applies.
Table – The name of the table in the database to which the alert applies.
Version – The version number of the rule.
Disabled – An indication of whether the rule is currently active or inactive. Disabled rules appear on the Rules Engine window with a strikethrough font.
Parameters – Any parameters that are required for the rule.
Users Tab
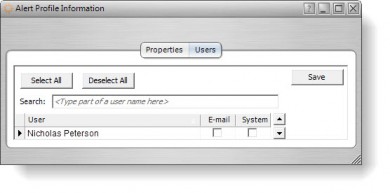
Search – The text for which you want to search.
User – The users that may have this rule applied.
E-mail – Click to indicate the user will be notified by e-mail.
System – Click to indicate the user will be notified by an alert in a widget on the user’s home page.
For the Approver E-mail Notification task only, selecting a user means that the user will not have the rule applied.
Buttons
Save – Click to save changes to the dialog box.
Select All – Click to select all checkboxes on the tab.
Deselect All – Click to de-select all checkboxes on the tab.