Appendix
Adding a Data Source
During installation, if you are connecting to a SQL Server and the system DSN does not appear in the list on the Configure CMS Repository Database – SQL Server (ODBC), you will need to add the data source.
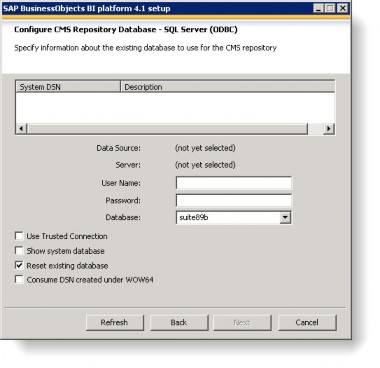
To Add a Data Source:
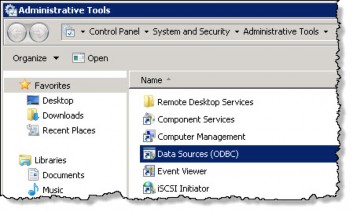
- To add a data source, open Data Sources (ODBC) in Administrative Tools.
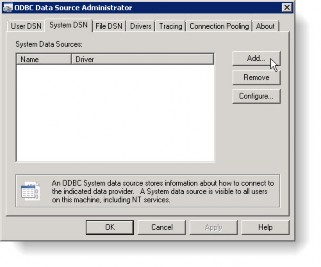
- Click the System DSN tab and click the Add button.
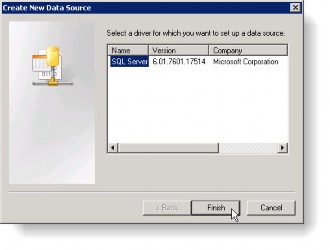
- Select the appropriate driver and click Finish.
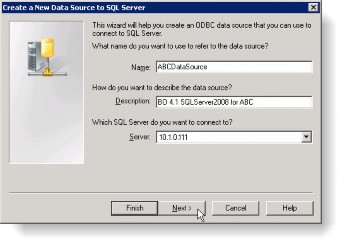
- Type the name, description, and the SQL Server in the appropriate fields and click Next.
- Select the type of authentication (Windows NT or SQL Server) and then click the Client Configuration button.
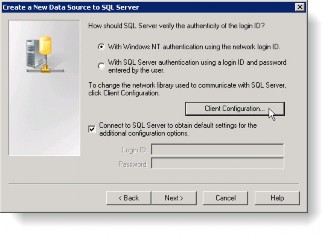
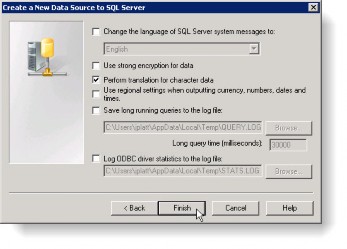
If you are not using the default database ports on the SQL Server, deselect the Dynamically determine port checkbox and specify the port in the Edit Network Library Configuration dialog box. - On the Create a New DataSource to SQL Server screen, select the Change the default database to: checkbox and enter the name of the database you entered in step 4. Click Next.
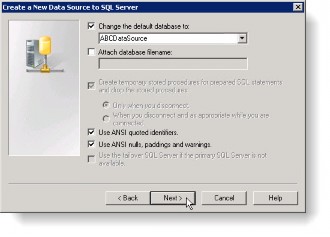
- Click Finish.
- Click the Test Data Source… button to verify the connection.
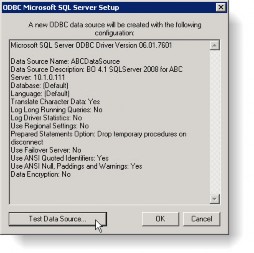
- Click OK to close the dialog box.
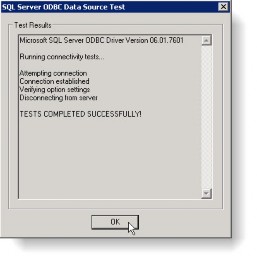
- Click OK on the ODBC Microsoft SQL Server Setup dialog box to close.
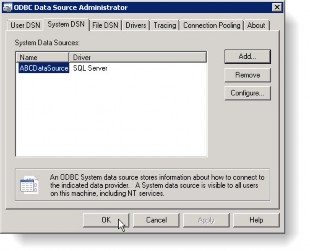
- The data source now appears in the grid of the ODBC Data Source Administrator dialog box. Click OK.
