Generating Documents
Documents generated through Mitratech’s hosted environment must be saved to the Notes/History or Notes/History/Charts tab (Secretariat), Documents tab (eCounsel), or a location on your computer or network in order to retain a permanent copy. The generated documents directory on the hosted HotDocs Server is purged daily.
Generating Documents from the Reports Module
Generating a Document
The Reports module provides a way to create reports and generate documents incorporating information from Suite. Some of the documents available also are available from certain tabs. These tab-specific documents generate documents based on information available to that tab.
Documents generated through Mitratech’s hosted environment must be saved to the Notes/History tab (Secretariat) or Documents tab (eCounsel) in order to retain a permanent copy. The generated documents directory on the hosted HotDocs Server is purged daily.
To Generate a Document from a Tab:
- On the tab, click the
 Reports button.

- Click on the Documents tab.
- Select a report from the Tab-specific Documents list.
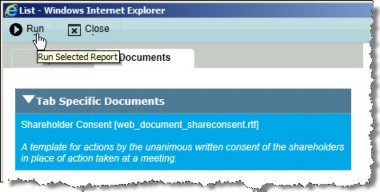
- Click
 Run.
Run. - Follow the steps below.
To Generate a Document:
- On the Reports List page, click Documents.
- Select the appropriate document and click the
 Run button.

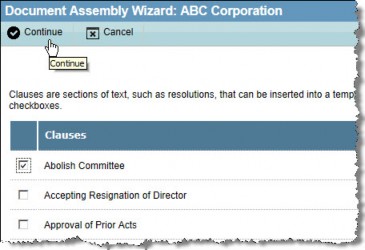
- Depending on the type of document selected, you may be prompted to specify the entity or person. Select the check box(es) of the appropriate entity (or person) and click
 Continue.
 - Select the document(s) to be prepared, and click
 Prepare to generate the documents.

- Depending on the type of document selected, you may be prompted to specify parameters. Click
 Continue to advance through the screens.
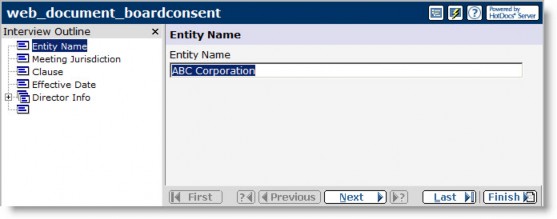
- When the process is complete, HotDocs will review the document for missing information. If data was found for every variable, click the Finish button to close the window.
If data was not found for every variable, you will be prompted to complete the information. Click the Finish button when you are done. You will then be prompted to save the information entered as an answer file. It is recommended that the changes not be saved; the database will not be affected.
- Select a document and click the
 Save button on the Document Assembly Wizard screen to save the document(s) to the appropriate Notes/History/Charts tab of the specified entity.

- On the Notes/History/Charts dialog box for the entity, complete the fields as needed. Select the Exclude from Reports/SuperViewer checkbox to keep this document from appearing in reports generated in Secretariat. Click
 Save.
Save.

- Click OK on the message box informing you that the document(s) has been saved.
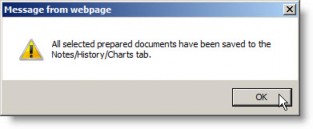
- Once a file has been saved in this manner, open the file in subsequent sessions of Secretariat from the Notes/History or Notes/History/Charts tab of the appropriate module or the Documents tab in eCounsel.
Editing Document Template Properties
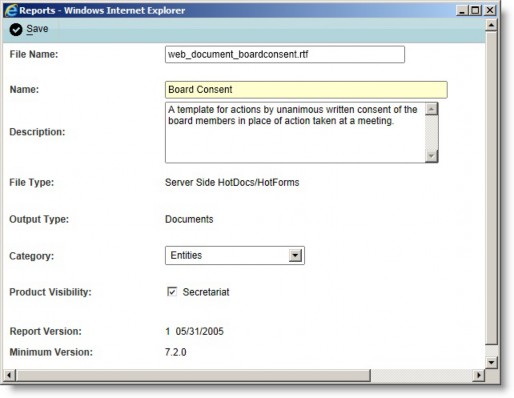
Only the name, description, category, and product visibility may be edited for a document template if you have the Reports Administrator security attribute assigned to you. Only a user with Reports Administrator rights can create filter categories (done using the Lookups component in Suite Manager).
To Edit Document Templates:
- On the Reports List page, click Documents.
- Select a template and click
 Edit.
Edit.

- On the Reports dialog box, make changes to the name, description, category, and/or product visibility of the document template as needed.
- Click
 Save.
Save.
Generating Documents from the Wizards Module
The final step in the Global Appoint/Promote/Retire Positions Wizard and the Corporate Meeting Wizard in Secretariat is document creation. Follow the steps below to generate the required documents.
Generating a Document
To Prepare Documents in the Wizards Module:
- Click
 Generate Documents on the last screen of a wizard.
 - Select the document(s) to be prepared.

- Click
 Prepare to generate the documents.
 - If the document requires signature lines or any other data to complete, a dialog box will prompt you to provide the requested information. With the Secretariat default template, the signature line officer(s) for the Shareholder Consent is chosen from the list of officers from the parent company(s). If a parent company cannot be found, a warning message will be displayed and you will be given the option of selecting the signature line officers from the company itself.
- HotDocs will review the document for missing information. If data was found for every variable, click the Finish button to close the window.
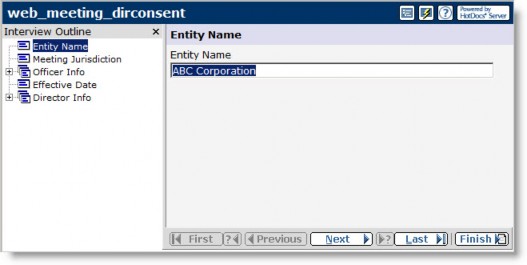
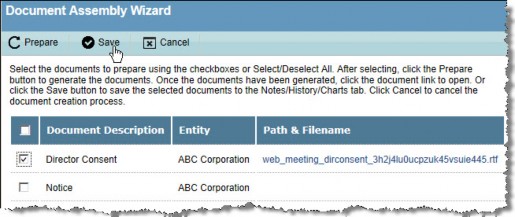
If data was not found for every variable, you will be prompted to complete the information. Click the Finish button when you are done. You will then be prompted to save the information entered as an answer file. It is recommended that the changes not be saved; the database will not be affected. - Once prepared, the entry for each document in the Path & Filename column will change to the path and filename of the prepared document. The location of the file is configured through HotDocs. Select a document or all documents and click the Save button on the Document Assembly Wizard screen to save the document(s).
Make sure and prepare all documents before saving the documents. If you save a document after preparation, you will have to run the wizard again to prepare the other documents.
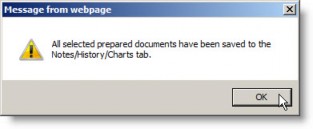
- Click OK on the message box informing you that documents will be saved to the Notes/History tab. Corporate documents will be saved in the Notes/History/Charts tab of the selected entity; resignation letters will be saved to the selected person’s Notes/History tab and the entity’s Notes/History/Charts tab.
Once a file has been saved in this manner, open the file in subsequent sessions of Secretariat from the Notes/History or Notes/History/Charts tab of the appropriate module.
Changing the Template for a Document in a Wizard
Once you have created a custom template in HotDocs, you can change the wizard to use the custom template instead of the standard one using the instructions below.
To Change the Template for Documents in the Wizards Module:
- Run the Corporate Meeting Wizard or Global Appoint/Promote/Retire Wizard.
- On the Select document(s) and specify dates/times screen of the wizard, click on a template for a document category or click on the No template is associated with this document category link.

- On the Select Template dialog box, click on a radio option button to select from all templates in the document category.
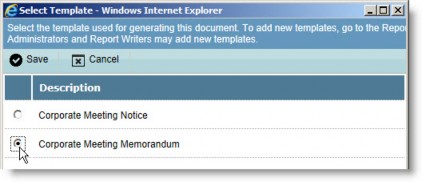
- Click
 Save.
Save.

