
How to Integrate Standard and Substantive Hours
How to Integrate Standard and Substantive Hours
This document helps the Integrum user to integrate substantive hours to standard hours using SAP integration.
Steps to Integrate Standard and Substantive Hours
- Log in to the Integrum application.
- Navigate to Integrum > Administration > Smart Form Builder(new) > View Library > Open the View Template > Create a doc by selecting the employee and Save.
Note: The user cannot add substantive hours without adding the employee's name. The system throws an alert msg like "Please select 'Employee Name' before proceeding further".

3. After adding the employee details, select the week start and end dates.

4. The added week start and end dates will be populated in the form.

Note: When the substantive hours are added, the system should allow the week start date as the current and future Monday date and the weekend date as the future Sunday date.


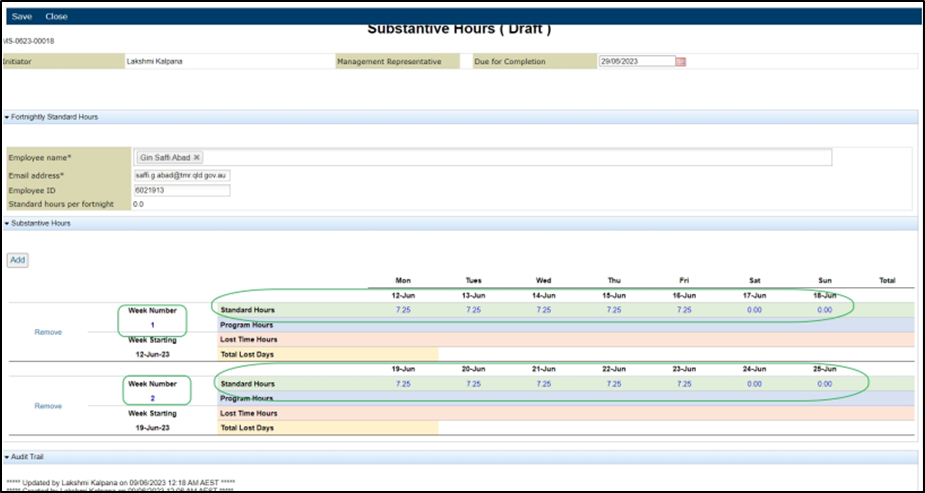
5. The user can select multiple weeks by using the week start and weekend dates for adding the substantive hours of the selected employee. The selected weeks are displayed in the sequence order along with the auto-populated Standard hours.
Note: The system does not allow and restricts the user to select a weekend date less than a week start date.

6. The user can remove the added week by using the ‘Remove’ button provided.
