Billing
- INSZoom:-How do I upload Logo for invoices?
- This article will guide you on how to Upload Logo for invoices
- INSZoom: Online Payments Gateway Integration using Authorize.NET
- This article will guide you on how to integrate Authorize.net.
Introduction
Billing is an essential aspect of running any successful firm. It is how Firms receive remuneration for the work, take care of office bills, pay employees, and compensate partners. If done incorrectly, billing practices can threaten the very existence of the firm. That’s why it is vitally important for a firm to implement and execute effective billing processes and tools.
INSZoom’s Billing module makes it easy for firm staff to create invoices and send those invoices to their clients for the services delivered to them. The Billing module gives flexibility to users to add multiple cases to invoices, create fee templates with multiple fee items based on the services rendered and add those cases and fee templates to invoices. This eases the task of firm staff in generating new invoices for standard cases. System sends ‘payment due’ and/or ‘overdue payment’ notifications for staff to keep a close tab on payments for the generated invoices.
What does it offer?
INSZoom’s Billing Module offers the following values to users:
-
Simplifies invoicing and payments process- Makes it easy to send invoices to clients and track the payments received
-
Increases invoicing efficiency- Reduces the number of repetitive tasks associated with generating invoices for standard cases by defining billing templates
-
Improves staff productivity- Simplifies the invoice creation process for staff while limiting any human errors, therefore, saves valuable time of firm staff
-
Improved payments process experience - Use online payment options for fast and easy payments from customers
-
Manage recurring billing - Use payment plan options to break-down invoice payments for the customer
-
Time-based billing - Connect timer records to invoices
How does it work?
Create Invoice Templates
Fee/Invoice templates can be used to invoice/bill your clients in the Billing Module.
Navigate to 'Billing' in the Main menu.
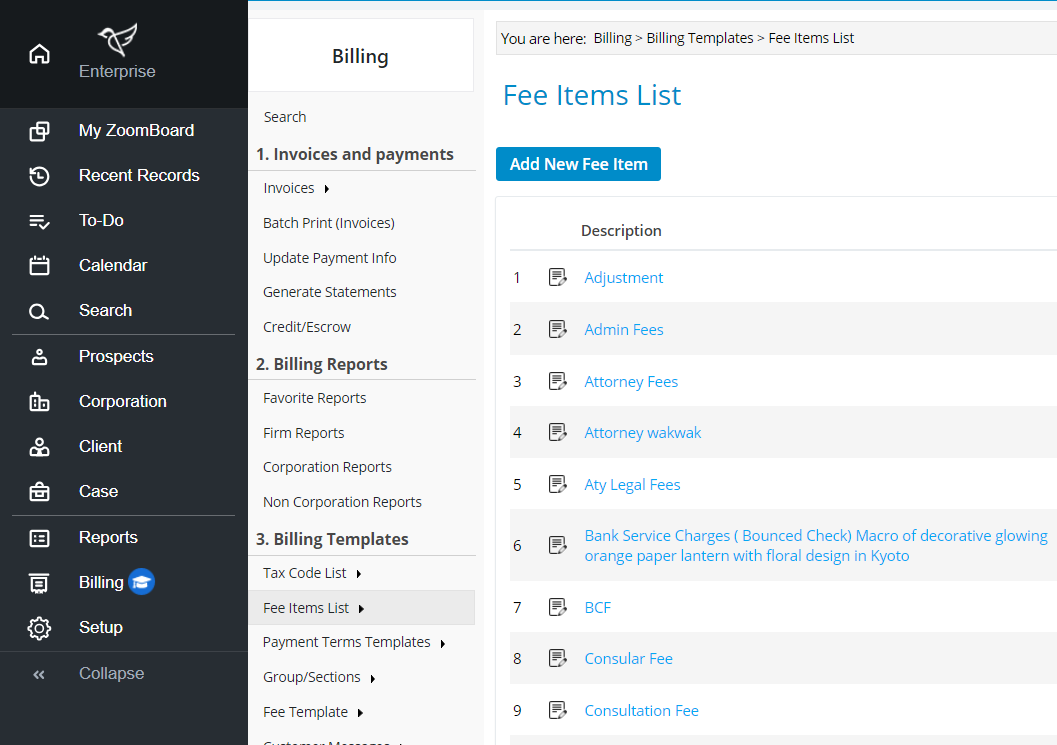
Choose 'Fee Items List' in the left menu under 'Billing Templates'.
Choose ‘Add New Fee Item’. Add any fee items that will be used in your invoices.
Choose 'Payment Terms Templates'.
Choose ‘Add New Payment Terms’.
Add the required fields and click ‘Save’.
Click on the link titled Fee Template.
Click ‘Add New Fee Template’.
Enter the description and click ‘Save’.
Once you click ‘Save,’ you will be redirected to the list of groups to which you attached the template.
Select what groups you want to add and click ‘Save’.
This will now bring you to the View Invoice Fee Template section.
Click ‘Attach Items' and select the fee items you want to attach to this invoice template.
The fee template will be listed in your application.
Add an Invoice
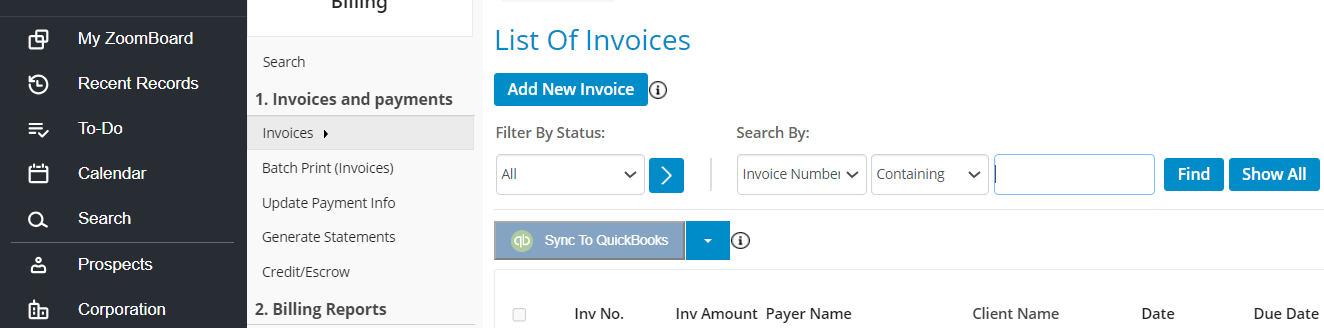
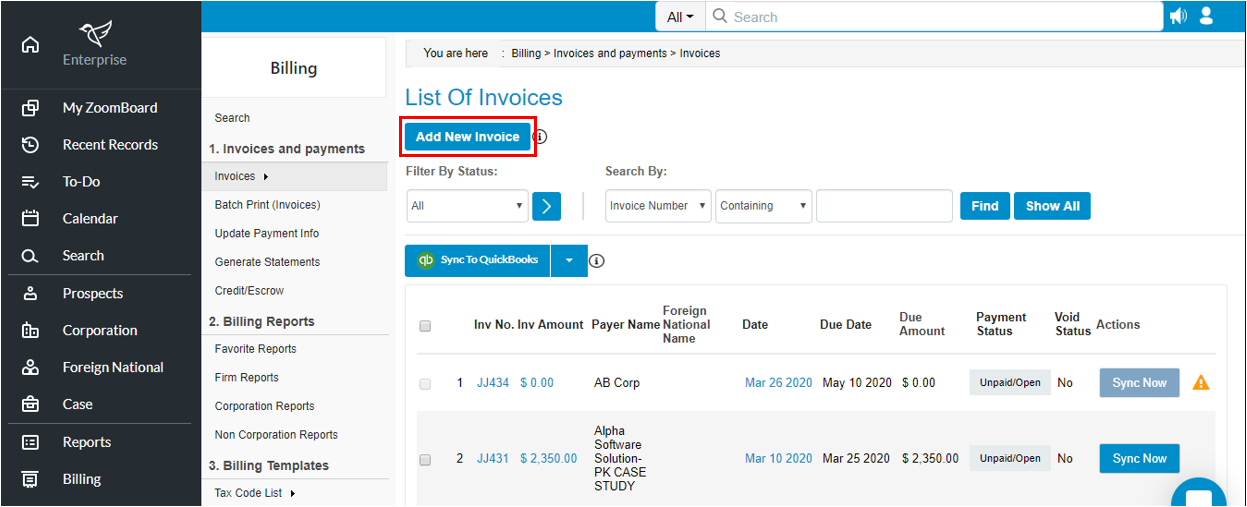
Navigate to 'Billing' in the main menu and then click on 'Invoices'.
This will bring you to the ‘List of Invoices’ page in Billing. Click on the ‘Add New Invoice’ button at the top of the page to add a new invoice.
Change the Status of an Invoice
Here's how to change the status of an invoice to 'Partially Paid', 'Fully Paid', 'Unpaid/Open' or 'Void' within our Billing Module.
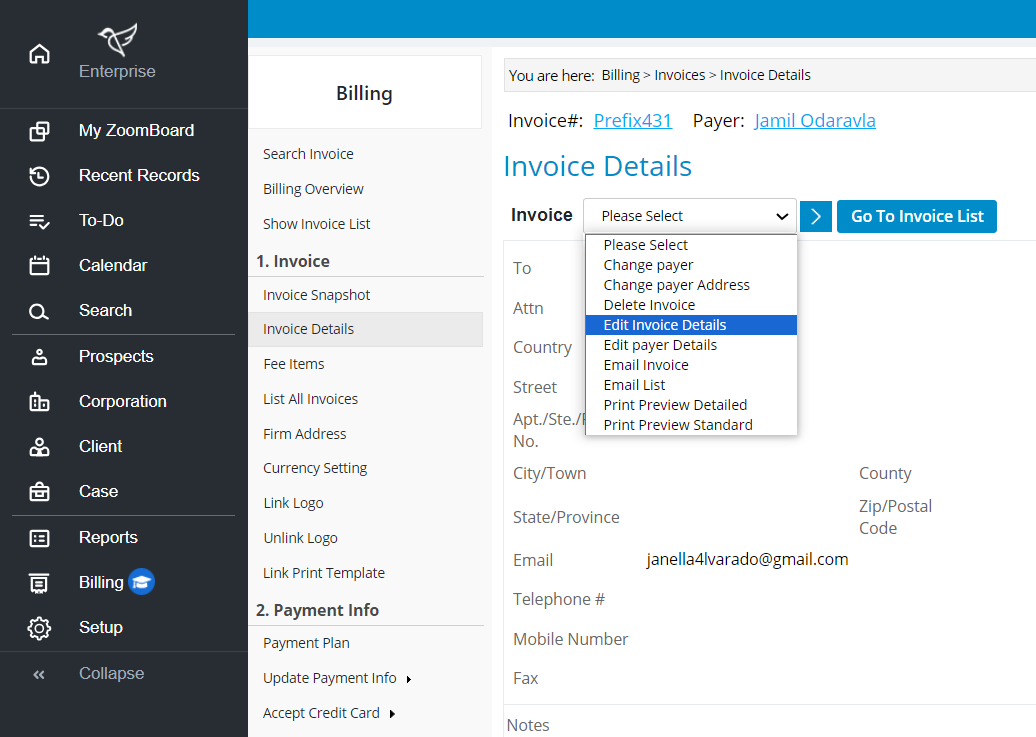
Navigate to ‘Billing' in the main menu and click 'Invoices’. Select the invoice you'd like to change.
In the drop-down, select 'Edit Invoice Details'. You'll see the drop-down for 'Invoice Status' in the pop-up. Make any necessary changes and click 'Save'.
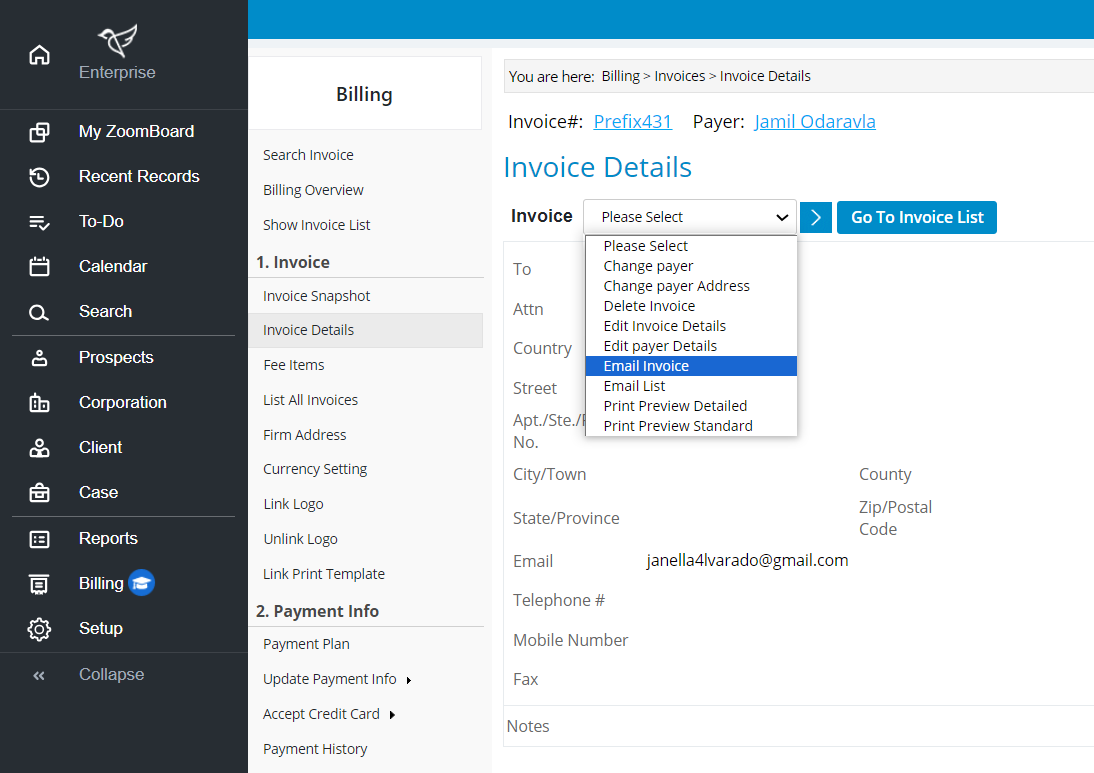
Email/Print an Invoice
Navigate to an invoice and select "Email Invoice" in the drop-down menu and click the arrow to email it out.
To print the invoice, select from the same drop-down menu either "Print Preview Detailed" or "Print Preview Standard." After the window pops up, right-click on the page and select "Print."
Add Payments to Invoice
Users have the ability to update the invoice if a payment is made by the payer towards the invoice. Follow the below-given steps to add payments to invoice.
Select the Invoice you wish to add a payment to from the Invoice List.
Once you are in the Invoice, click on Update Payment Info.
This will bring you to the 'Payment Info' screen. Enter 'Amount Received', 'Payment Method', and the amount 'To be Applied'. Once that information is entered, click ‘Save’.
Note: If the 'Amount Received' is greater than the ‘to be Applied’ amount, the remaining balance will go into Escrow/Credit to be used at a later time.
The next screen will show you all the payments made for this particular Invoice. To go back to the main invoice, select the invoice number or you can add another payment to the invoice by selecting ‘Update Payment Info.’
Invoice Payment Email Notifications
Users can set up both advance and overdue invoice notifications for their clients through INSZoom's billing module. Follow the steps given below to set up invoice payment email notifications.
Navigate to 'Billing' in the main menu > Click on 'Notifications/Alerts' on the left menu under 'Setup'.
Click on 'Edit' for 'Invoice Alerts for Clients' and input the day increments you would like the email notifications to send out to your clients.
Billing Setup
This section covers the settings that users should set up before they begin to use this module:
Navigation: Billing > 5. Setup
1. General Settings
-
Request View Receipt - receive alerts if your Client has viewed/edited the Emailed invoices in the access period.
-
Authorize Online Payment - allow your Client to make online payments for invoices.
-
Uploaded Logos for Invoices - Upload organization logo for invoice templates.
-
Access Rights to Billing Databases - set access rights to the billing database for the firm.
-
Invoice Layout - choose from two layouts for single- or double-window envelopes.
2. Hourly Rates
Set the hourly rates for each of your case managers and vendor case managers (if applicable). This is used in conjunction with timers in the Forms workspace.
3. Invoice
Users may semi-customize the user invoice number prefix and suffix. While creating an invoice, the user invoice number will be generated as (prefix+suffix).
After an invoice number is generated, the suffix will be incremented by 1 so that no two invoices will have the same user invoice number.
-
Invoice Number Prefix -
-
Invoice Number Suffix -
Default Access Period for Emailed Invoices - Number of days clients can access emailed invoices for payment.
Invoice Payment Details – Used to set up the Invoice Due from the Payment Plan template. If enabled, restricts the ability to edit the payment date on an invoice.
Update next due date and Pay Now from Payment Plan - setup the Invoice Due from payment plan for your Firm. You can edit the Invoice Due from the payment plan.
Allow editing payment date - yes or no option,
4. Notifications and Alerts
Dates to generate periodical statements - Depending on the date set up here, the Firm associates will receive the periodical billing statements on these dates of every month.
4.1 Invoice Payer Address Alert – Yes or No option; if enabled, presents an alert if the payer address is changed
4.2 Invoice Alerts for the client:
-
Advanced Notification: If enabled, set up the number of days prior to a due date to send a notification to a client.
-
Overdue Notification: If enabled, set up the intervals after the due date to send overdue notifications to a client.
4.3 Email Notifications: Set up email notifications for any change events related to invoices such as:
-
Invoice is edited
-
Invoice is deleted
-
Online payment is received (only if subscribed to online payments)
4.4 Invoice Alert for Staff
-
Advance Notification– Set up notification intervals in advance of a payment due date
-
Overdue Notification – Set up notification intervals if a payment is overdue
Billing Reports
Navigate to 'Billing' in the Main Menu.
In the left menu, click on any of the reports under 'Billing Reports'.
To search for a specific report using keywords, click on 'Find' and search.