How to Configure Your Agreement in DocuSign
This article explains how to configure DocuSign to sign an agreement. This procedure must be performed by the controller.
Prerequisites
- A framework enabled to use DocuSign and set to work with a counterparty.
- DocuSign integrated with EraCLM.
- The controller must have an account in DocuSign.
- The DocuSign envelope that contains the EraCLM agreement with Signatures configured.
EraCLM Workflow with DocuSign
The grant permission to EraCLM on DocuSign:
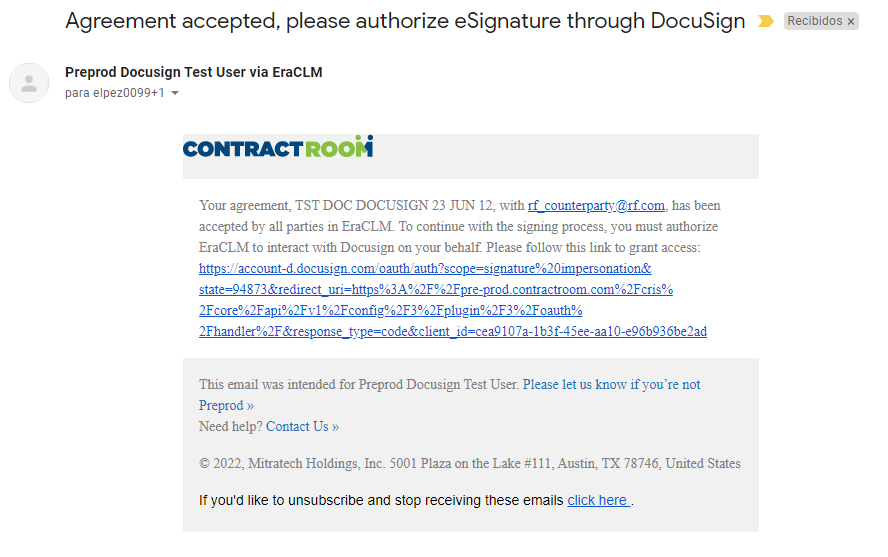
- After all parties accept the agreement, the controller receives an email with a link to DocuSign. Click on the link.
- Enter the email associated to your DocuSign account and click Continue.
.png?revision=1&size=bestfit&width=426&height=364)
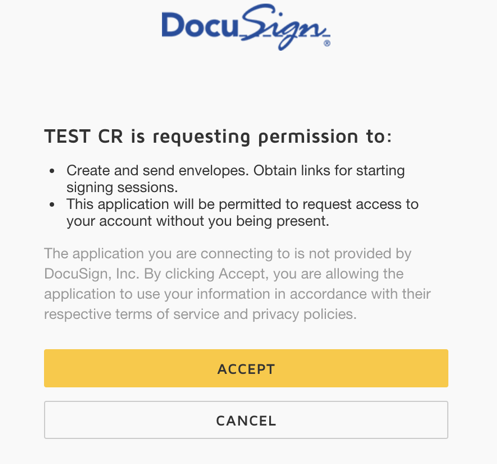
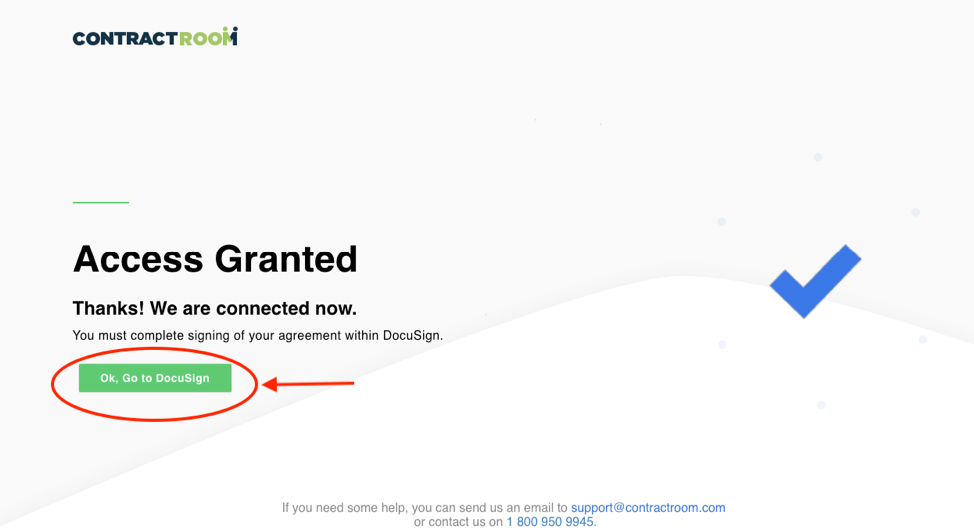
- Grant permission to EraCLM to send the agreement to DocuSign on behalf of all users. Click Accept. On the next modal, click Ok, Go to DocuSign.
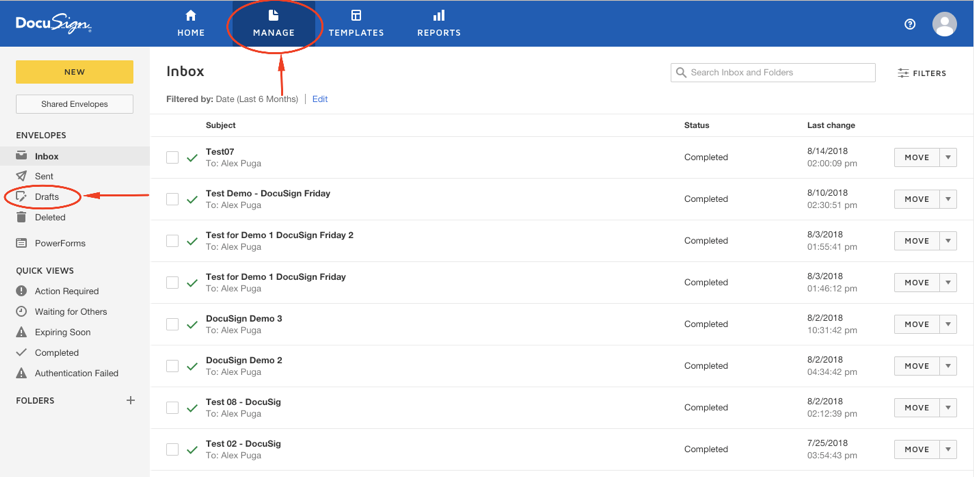
- In DocuSign, click MANAGE > Drafts to see your documents list. Click on the agreement.
After this procedure is complete, the controller must configure the actual signers' email addresses in the agreement.
How to Configure Signers in DocuSign
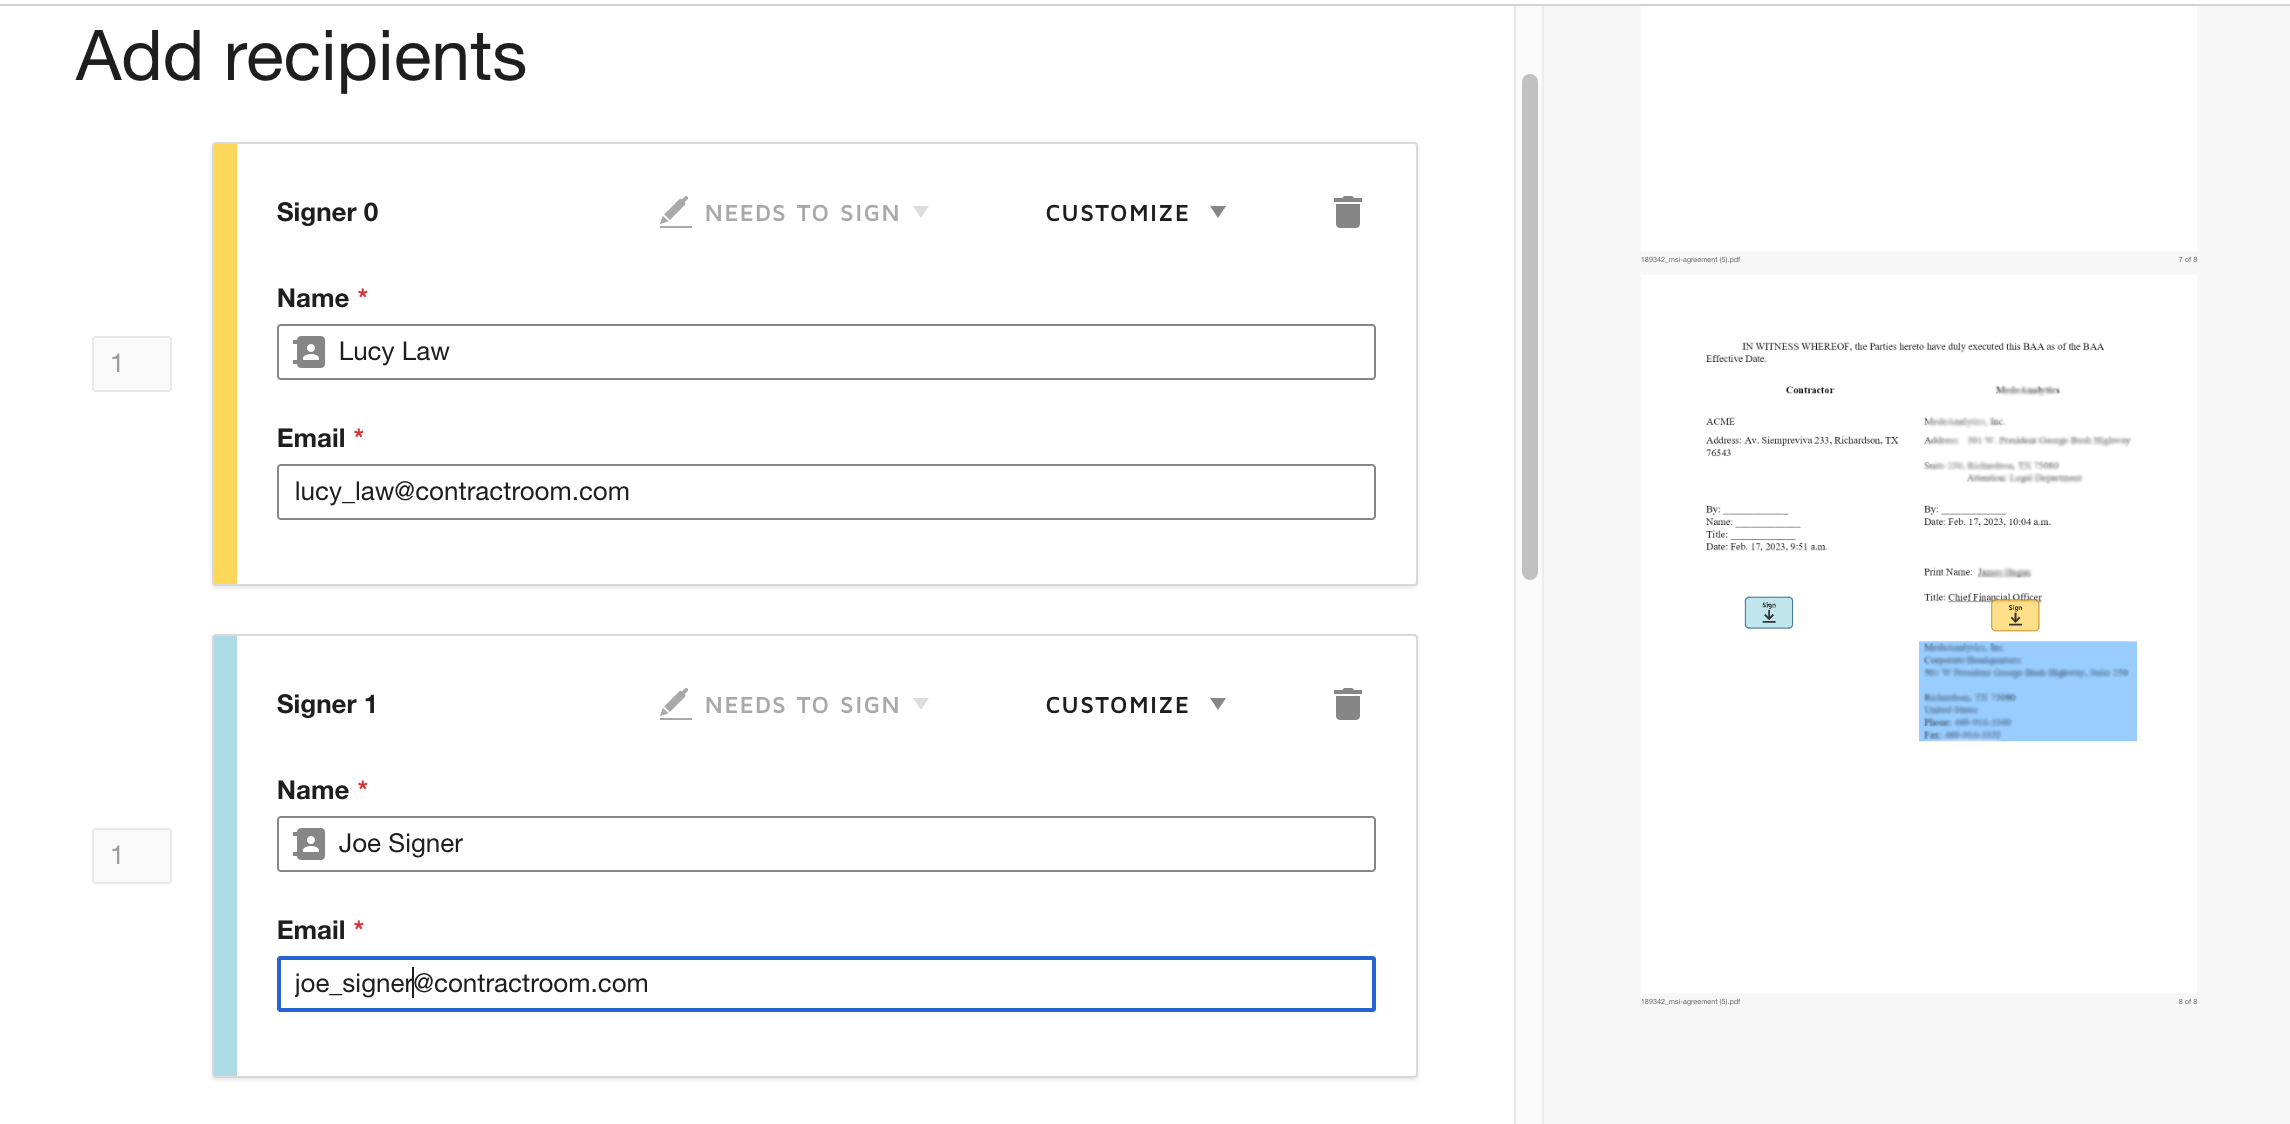
After team 0 and team 1 complete the negotiaton process, DocuSign creates an envelope that contains the EraCLM agreement. The EraCLM agreement contains two Sign objects from DocuSign that contain dummy email addresses. The controller must replace the dummy email addresses with the EraCLM accounts of the actual signers of the agreement so that they receive the envelope.
To change the dummy email addresses with the signers email addresses:
1. Log in to DocuSign: https://account-d.docusign.com
2. Click Manage and select Drafts on the left panel.
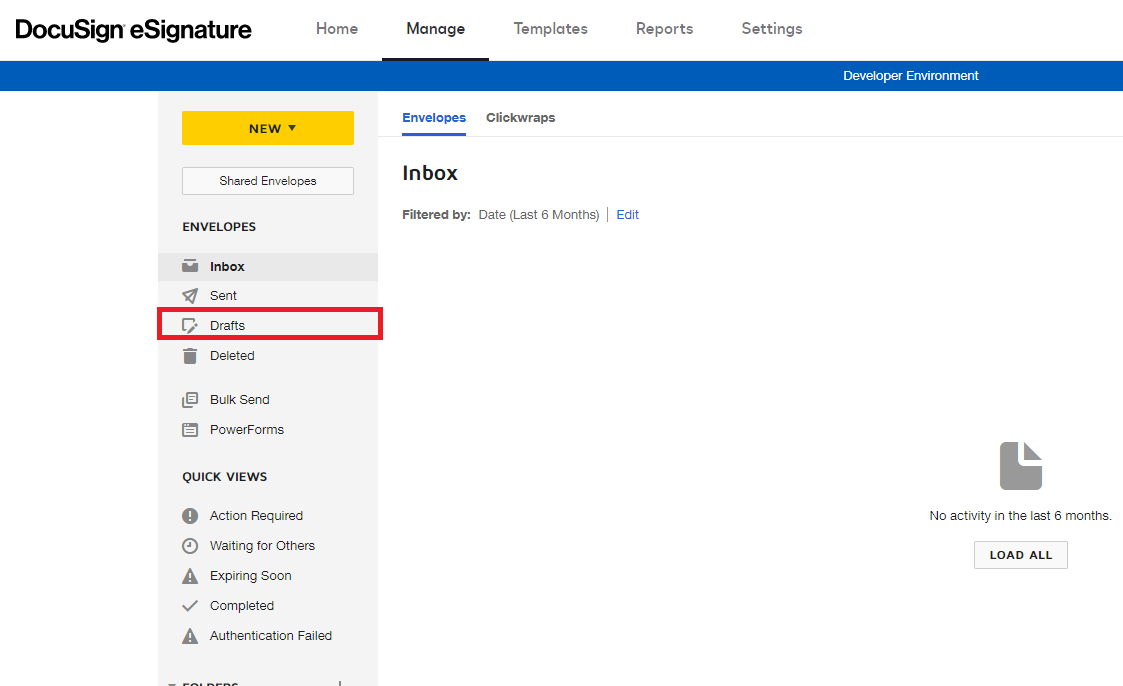
3. Click on the agreement.
4. On Add recipients, enter the names and emails of the signers.
