
Create an Invoice with VAT taxes, specifically Line Item Level Non-US Tax
Creating an invoice manually is the choice to using a LEDES file created by automated billing software. In most cases, your client will require a line item for every function being billed.
You may want to begin by familiarizing yourself with your client’s Billing Codes. To view the codes in Collaborati, follow these steps:
- Click “Clients” on the top menu bar
- Choose your client.
- Click the fourth icon from the top on the left navigation menu (“Codes”)
- Displayed are the billing codes for this client. You can view the Task Codes and also the Expense Codes here (shown below in the screenshot).

To view the Non-US tax codes, click the “Non-US Tax codes” sub tab

Click the second icon from the top on the left navigation menu (“Settings”)

“International Line Item Tax Details” must be ON.
To start creating your invoice:
- Hover over “Invoices” on the top menu bar
- Click “Create Invoice”
HEADER
Fill in pertinent information. Most clients require the Invoice Period. Invoice Date must be after Invoice Period. It is recommended to leave the Invoice Total at $0.00 as Collaborati will automatically add the amount. Place a brief description of the invoice in the Description box.
Choose the Tax Type as “Non-US”. If the Setting for “International Line Item Tax Details” is ON, then you can choose the Tax Level as either “Summary Level” or “Line Item Level”. Choose Tax Level as “Line Item Level”.

- Click "Next" button
LINE ITEMS
LINE ITEMS: Fee Input
Select your Matter from the drop-down list. Item Type is Fee. TK is the timekeeper. Fee is the code from your Task Codes list. Activity is the code from your Activity Codes list. Rate is the hourly rate of the timekeeper used (authorized by the client). Hours is the amount of time the timekeeper worked on the matter. A description of the fee should be typed into the Description box. If this Fee line includes Tax, Non U.S. Taxes is the code from the Non-US Tax code list.

- Click on the "Add Item" button to finish the line item fee input.
LINE ITEMS: Fees Complete

LINE ITEMS: Expenses Input
Same process as Fee input, but no Timekeeper is required and you must select the proper Expense code. Item Type is Exp. If this item is to be taxable, check the Taxable Item box.

- Click on the "Add Item" button to finish the line item expense input.
LINE ITEMS: Expenses Complete

- Click "Next" button
TAXES AND DISCOUNTS
If you are applying discounts to the invoice, here is where you apply your discount by % on Fees and/or Expenses.
Enter a percentage in the Tax Rate for each Tax Type/Tax Code.

- Click "Next" button
ATTACHMENTS
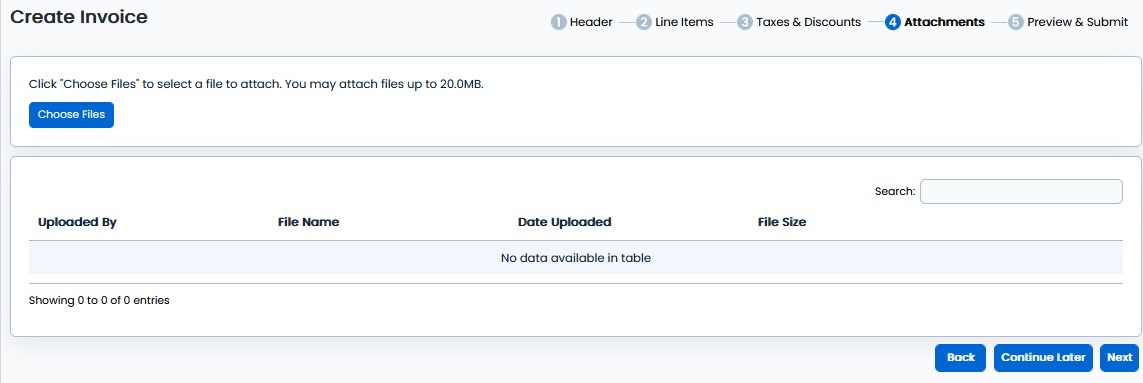
Use the "Choose Files" button to search for the document that you wish to attach.

After you have found the document, click on the "Attach Files" button.
The attached document will appear in the attachment section.

- Click "Next" button
PREVIEW Completed Invoice

It is now ready to submit to the client.