
Events in iOS
Introduction
The Events module is the most widely used module on CMO mobile devices. The Events module functions as an offline register which allows users to create new, perform existing, or resume in-progress Events without an internet/network connection. Users can also schedule Forms, complete Events, and create reports within this module. Additionally, multiple people can work on an Event simultaneously.
This page will cover the following topics:
- Syncing Events between the web application and an iOS mobile device and how to schedule Events to sync from Web to mobile.
Scroll to the bottom of this page to find additional topics on creating new Events on a mobile device, managing existing Events, and adding different types of attachments to Events.
Syncing Events
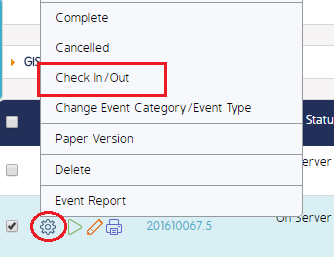
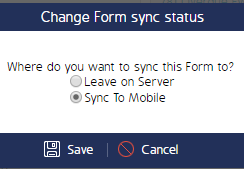
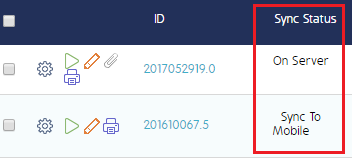
Web to Mobile: To sync an Event to a mobile device, users must change the Event Status to Sync to Mobile by checking the Event out. Events will only sync from web > mobile
if they have been checked out and queued to 'Sync to Mobile'.
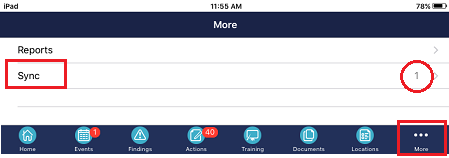
Mobile to Web: Similar to syncing from web > mobile, users must queue Events to sync back to the web application. After the Event is queued to sync, users must perform
either a Sync Admin or Sync Events/Actions to push the Event back to the web.

Relevant Permissions
Users [and Roles] working with Events on a mobile platform must be granted certain permissions to access Events and Forms. The respective permissions are set on the web application and are applied to the mobile application after the initial sync happens.
See the Setting Mobile Permissions page for further detail.
Create a New Event on Mobile
Users can create new Events from their mobile iOS device. An internet/network connection is not required to create, perform, edit, and complete Events.
Events created on an iOS mobile device can be synced to the web application when a user performs a Sync Events/Actions sync.
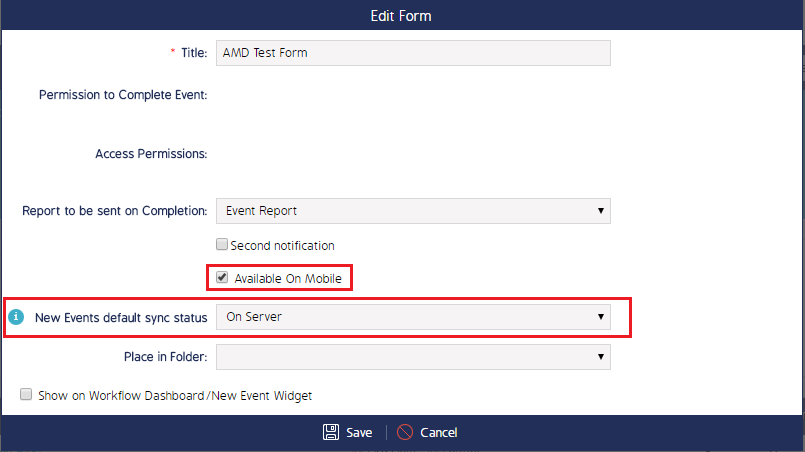
Forms with the Available on Mobile option enabled will be automatically downloaded during the initial sync and will be available for use after the sync is complete. This option is available on the New Form and Edit Form screen.
Follow the instructions below:
- Navigate to the Events module and click the New button in the top right corner of the screen.
- Add all of the *required information and any additional detail to the New Event screen.
- Click the Perform button at the bottom of the screen when you're ready to start the Event.
Once Perform is clicked, the Event will start and the user will be redirected to the first question on the Form. The Form/Form permissions will act exactly as they are configured on the Web application. For example, if a Form question is configured on the web application to prompt users to add a Finding, Action, or Attachment for a deficient response (i.e. Non-compliant or No), then this behavior will be mirrored in the iOS application.
- Click the Complete button once the Event is finished.
Once the Event is Complete, the user will be prompted to sync the Event back to the web. Accepting this message will queue the Event to sync, and will be synced back to the Web once a sync is performed.
Filtering Events
Click the Config button at the top of the Event screen to filter and search for Events by Questions, Answers, Actions, and Findings.

Select an article below to view additional details on processes relevant to creating, editing, and managing Events in iOS.