
How To Import Entities
Importing Entities
Do not import Entities until Org Units have been entered.
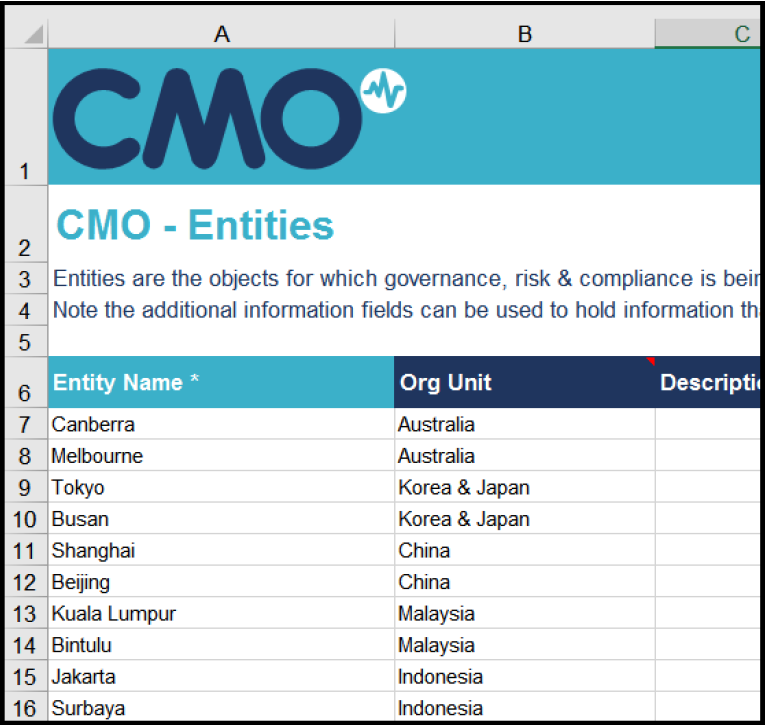
Review your xlsx Entity import data sheet. Make sure you only have 1 row for headers above your data. If you are starting with the CMO Configuration Data Worksheet (as seen in the example below), you will need to delete all rows above the header row (rows 1-5).
You may prefer to create separate import sheets from each tab, but it isn’t necessary.
NOTE: Any typos or inconsistencies will cause problems on import (they will create separate entries). Every unique value listed in the Entity Types column will create a new type.
How To Import Entities
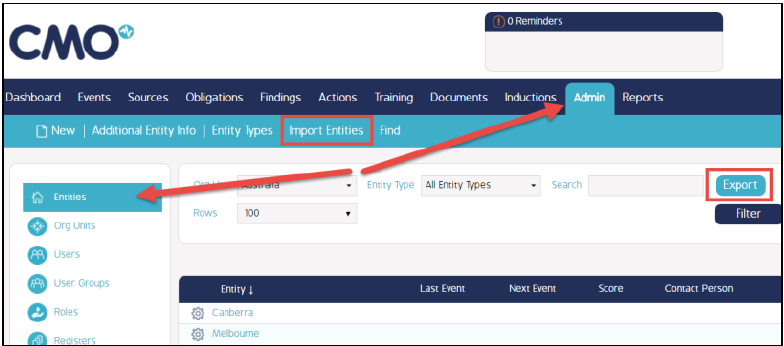
Login to CMO. Go to Admin > Entities and click on Import Entities at the top of the screen. NOTE: If needed, you can click the Export button and then use the exported sheet as a template for importing (make sure you have at least 1 entity created before you click Export).
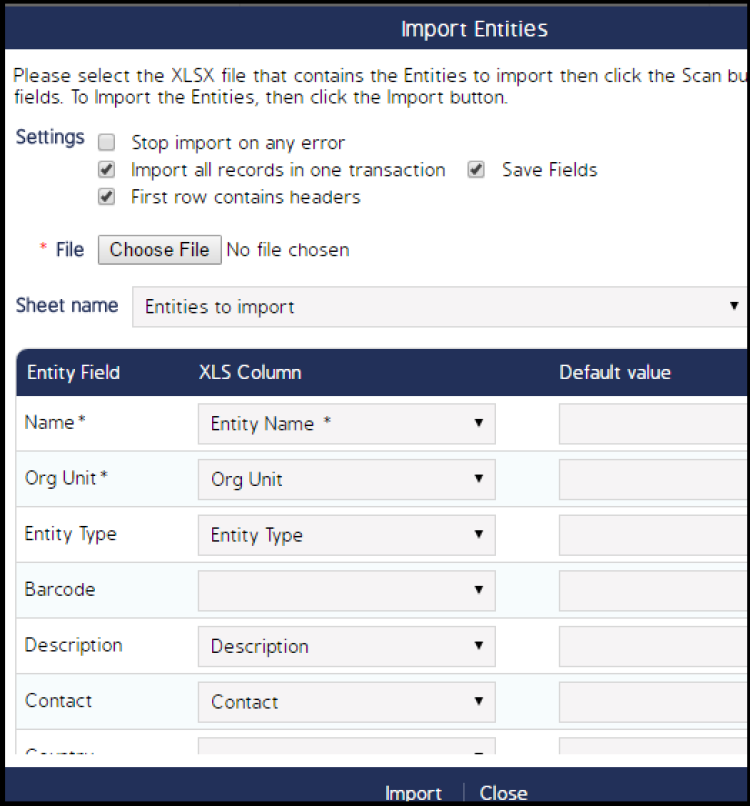
In the pop up box, check the box First row contains headers. Click the Choose File button. Select your file.

After you select your file you will see the following pop up box. In the Sheet Name field make sure you select the correct sheet from your file. Map your columns (XLS Column) to the system columns in the Entity Fieldcolumn. You may enter a Default Value in the Default value column instead of mapping a column. Click the Import button at the bottom of the screen.
If the import works, you will see a message informing you of how many records imported successfully.
Video Demo
Coming soon...