How To Clone A Role
Cloning A Role
The process of cloning roles is a quick streamlined process that eliminates the time consuming process of selecting permissions for new roles create. The steps below should be followed when they are minor changes only.
Once logged into CMO, select the 'Admin' tab from the top row of options.

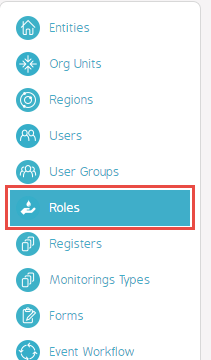
Select Roles
From the series of options on the left hand side of the screen under Admin, click on 'Roles'.
Choose Company
Inside 'Roles', pick the 'Company' that contains the Roles you wish to clone. In the example below, 'Best Practice' is the chosen 'Company'.

Pick The Role
From the selection of 'Roles' arrayed under the 'Company' designated in the previous step, select the 'Role' to Clone.

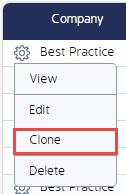
Click on the 'Cog' icon and then select 'Clone'.
Enter Required Role information
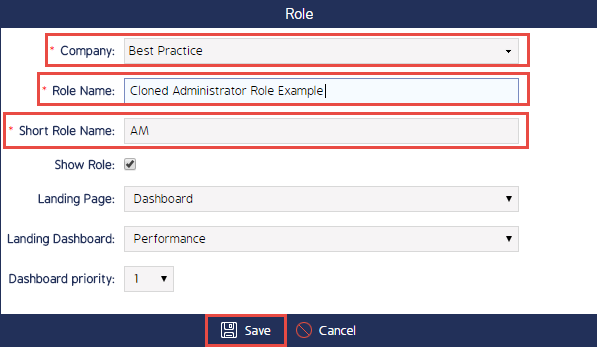
Next, a new window will appear over the screen. You will be prompted to enter required information including 'Company', 'Role Name', and 'Short Role Name'. Once these fields have been filled out, save your entries at the bottom of the window.
Assign Permissions
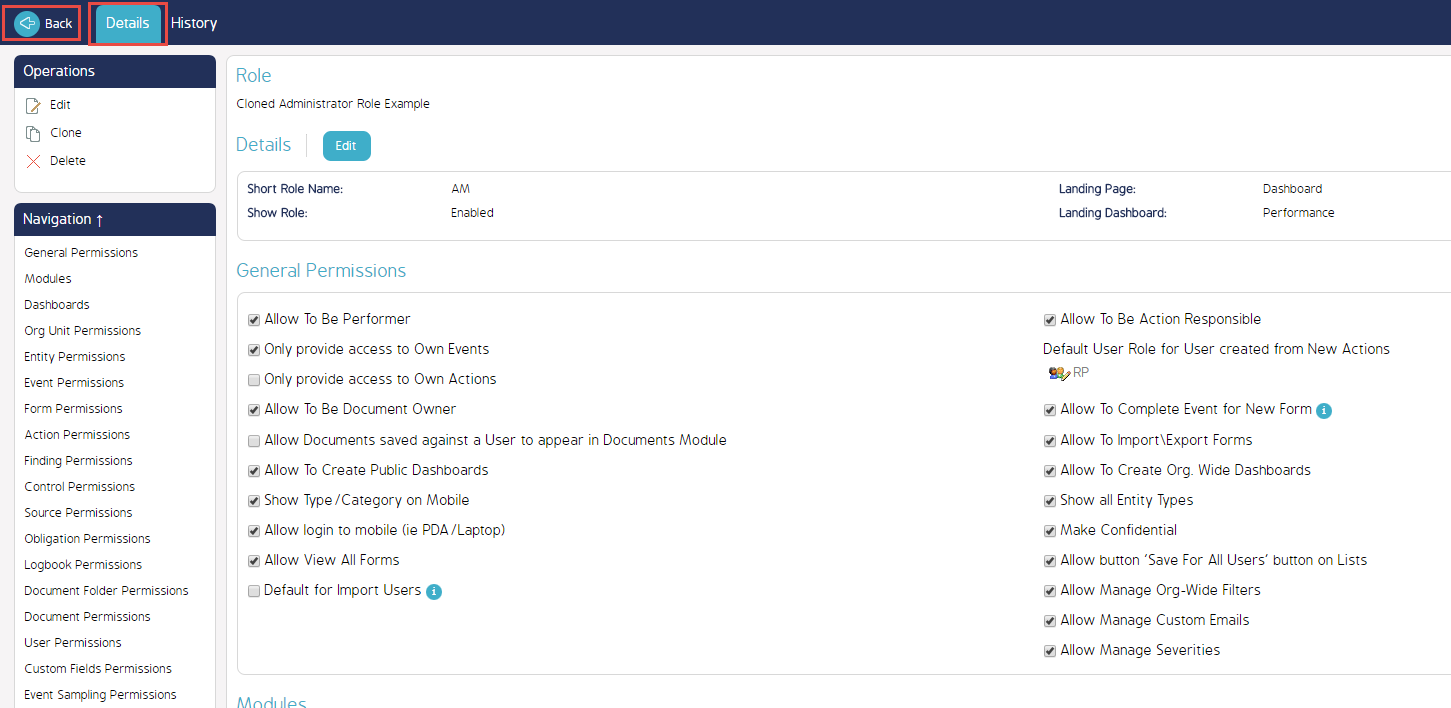
Once the required information has been entered for the newly Cloned 'Role', you will be presented with the standard 'Role Permissions' window.
Select the permissions for the new 'Role' under the 'Details' tab then hit the 'Back' button in the upper left hand corner at the top of the screen. Note that by default the permissions assigned to the original Role will be already selected.
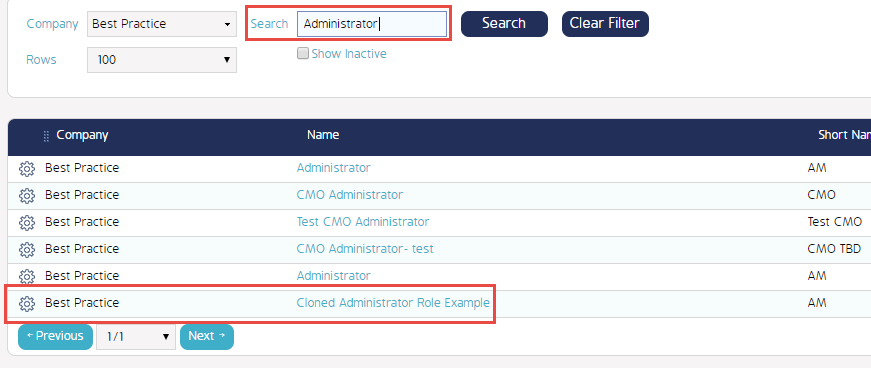
Observe New Role
You have just Cloned a new 'Role'. Performing a search for the role by entering the new 'Role' name in the filter will bring the new Role up in the results as shown below.
