
Creating a GPO for Office and Outlook Addin
Introduction
This guide provides step-by-step instructions for installing the add-in on multiple machines to those authorized to access it.
Prior to beginning this process, the Add-in installers must be saved in an accessible folder and that folder has been shared with the needed users/user groups:
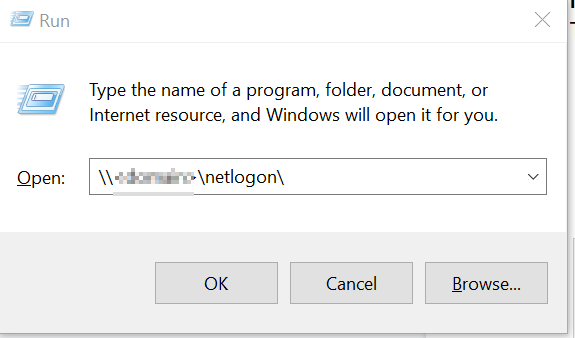
Note: If you do not already have the installation files for the Add-in, please contact your TeamConnect administrator.
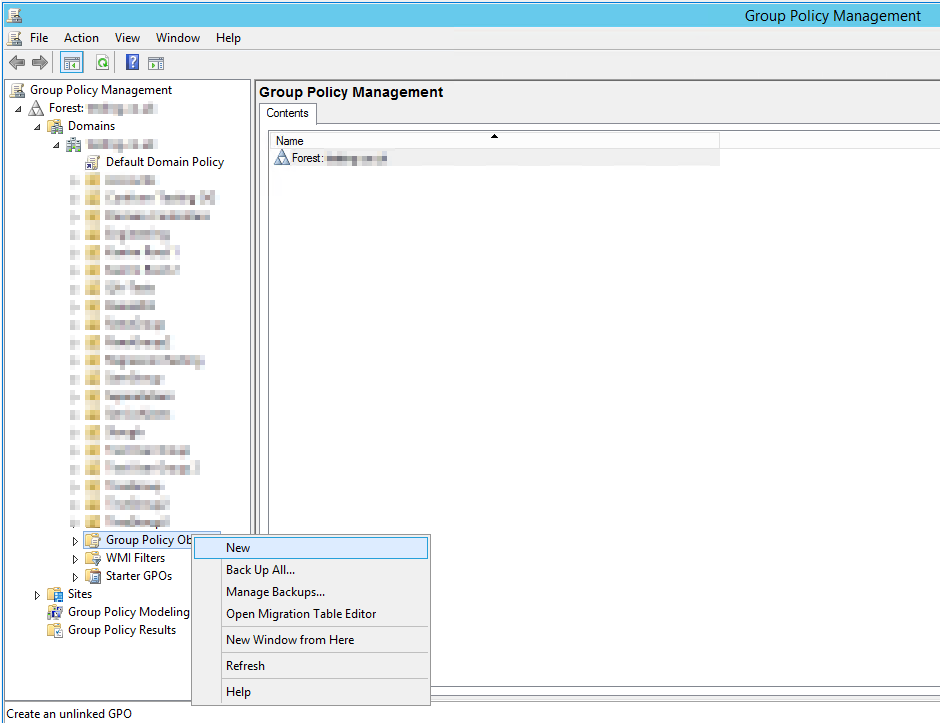
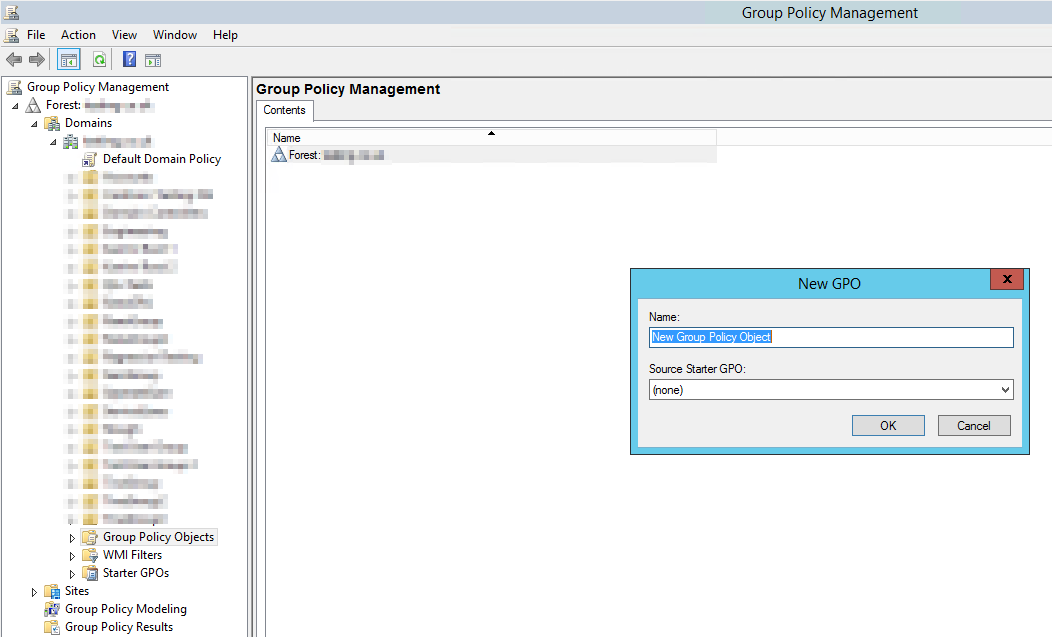
In order to have the Add-in deploy through GPO, you need to first access your domain controller. From there, you will create a new Group Policy, or GPO. This new GPO can be named anything, as long as it is clear for you.
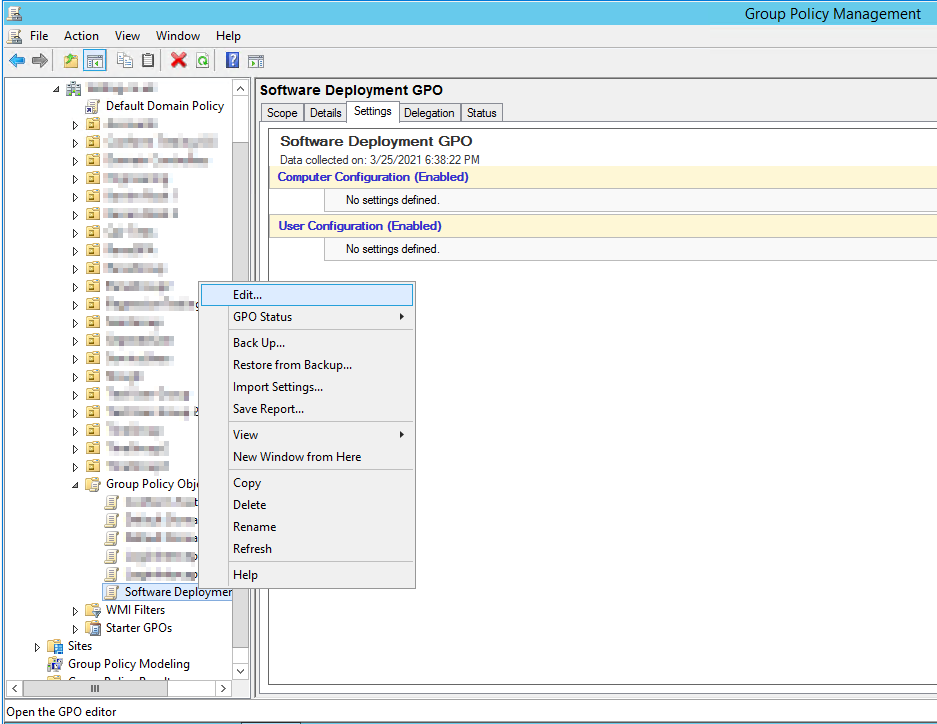
Step 1: Creating the Deployable Package
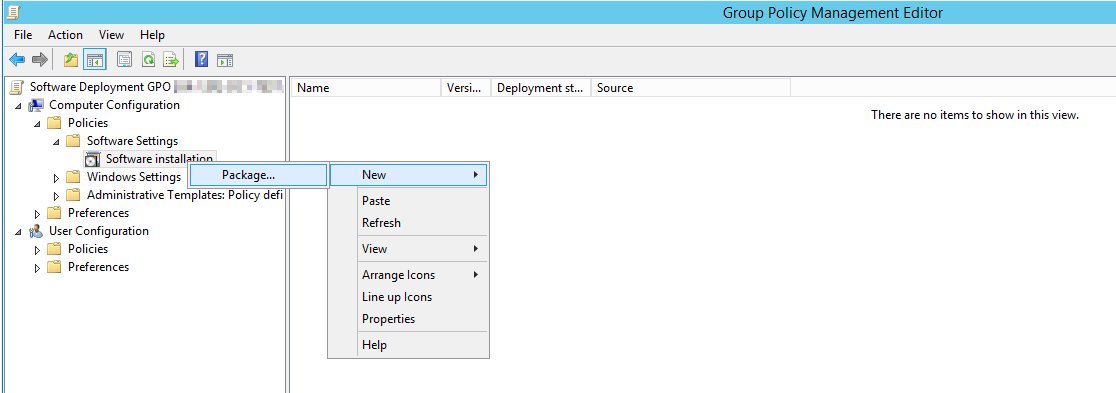
Right-click on your Default Domain Controller Policy and click Edit. From here, you will need to expand out the Computer Configuration, Policies, and Software Settings arrows as seen below.
Next, right-click in the blank space to the right of Software installation and hover over New and select Package.
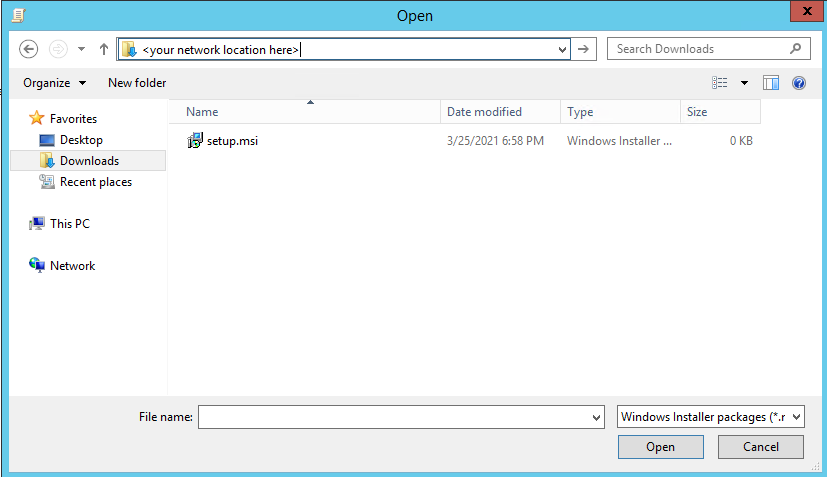
Navigate to the folder you created before starting this process with the installation files and select the Setup file.
Deploy to the assigned users.
Step 2: Linking the GPO
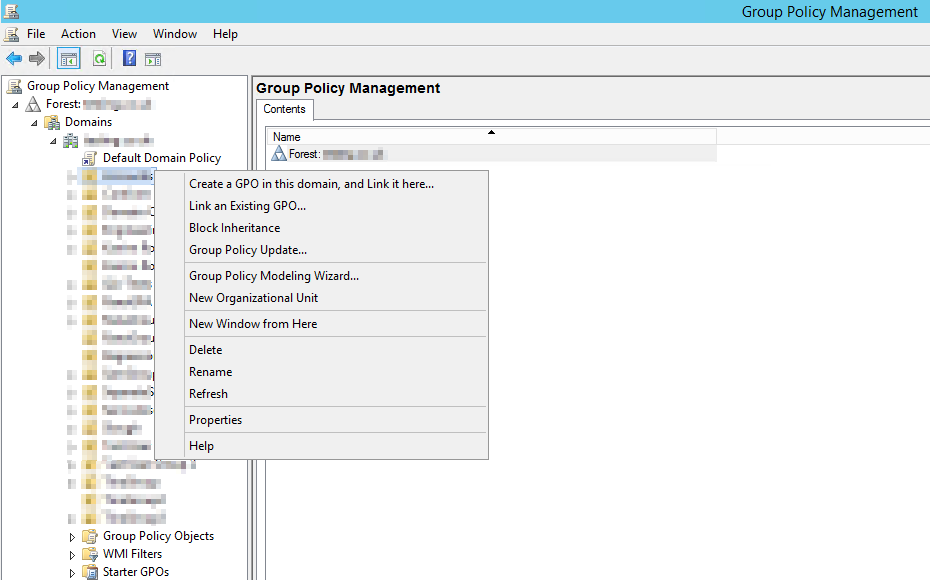
Return to your domain controller and right-click on it, then choose Link an Existing GPO.
You will then select the Group Policy that was created for the Add-in.
Note: The GPO may take up to 2 hours to update and may require a restart. You can check to see if the GPO is there via group policy results after that amount of time. Although it is not recommended, the GPO can be forced to update if needed using the CMD prompt and typing: gpupdate /force
Please refer to your IT Team prior to any forced changes.