
Submit Detailed Invoice
Submit a Detailed Invoice.
Unlike a Summary invoice, a Detailed invoice allows you to add separate line items.
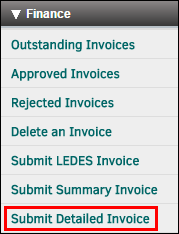
To submit a detailed invoice, select Submit Detailed Invoice from the Finance section of the Left Navigation Bar.
Note: An incomplete invoice will be saved to the system if users navigate away from this process before it is complete. If this occurs, users will have to delete the invoice if they want to submit another one with the same invoice number.
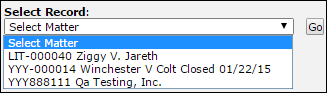
- Select a matter record from the drop-down list, then click Go.
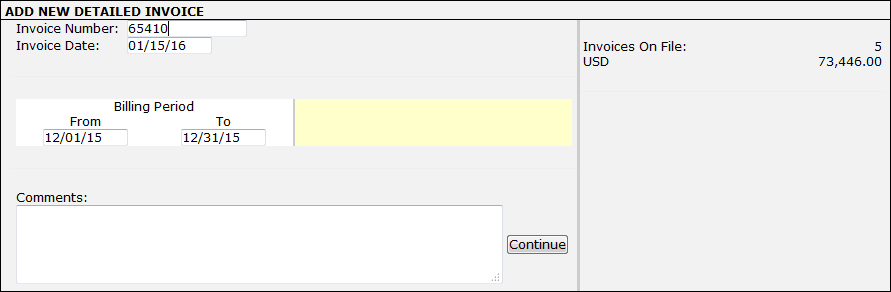
- Enter an invoice number. It is very important to make sure the invoice number is unique to avoid different invoices with the same identification code.
Key dates are pre-populated, but the date fields can be edited by typing into the boxes.
- Click Submit.
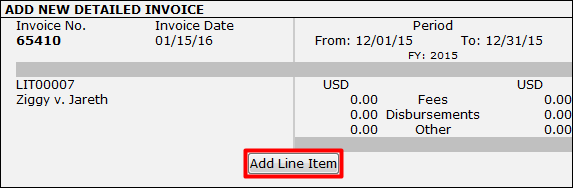
- In the next screen, click Add Line Item.
The LEDES Indicator drop-down lists show up to the right.
- Select a LEDES code from the drop-down list, then the sub-topic, if applicable. Select the individual who performed the work from the drop-down list, and change the task date if necessary.
Note: Some LEDES codes may be blocked for outside counsel use (indicated by red text). If select one of these LEDES codes you will not be able to make any selections from the "Individual" drop-down menu, and you will not be able to save the line item. Contact your site administrator to request them to change permission settings for LEDES codes.
Enter the hours worked and the pay rate, or any adjustment, into the corresponding text boxes. Do not use the "$" or any other currency symbol or commas.
If you are unsure of the rate for a certain activity, refer to the Rate Card Review page.
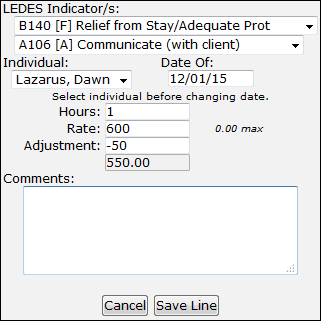
Negative amounts are not accepted in the "Rate" field, and positive amounts are not accepted in the "Adjustments" field. If you need to create a credit invoice, enter a positive amount in the "Rate" field, then enter a negative amount in "Adjustment". (For example, if you want a $200 credit invoice, enter "1" in "Hours", "1" in "Rate", and "-201" in "Adjustment".)
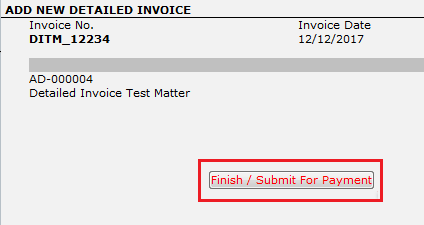
- Click the Finish / Submit for Payment link.
- Click Save Line.
You can now edit a line item by clicking the  icon, or delete it by clicking the
  icon.
icon.