Categories
Introduction
Categories are used to define who owns the documents associated with the category, if a template should be used for any new documents using the category and which workflow should be used for documents in the category.
Best Practice
- Document and apply naming conventions to your Categories.
- Make the descriptions detailed to avoid confusion and save time when assigning Categories.
Create Category
- Click the Categories menu option and click Create:
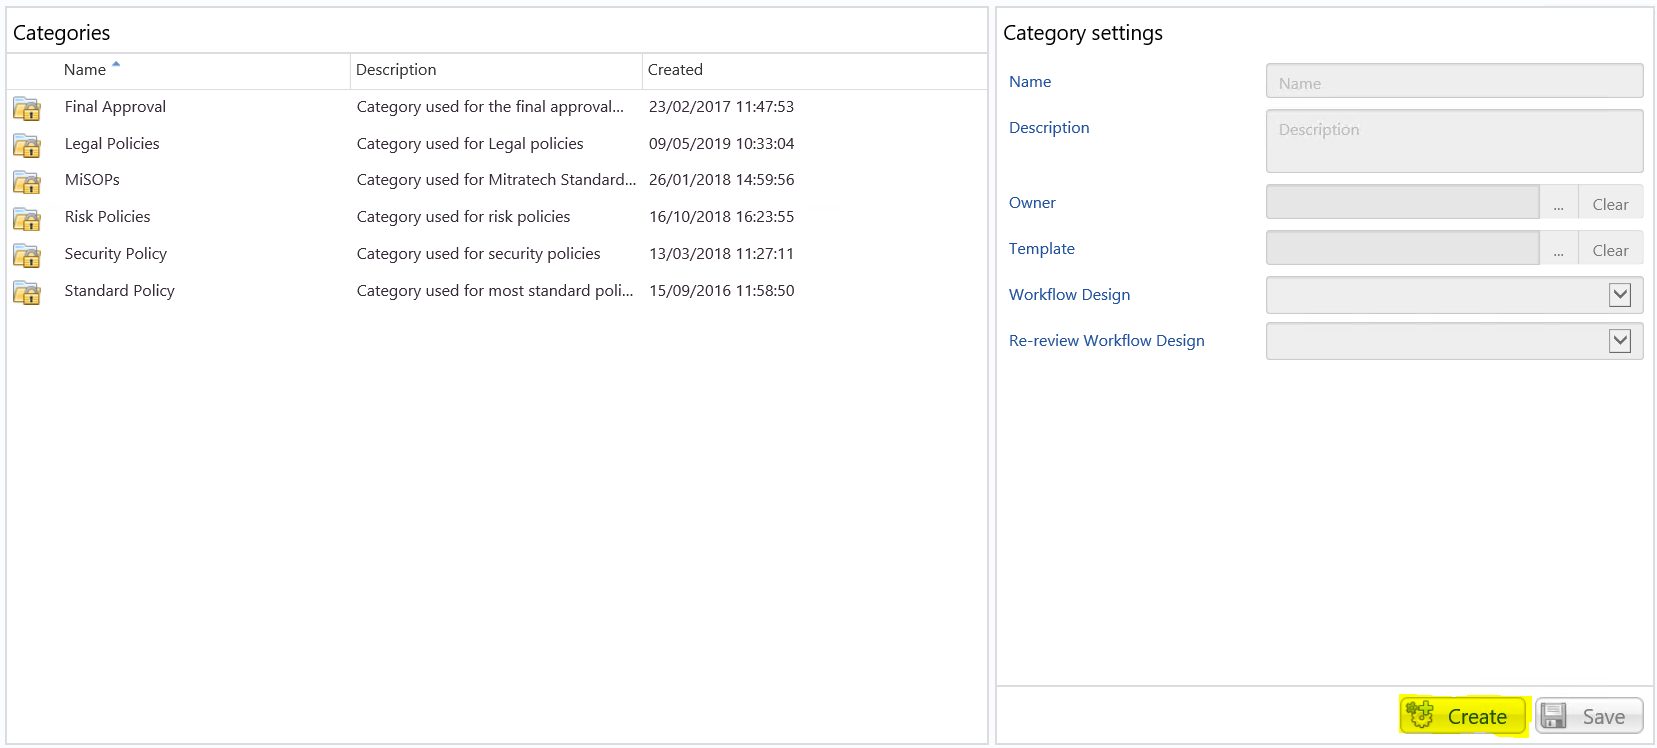
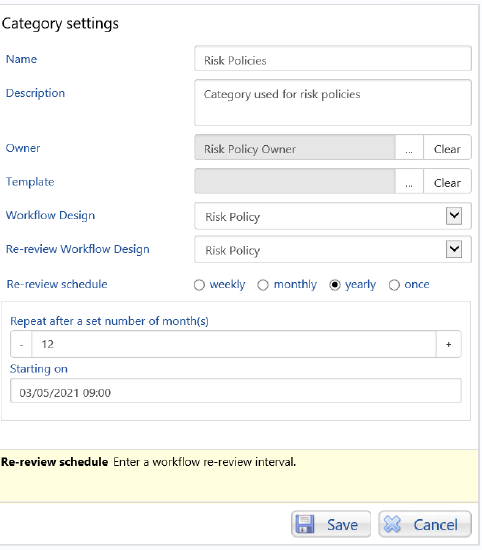
- In the right-hand side of the screen complete the Category settings fields:
-
Name and Description: Choose an intuitive name and description
-
Owner: Select a Participant List (if you want a single owner, make sure you have a recipient list containing only this person). Assigning an owner is not mandatory.
-
Template: Select a Template to associate a particular template with the category. Assigning a template is not mandatory.
-
Enforce Template: Tick this option if you only want new documents in the category to be based on the template.
Note: if this option is ticked, you will not be able to upload a new revision of a document that uses this category
-
Workflow Design: Select the workflow you want to link to this Category and which will be used whenever you manually start a workflow for a document using this category. Assigning a workflow is not mandatory.
-
Re-reviews Workflow Design: If you want documents to be automatically sent out for review & approval on a scheduled basis, select the workflow you want to be used and the interval pattern. Assigning a schedule is not mandatory.
- Click on Save.
Assign Category to Folder
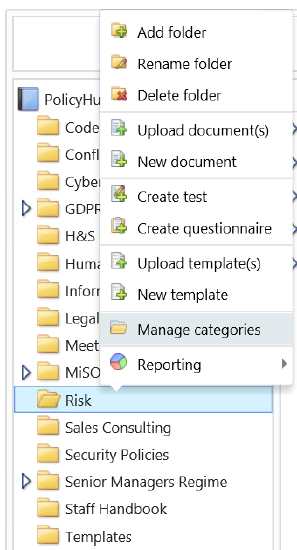
- Go to Library, right-click on the appropriate folder and select Manage Categories:
- Select the Specific Category tab and choose the category to use:
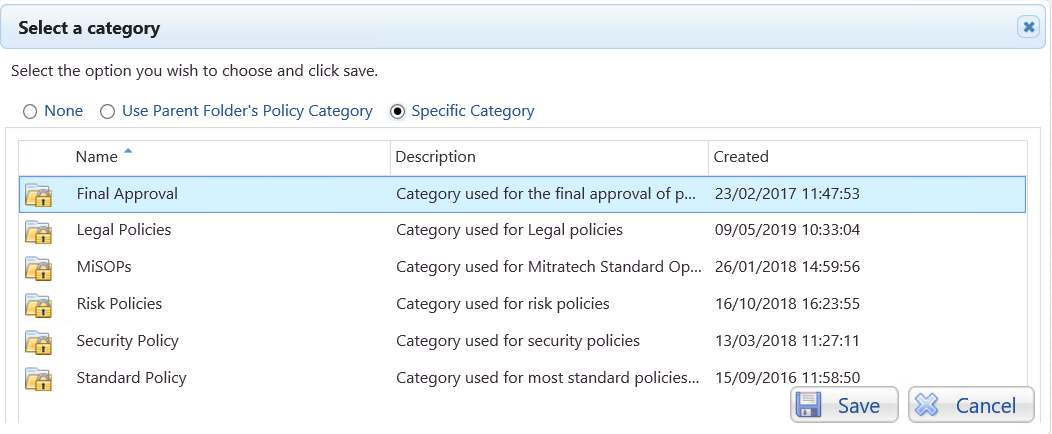
- Click on Save
NOTE: any documents already in the folder will not automatically inherit the category assigned to the folder.
NOTE: any new documents added to the folder after the category has been assigned will inherit the folder category.
Assign Category to Document
- Go to Library, right-click on the appropriate document and select Manage Categories:
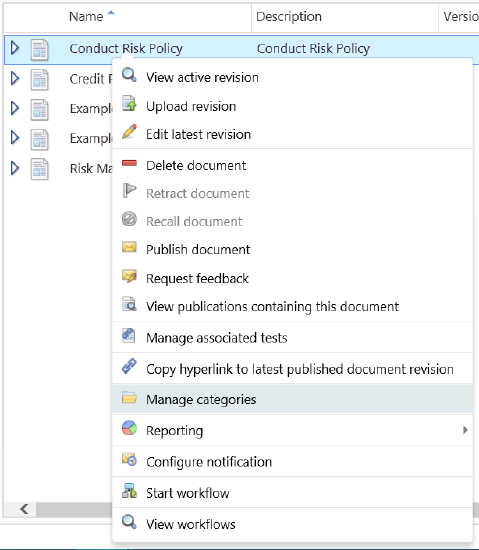
- Select the Specific Category tab and choose the category to use:
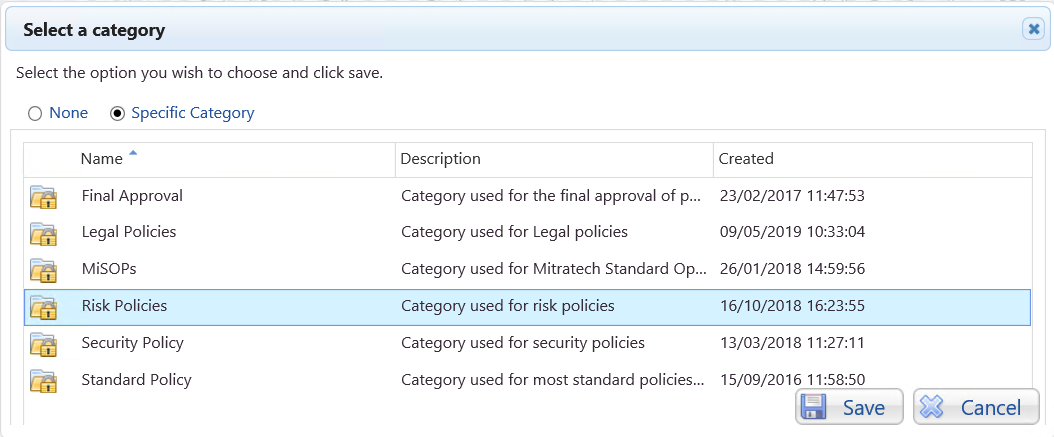
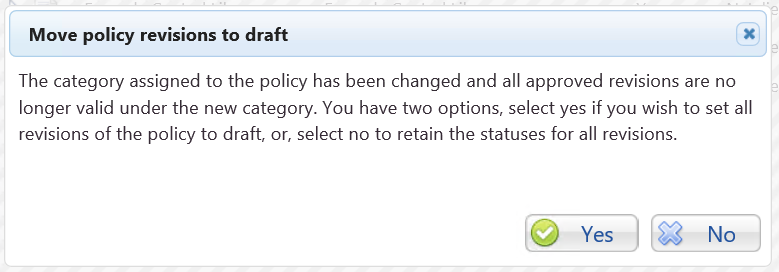
- Click on Save and click on the appropriate button:
- Click on Yes if you want to set the document to Draft, which means the document will need to go through the workflow before it can be published
- Click on No if you don't want to change the current status of the document